Sowing strawberries from seed isn’t the norm, but it’s possible and can be fun. Working with their tiny seeds takes patience and it’s tedious work, but I think fewer things are more rewarding than creating new plants from seeds you saved, caring for vulnerable seedlings, and nourishing young plants into maturity.
Saving seeds is a favorite pastime for many gardeners, especially cherished heirloom varieties. If you want to try something a little different than mainstream home gardening, keep reading. We’ll get into how to save strawberry seeds, how best to germinate them, and tips and tricks on how to get it right the first time.
Let’s take the path less traveled and grow new strawberry plants from seed!
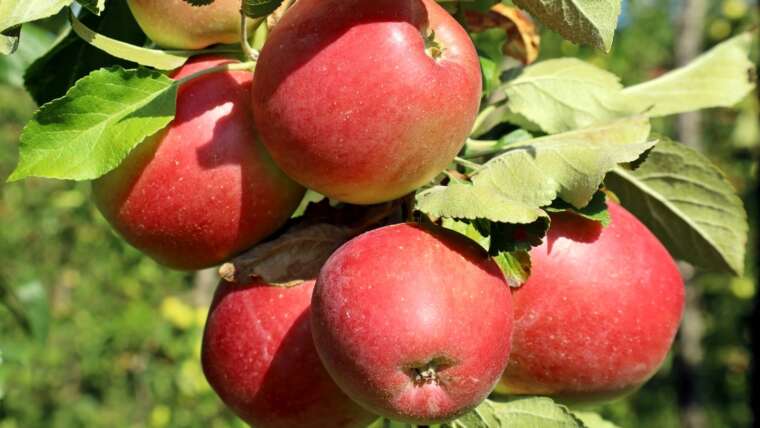
Select Type and Variety
Choose strawberry varieties tailored to your climate and preferences.
There are June-bearing and ever-bearing types of strawberries. June-bearing plants are the most common type you’ll find at grocery stores as they’ll provide one heavy flush of fruit in peak summer when everyone is hungry for and expecting fresh berries. ‘Allstar’, ‘Jewel’, and ‘Honeoye’ are excellent varieties to consider.
Ever-bearing varieties, depending on how you prune them, can produce two to three flushes per season: one in late spring and another in early fall. The size and timing will depend on your growing region and the variety. ‘Albion’ and ‘Seascape’ are ever-bearing varieties to consider.
Pay attention to the following features:
- Day length needed to succeed
- Days to maturity
- Disease-resistance
- Flavor and firmness
- Ease of harvest, storage, and shelf-life
Select a variety that works with your climate and fulfills your berry needs. Do you want berries to hold up well to transport or freezing? Do you plan on making lots of jams and jellies? I recommend researching the different varieties and selecting two or three to start with. Take notes throughout the seed-starting process and growing season to determine your favorite.
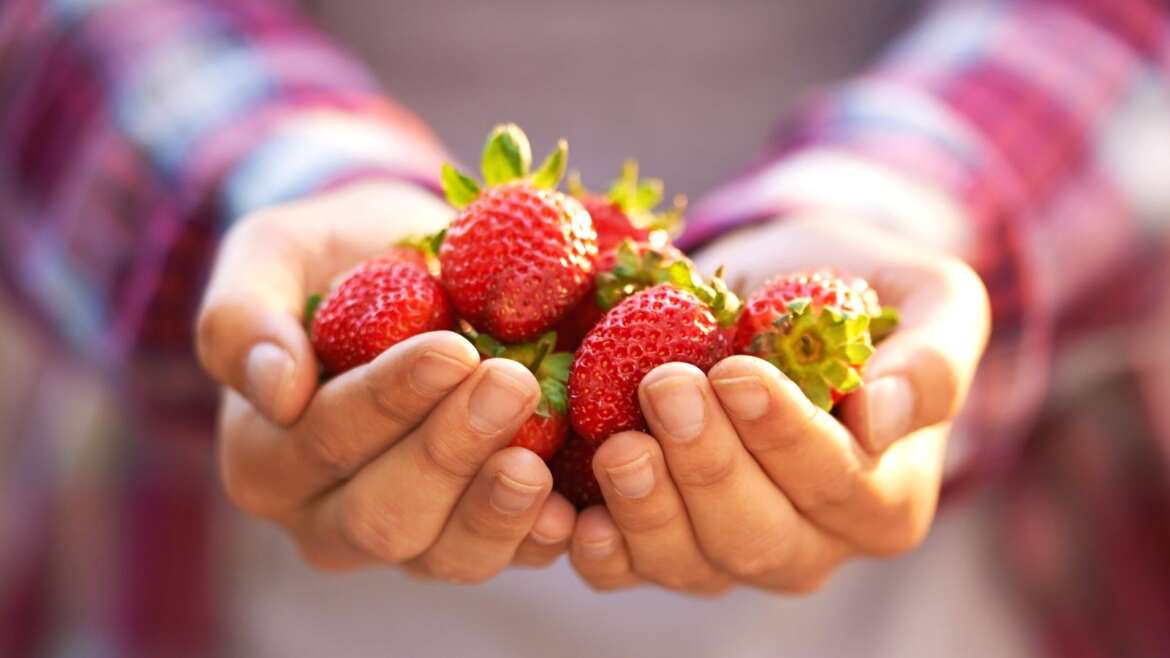
Collect Seeds
 Grow strawberries from seeds for a rewarding gardening experiment.
It’s easier to find strawberry plugs or bare root plants for sale as it’s the easier route. These will produce fruit sooner than new plants started from seed. However, starting them from seed is a fun and interesting experiment. You likely won’t see fruit the first year, so patience is required.
Collect seeds from homegrown strawberries you have in your garden, from a trusted friend or gardener, or organically-grown store-bought berries. Mash or gently blend the berries until a purée forms, then add it to a strainer. Set a bowl under the strainer to catch juice and pulp as you gently coax the seeds from the puree.
Rinse them very well, removing as much pulp as possible that could cause the seed to rot during germination. Then, set them out to dry for up to two weeks.
Sowing and Cold Stratification
 Ensure successful strawberry germination with proper cold stratification techniques.
This period of cold is required for most strawberries to properly germinate. While sometimes placing the seeds directly into a refrigerator or freezer satisfies this need, strawberries need to be sown in a growing medium, moistened, and then placed into the refrigerator to germinate and sprout properly.
Fill a seed tray with moistened seed-starting mix and gently drop it on the working station to tamp it down. Press the tiny seeds into the soil surface, but do not bury them. Light is required for germination. Mist or bottom water to avoid displacing the seeds. Place the tray into a refrigerator for four to six weeks.
Pro tip: Some growers have a separate refrigerator devoted to seed stratification in their basement or garage. Depending on how many seeds you need to stratify, you may consider doing this. Freezing is not recommended.
Germination
 Celebrate successful strawberry seed germination and keep nurturing them!
Bring the seed tray to room temperature, then place it on a heat mat set between 65 to 75°F (18 to 24°C) under bright lights which they’ll need to germinate. Position the lights evenly about six inches above the trays and adjust them as needed after seedlings grow. Seeds should germinate in one to six weeks.
Getting strawberry seeds to germinate is the trickiest part of this entire process, so if you have success during this step, pat yourself on the back and keep going!
Properly Water
 Keep soil evenly moist to prevent rot and ensure germination.
Too much water during this process could cause rotting and “damping off” while too little water could also cause poor germination rates. Maintain evenly moist soil for best germination rates by bottom watering every few days or lightly misting.
Grow On
 Transition seedlings to a sheltered area before the last frost.
Once your seedlings have developed strong stems and several sets of leaves, move them into a greenhouse or other semi-heated area so they can start to adjust to cooler temperatures.
Note your last frost date and take care to cover plants when needed. While some varieties can tolerate light frost once established in the ground, new seedlings are especially vulnerable, and frost can cause serious damage or death.
Pro tip: If critters can access your plants, set traps or take extra care to keep them away. They could decimate your plants at this stage by munching off the leaves and then all your hard work will have been for nothing!
Prepare Your Plot
 Prep sunny, weed-free soil beds for thriving strawberry plants.
Create a weed-free, rich, and slightly acidic garden plot that receives a lot of sun for your new strawberry plants. Soil test and amend if needed. Raised soil beds will increase drainage. Water your seedlings thoroughly, then select the healthiest-looking plants to transplant.
Transplant
 Transplant strawberries after the last frost, spacing them properly.
Depending on the size tray you germinated seeds in, you may need to step up your seedlings into a larger container before transplanting them outside. Wait until after your last anticipated spring frost date before transplanting.
Space them at 9-12 inches. Using a trowel, dig a hole that’s just about as big as the rootball. Place the transplants into the hole and just light press down to keep soil aeration ample. You should be able to see the top of your transplant when you’re done. Then water them and install irrigation lines. Cover plants with insect netting to protect them from early pest damage or thermal blankets to protect them from low spring temperatures.
Growing Strawberries in Pots
 Grow strawberries in compact containers for space-saving gardening success.
To all our small-space and patio growers out there, don’t miss out on strawberries for lack of space! Strawberry plants will perform well in the right container with proper sunlight and drainage. Compact varieties like ‘Albion’ and ‘Fort Laramie’ will do best. Look for those that produce the fewest runners to keep the area tidy of runaway strawberry sisters. Avoid June-bearers as they can become messy and overrun in containers and typically put out a lot of runners.
Fabric grow bags will provide the best drainage for your strawberry plants. Plus, they’re easy to move around as the sunlight shifts, cold weather creeps in, or you just want to change up your backyard aesthetics. They’ve also been known to do well when grown vertically, in hanging baskets and metal raised beds.
Remove Runners
 Prune strawberry runners for better fruit production and plant health.
Remove runners so the plant focuses on producing fruit. Runners are sometimes referred to as sisters. Think of them as a sucker on a tomato plant. Runners are the strawberry plant’s way of ensuring reproduction.
To encourage the plant to focus on producing fruit and staying healthy, snip those runners off. Note if they touch the soil, they’ll set root and start a new, sister plant.
Pro tip: You may select a few plants to keep runners on. Re-pot these runners to create new plants. More info on creating a “strawberry loop” in just a bit.
Maturity
 Expect ripe strawberries in 60 to 90 days after transplanting.
While it depends on your growing region, climate, and variety grown, strawberry plants will mature in 60 to 90 days from transplant. When you see flowers and fertilization occurring, you’re about 30 days from ripening fruit. How long your fruiting period is depends on the type and variety.
Create a Strawberry Loop
 Develop a continuous loop of strawberry beds for maximum yield.
Once you successfully start strawberries from seed, create a loop of garden beds to have a continuous supply and maximum yields. After the first year of mostly vegetative growth in plot one, transplant runners or new seedlings into plot two, allowing them to establish in year two.
By this time (year two), plot one strawberries will be producing fruit, and you can add new plants to plot three. In year three, both plots one and two will be producing fruit. Continue this process until you loop back to your first plot, when your plants may require replacement after several years of heavy fruiting.
Warm climate growers in zones 8+ may be able to grow strawberries all year or transplant runners in the fall, potentially getting fruit from them the following season.
Strawberry Must-Haves
 Regular harvesting minimizes pests and encourages continuous fruit production.
Whether you grow them in the ground or in containers, here are a few things to remember about growing strawberries:
- Well-draining soil: Add compost, sand, or vermiculite to topsoil or purchase bags of loamy potting soil to ensure good drainage.
- Regular fertilizer: Look for something well-balanced, organic,slow-release, 10-10-10 or 12-12-12.
- Proper pH: They like it between 5.5 and 7.0. Look for an acid-lovers potting mix at your local nursery, or add some coffee grounds to what you have on hand.
- Good airflow and avoid overcrowding: Remember, your small seedlings will spread out, produce more leaves, and possibly send out runners. Ensure they have the space they need without unnecessary stress. Plants should have six to eight inches all the way around.
- Provide enough sunlight: If you’re able to transport your pots, move them throughout the season as the sun shifts. They need at least eight hours of direct sunlight and won’t perform well in the shade.
- Ensure pollination: Place them where pollinators can find them to increase yields.
- Keep the soil moist: The soil should never completely dry or become water-logged and soggy either. Consistently water each week as needed, especially if no rainfall occurs. Pay closer attention to pots whose roots can’t reach down in search of water.
- Harvest regularly: This will keep critter and pest pressure to a minimum and encourage new blooms and fruit.
- Consider companion planting to assist with nutrients, natural mulch, repelling pests, and more.
Troubleshooting
Strawberries are finicky and likely aren’t germinating due to one of the following reasons:
- Cold stratification needs not met
- Too much water
- Too little water
- Not enough light
All of these thing are crucial before and during the germination period.
We recommend using organic seeds to ensure no diseases or chemicals are brought into your garden.
Homegrown strawberries can be smaller than you might be expecting due to various environmental stressors, watering or pollination issues, or age. Ensure your plants can breathe, avoid overcrowding, prune them regularly, and water properly. Use shade cloth and thermal blankets as needed during spells of extreme cold and heat to keep plants healthy. Select disease-resistant varieties and treat them organically as needed to keep pests away.
Final Thoughts
While it’s not the go-to process in the home gardener world, starting strawberry plants from seed can be fun and rewarding. Whether you’ve been growing for years or are just getting started, these berries are a good place to start if you want to dive into starting plants from seed. Seeing your seeds through every step, from sowing to eating that first ripe berry, will make all the extra work worth it. You’ll be berry, er, very happy you did!