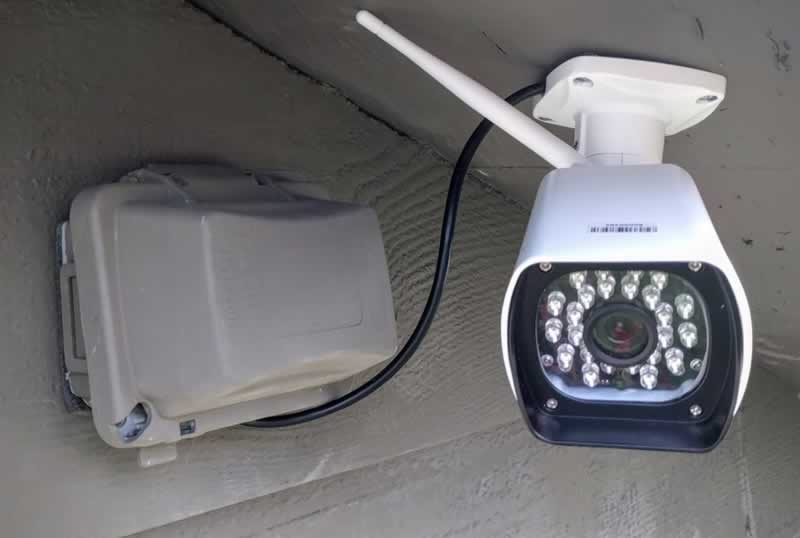
IP cameras, also known as network cameras, are becoming increasingly popular with consumers due to their constantly improving features, quality and falling prices. The difference between an IP CCTV camera and a regular CCTV camera is that, unlike a DVR, it is connected to the network via a coaxial cable.
Here is a quick guide to installing IP Network CCTV systems:
Step 1: Install the network infrastructure
It is important to purchase and install the necessary network infrastructure such as cables, switches, etc. You can run the network cables through the ceilings and walls to reach any areas where you want to install the IP cameras.
Step 2: plan to install the camera
The requirements for CCTV cameras almost always increase after the first set of cameras has been installed. You may need to add cameras in other locations. You should try to anticipate future requirements to minimize the amount of work.
Step 3: add network switches
IP network CCTV security cameras use PoE (Power over Internet). Because of this, you need to add network switches that include PoE. Make sure that the network switches you install have enough power to support IP devices on all ports.

Step 4: Install the IP camera mounting brackets
If you are lucky enough, the IP cameras are easy to install. For example, some IP cameras let you install the camera mounts first and then come back later to mount the rest of the camera. If you can find such cameras, the installation will be even easier for you.
Step 5: mount the IP cameras
The IP network CCTV cameras must of course be mounted in order for them to function as intended. To do this, connect the IP camera with PoE using the network cable. Then, mount the camera on the bracket and adjust the position of the camera to view the monitored area.
Step 6: Set up the IP cameras in the network
You can then view the camera footage on a laptop. You can view the video using a web browser and make changes to the camera settings accordingly. Different camera manufacturers offer different methods of getting to the IP camera for the first time. Follow the manufacturer's instructions to guide this step.
Step 7: make the final adjustments
If you can view the video captured by the camera with either a web browser or video management system, make the final adjustments to the field of view and focus of the IP cameras. With some cameras, you can adjust the zoom and position from your computer. If your camera has not set up a remote control, you will need to adjust the settings manually.
Final thoughts
The CCTV camera systems of the IP network include IP cameras and the video management and recording system. All cameras are connected to the network and use PoE for power supply. Today's IP camera systems are much easier to install and offer many more features than older CCTV camera systems. To install your IP Network CCTV camera systems, all you have to do is follow the 7 steps described here.


