If I had to bet on gardeners’ favorite vegetables to grow at home, carrots would surely make the list. Pulling a healthy carrot from the ground is just plain fun, and the flavor and texture of fresh-picked roots are incomparable to the topped carrots you find in plastic bags. Unfortunately, growers often face challenges when growing carrots at home!
With ten years of experience growing carrots, I’ve learned a few tricks that will help you end up with a healthy crop and bountiful harvest. Maintaining proper moisture, choosing the correct variety, and applying the appropriate nutrients are key to growing carrots. If you’re growing in raised beds, pay attention to these tips.
Maintain Moist Soil for Successful Germination
 Carrots require consistent moisture and careful watering.
One of the trickiest parts of growing carrots is getting the seeds to sprout! Since carrots are root vegetables that are sensitive to transplanting, direct sowing them is the best option. But getting these seeds to germinate isn’t as simple as scattering them on the ground and walking away!
Two main factors make germinating carrots tricky: their long germination time and their need for consistent moisture. When you combine these two factors, you’ll learn that you’ll need to keep your raised bed moist for one to two weeks after sowing your carrot seeds. If the bed dries out for even a day, you risk subpar germination rates.
Since raised beds tend to dry out quicker than native soil at ground level, keeping the soil moist is even trickier for raised bed gardeners. Fortunately, you can follow a few tricks to keep the soil moist. First, make sure you thoroughly water the soil after planting your seeds. A slow, steady stream of water will wet the soil without washing away the tiny seeds.
Once the soil is wet, it’s time to trap moisture so you don’t have to water the bed multiple times a day. My favorite option is placing a piece of row cover flat on top of the seeded area. This fabric limits evaporation, so you only have to water every few days.
Another option is to place a tarp or piece of landscape fabric over the beds. These materials will trap the moisture better than row cover, but you’ll have to make sure to remove the material as soon as the carrots poke out of the ground. If I use this method, I like to plant a few beet seeds at the top of my carrot rows to serve as indicators. When I see the beets sprout, I remove the tarp; the carrots will sprout a few days later. Once the seeds have germinated, keep the bed moist in the following weeks.
Limit Nitrogen Applications
 Overloading compost can hinder long, straight carrot growth.
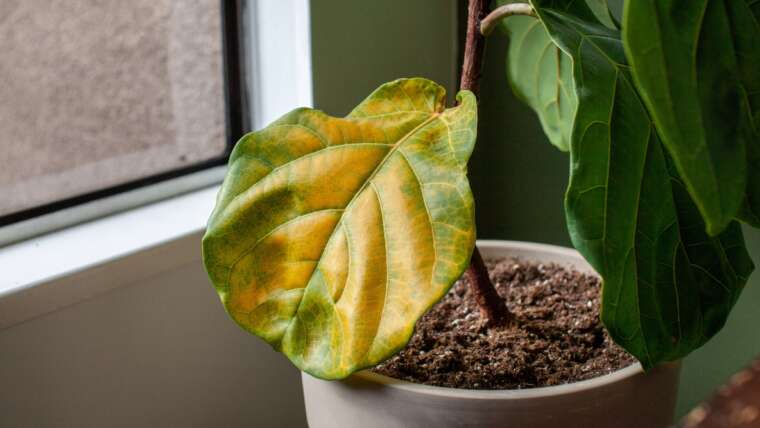
While many plants need a lot of nitrogen to stay healthy and produce good crops, carrots are different. Too much nitrogen can make the tops of the carrots grow big and healthy, but the roots will be thin and weak. You’ll know if there’s too much nitrogen because the roots will be small and thin, or they’ll have wonky fingers instead of one long root. Since we want big, crunchy carrots, not big, green tops, limiting nitrogen applications is essential.
If you stuff your raised bed with nitrogen-rich compost, you might struggle to grow long, straight carrot roots. While plants like peppers, tomatoes, and lettuce love nitrogen for their leaves, carrots are all about the roots. So, don’t go overboard with the compost in the carrot section of your bed.
Additionally, avoid applying any nitrogen-rich fertilizer before planting carrots or while they’re growing. Carrots typically grow fine without any fertilizer, but if you find the soil needs a boost of potassium or calcium, choose a fertilizer that contains the missing nutrient but no nitrogen.
Water Deeply
 Automate drip irrigation to ensure precise watering for healthy carrots.
Although raised beds’ excellent aeration and drainage mean you won’t have to worry about compaction or rot, it also means you need to stay on top of watering. Rather than watering the top of your beds for a few minutes each day, aim for deep irrigation a few times a week. These deep waterings encourage carrots to develop long, straight roots.
Once my carrot seeds have germinated, I like to switch over to drip irrigation. Running a line of drip tape along each carrot row ensures the water goes exactly where I want it. Setting the drip irrigation system on a timer means I can water my carrots without even thinking about it. The exact irrigation schedule depends on your climate, soil, water pressure, and plant size, but running the drip tape for 30 minutes three times a week is a good place to start.
If you let the soil dry out or only water the top few inches of the soil, you’ll likely end up with short-stubby carrots or woody roots. Experiencing either of these issues means you should water future carrots more.
Choose the Proper Variety for Your Bed
 Plant carrots in rows regardless of the variety.
Deep raised beds are the ideal growing environment for carrots. The loose, deep soil allows carrot roots to extend deep into the ground without worrying about rocks or compacted soil layers. However, if you’re working with a raised bed or container that’s less than a foot tall, don’t expect to grow super-long carrots.
Regardless of the height of the raised bed, you can find a carrot variety that works for you. If you have access to deep beds, I recommend a long variety like ‘Tendersweet’ or ‘Carnival Blend’ for the biggest harvest. Short varieties like ‘Tonda di Parigi’ and ‘Red Cored Chantenay’ work well for shorter raised beds.
Regardless of which variety you choose, place the carrots in rows. I like to plant a few seeds per inch and then thin the seedlings two inches apart once they germinate. Leaving three to five inches between the rows allows for adequate airflow.
Pay Attention to Days to Maturity
 Dig up a test carrot once you reach maturity days.
If you’re new to growing carrots, it can be difficult to determine when they’re ready to harvest. After all, you can’t see the roots until you pull them from the ground! While the green tops may indicate root size, you can have small tops and big roots as well as big tops and little roots.
My favorite way to tell when carrots might be ready to harvest is to pay attention to the days to maturity. You can find this information on the seed packet or by searching your carrot variety online. Once my carrot beds hit their days to maturity, I dig up a test carrot. For example, If I planted seeds on April 15 and the days to maturity is 75 days, I’d begin checking the roots after June 29.
If the roots on your test carrot look slender, give the plants a week or so more to grow. Make sure to keep the soil well watered during this time since adequate moisture is key to substantial roots.
Final Thoughts
While carrots can provide some challenges, these tips will help you grow a beautiful and robust crop in raised beds! Remember to be patient when waiting for seeds to germinate, avoid excess nitrogen, and provide enough water.