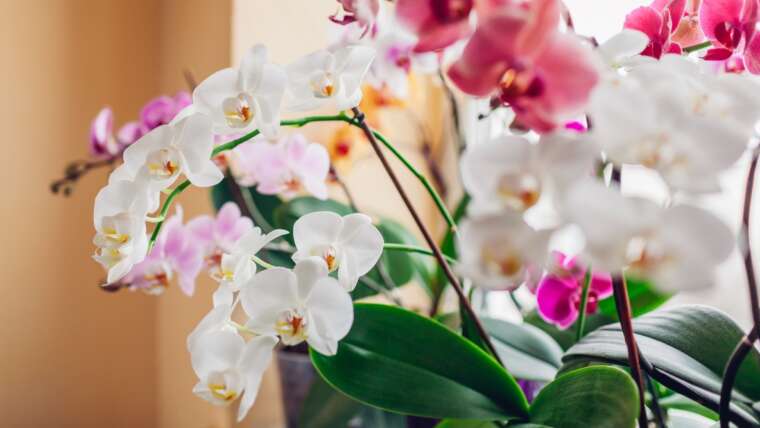
Raised beds have always been a great way to control your soil and keep closer tabs on your vegetable garden. But they aren’t just great for growing vegetables. There are some real benefits to growing flowers in these beds, too!
Growing flowers in raised beds notably cuts back on the amount of preparation and energy spent on in-ground flower beds. They are also a great way to control the soil and cut down on pests and diseases. Gardening in raised beds significantly reduces the amount of weeding you have to do. I don’t know about you, but anything that saves the time of weeding my beds is very appealing to me.
In the past couple of years, I have transitioned to growing most of my cut flowers in raised beds. It has saved me so much time and physical energy that I want to share some tips with every flower gardener. Here are seven things you can do to grow a successful flower garden in raised beds.
Choose Your Beds Wisely
The first step to growing flowers in raised beds is choosing the type of beds you want to install. Different types of beds suit different levels of permanence. There is also a question of whether you want to build the beds yourself, or purchase them prefabricated. To choose your beds, first consider how long you want these beds to last.
Wood
Opt for cedar beds for longer-lasting, safer gardening solutions.
If you are renting your gardening space and are uncertain how long you will be there to maintain it, it’s ok to start small. Wooden beds are more temporary than some types. They are also more economical if you don’t intend to use them for more than a few years. Not all wooden beds are of equal quality.
Never build beds out of pressure-treated wood if you intend to consume anything you plant in them. I know we are talking about growing flowers here. However, if down the road you decide to add some vegetable plants to your beds, pressure-treated wood is dangerous. The chemicals in this wood can cause serious health issues.
I have found that basic wooden beds are the most affordable, but they rarely last more than two years. Some of them will begin to fall apart after one. Well-made cedar beds are a great option if you like the look of wooden beds and want them to last longer.
Cedar beds stave off fungus and stand up to the weather better than other types of wood. They offer some protection against insects, and they last for years with proper care. Wood beds also offer more options if you want your beds to be easy to remove. Elevated cedar planters work well on patios and in greenhouses.
Metal
 Opt for durable metal beds for easy, long-term gardening.
Metal beds are a step up from wood, as they are significantly more durable and long-lasting. You can expect metal beds to last up to ten years, sometimes more. If you are gardening in a home you intend to inhabit for many years, these are a great choice. Another benefit to these beds is that you can easily move them if you do decide to.
Metal beds are easy to assemble. As a smaller woman, I have been able to assemble my metal beds independently. This is important to me because when I’m ready to garden I hate to wait on someone else to help me get started. I’m able to lift and carry fairly large beds by myself. I have several eight-foot metal beds that were not difficult to set up and move around the yard.
Metal beds require very little maintenance. It’s easy to keep them weed-free, and they aren’t appealing to wood-boring pests. While metal beds can cost slightly more than wooden beds, the difference is usually nominal. You really get a lot of bang for your buck with this type of raised bed. They also come in a wide range of colors and sizes.
Stone, Brick, Concrete
 Invest in longevity with stone, brick, or concrete raised beds.
If you’re looking for beds that truly stand the test of time, stone, brick, or concrete are more permanent options. These are the most durable materials for building raised beds. They stand up to the elements, and even flooding won’t move them from their intended space. There is no worry about rotting with this type of bed.
On the other hand, these are a big commitment, of both time and money. I don’t know if you’ve checked the price of concrete lately, but it’s significantly more expensive than it was just a few years ago. The same goes for brick and stone unless you have access to an abundance of those things. If you don’t mind the expense, and you want your beds to last a lifetime, these are the way to go.
Note that many concrete options are not food-safe, so don’t consume any of the edible flowers you grow in these. Opt for containers and certified food-safe beds made of cloth, wood, or metal.
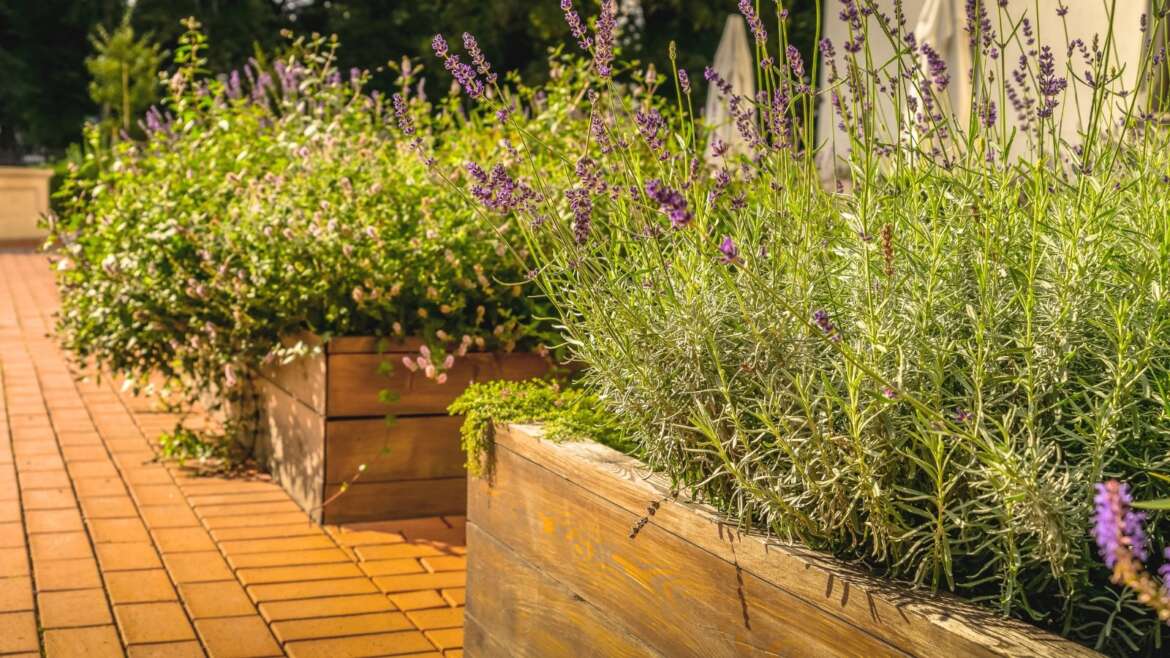
Pick a Great Location
 Choose a sun-kissed spot for thriving raised beds.
To some degree, it is important to know which plants you intend to grow when selecting a location for your beds. Fortunately, raised beds take some backbreaking work out of the process.
Soil composition isn’t important, as you’ll be filling your beds with the ideal type of soil. Raised beds also remedy drainage issues in most cases. The important thing to account for when choosing your location is sun exposure.
Again, knowing what you want to grow will play a role in how much sun you want these beds to receive. A significant majority of flowering plants perform best in full sun. Unless you have specific plants you want to grow that need some shade, choosing a full-sun location is best.
Full sun means six or more hours of sun daily. Not all exposure is equal, though, especially if you live in a hot climate. In cooler climates, this is not as great a concern, but here in Florida, full sun is different. It’s HOT. The afternoon sun can be particularly searing and dehydrating.
Placing your beds in an area that gets plenty of sun early in the day is optimal. The East side of your home is where your plants will get the first morning light. That is the best kind. Morning sun is cooler but no less effective at inducing photosynthesis.
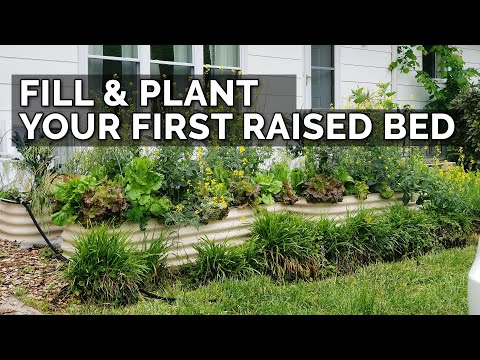
Soil Matters
 Optimize raised bed depth and fill with nutrient-rich soil.
After you assemble your beds in their proper location, it’s time to think about filling them. Don’t overlook the depth of your beds when deciding how to fill them. For beds that are only a foot or less, you’ll want to fill them with a high-quality mix. We will talk about that in a minute. For taller beds, this can cost a fortune.
For tall raised beds, you can save a lot of money by filling the bottom section with alternate organic materials. Large logs work well in the very bottom to take up some space. This prevents pests from coming up from the earth and damaging your plants.
Wood chips, pine needles, branches, and leaves also make good fillers for the bottom layer of your taller beds. All of these materials are organic and break down over time, adding nutrients to your soil.
Once you’re ready to add soil to your beds, there are different directions you can take. A mixture of compost, manure, coconut coir, peat moss, and vermiculite is a great raised bed soil mixture. If you want to go easy on yourself, there are some quality raised bed mixes available premixed and ready to pour. Mix in some starter fertilizer with whichever type of soil you choose. This will get your plants off to a strong start.
Know Your Zone
 Select plants wisely based on your updated Plant Hardiness Zone.
This may seem like a no-brainer, but it’s important to know your zone before selecting plants. This is highly important if you intend to plant perennial plants in your beds. Expect that your raised bed will offer less insulation against the cold, and choose plants accordingly.
In 2023, the United States Department of Agriculture made some adjustments to growing Plant Hardiness Zones. It’s a good idea to stay up to date on which zone you live in.
Choose the Right Plants
 Create a vibrant oasis by selecting plants thoughtfully.
Now for the fun part! Choosing the right plants will ultimately determine the level of success for this raised bed garden. Consider whether you want to grow your plants from seeds or select starts from your local nursery. Growing plants from seed is more economical but will also take more time. Plants that have already started to bloom bring more instant results.
Decide whether you want to grow annuals, perennials, or a mixture of the two. I like to use my raised beds for annual flowering plants. More permanent and low-maintenance perennials grow well in the ground where they have space to spread out. Raised beds are great for annual flowers that need yearly replacing. This is a matter of personal preference, and by no means should you shy away from filling your beds with perennials. That just happens to be my way.
Consider seasonality when selecting plants, as well. Do you want a garden bursting with summer color? Would you prefer a bed with plants blooming over multiple seasons? Also, consider the height and spacing of the plants you choose. You don’t want to overcrowd your beds, but you want them to look lush and healthy.
Finally, pay attention to the watering and exposure needs of the plants you select. Plant things with similar needs in the same bed. Don’t place things that need an abundance of water next to those that prefer to dry out between waterings.
Keep your full sun plants together. The same goes for plants that prefer partial sun exposure. Group plants by nutrient needs, too. Plants that don’t like to be fertilized, like lavender, shouldn’t be grouped with those that are heavy feeders, like dahlias.
Take Care of Your Plants
 Nurture raised bed plants with proper irrigation and care.
Once you’ve settled your new plants safely in their new raised bed homes, they will need proper care. Irrigation is an important factor with raised beds because they tend to drain and dry out faster. There is no groundwater available to plants in raised beds, so you’ll need to be more conscious about watering.
In terms of irrigation, treat your raised bed plants the same as container or potted plants, and monitor soil moisture prior to irrigation. For drought-tolerant plants, you may get away with giving very little supplemental water. As long as you get regular rain, these plants will be low maintenance. For plants that need more moisture, make sure you keep up with them. These plants will die quickly in the absence of adequate watering.
Fertilizer is an element that will significantly affect the health of your flowering plants. Without the proper nutrients, your plants won’t live up to their full potential. Weaker plants are also more susceptible to damage from pests and diseases.
Speaking of pests and diseases, make a habit of inspecting your plants for these issues. Look for insect damage or diseased and damaged foliage often. Remember that flowering plants are going to be attractive to pollinators.
Try not to treat your plants with pesticides that will harm these beneficial insects. Try plantings for attracting beneficial predators, washing off pests with a direct stream from the hose, and companion planting. If you must, treat them in the evening giving time for the treatments to dry before pollinators come out in the morning.
Keep Your Beds Fed
 Maintain soil fertility for sustained plant health and growth.
Finally, make sure to take care of your soil. Do this so it will continue to have the right nutrients to support plants in the coming years. Over the course of the year, your plants use the nutrients in the soil to produce new growth and flowers. Once gone, you’ll need to replace those nutrients to continue supporting new plants.
There are different ways to replenish your soil. One simple way is to add a few inches of compost to the top of your soil. If you’ve planted annuals, wait until they die back, dig them up, and work your compost into the existing soil. If you have perennials in your beds, simply spread the compost over the top, around the base of your plants.
Another method for replenishing your soil is planting a cover crop. Plants like clover, hairy vetch, or Australian winter pea are all great cover crops. Legumes are especially good for replenishing your soil. They fix nitrogen, suppress weeds, and help break up compacted soil with their extensive root systems.
Final Thoughts
Growing flowers in raised beds is a great way to dress up your garden. Raised beds make your space look intentional and polished, and they are so easy to maintain! Set your beds up properly and maintain them well. Taking these steps will ensure years of use and a low-maintenance way to grow and tend to your beautiful flowers.