By the time April rolls around, most people are ready to roll up their sleeves, put on their gardening gloves, and start spending their evenings outside. Fortunately, April is a busy season in the gardening world! No matter where you live, you can complete essential upkeep tasks, like weeding and spring cleanup.
Of course, April looks different depending on where you live. Many growing zones still face the danger of frost, so patience is key when planting warm-weather crops. However, growers in all areas can directly sow greens and divide perennials.
I’ve found that completing the following tasks in spring sets you up for an organized growing season and helps you get a jump start on enjoying all your garden has to offer.
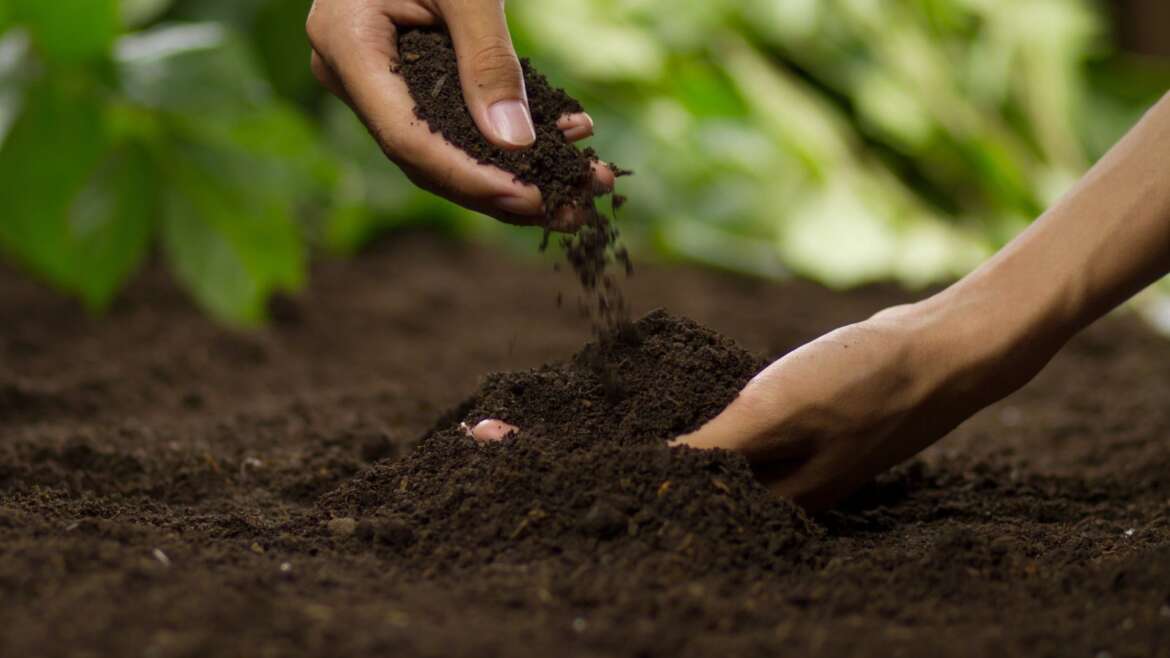
1. Prepare Your Soil
Preparing soil in April involves conducting a soil test for pH and nutrients.
Whether you plan to plant seeds and seedlings in the ground in a few days or next month, April is a great time to prepare your soil. I always like to start with a soil test to determine the soil’s pH, nutrient levels, and organic matter. It’s easy to collect a soil sample and submit it to a state soil lab or purchase an at-home test from a private testing lab, and these services offer extensive results.
Once you have your results, amend your soil as necessary. In certain instances, add lime to raise the pH and elemental sulfur to lower it. As needed, apply fertilizers like feather meal, alfalfa meal, and rock phosphate—just make sure not to over-apply since too many nutrients cause more harm than good. I also like to apply an inch or so of finished compost to add nutrients and enrich the soil with beneficial microorganisms. Make sure to rake or lightly till the soil to incorporate any amendments.
After you’ve addressed your soil’s pH, it’s time to improve its texture. Soil in raised beds usually remains loose throughout the winter, but native soil sometimes becomes compacted. Loosening the soil with a broad fork or shovel will improve drainage and aeration, making it easier for plants to grow.
2. Divide Overgrown Perennial Flowers and Herbs
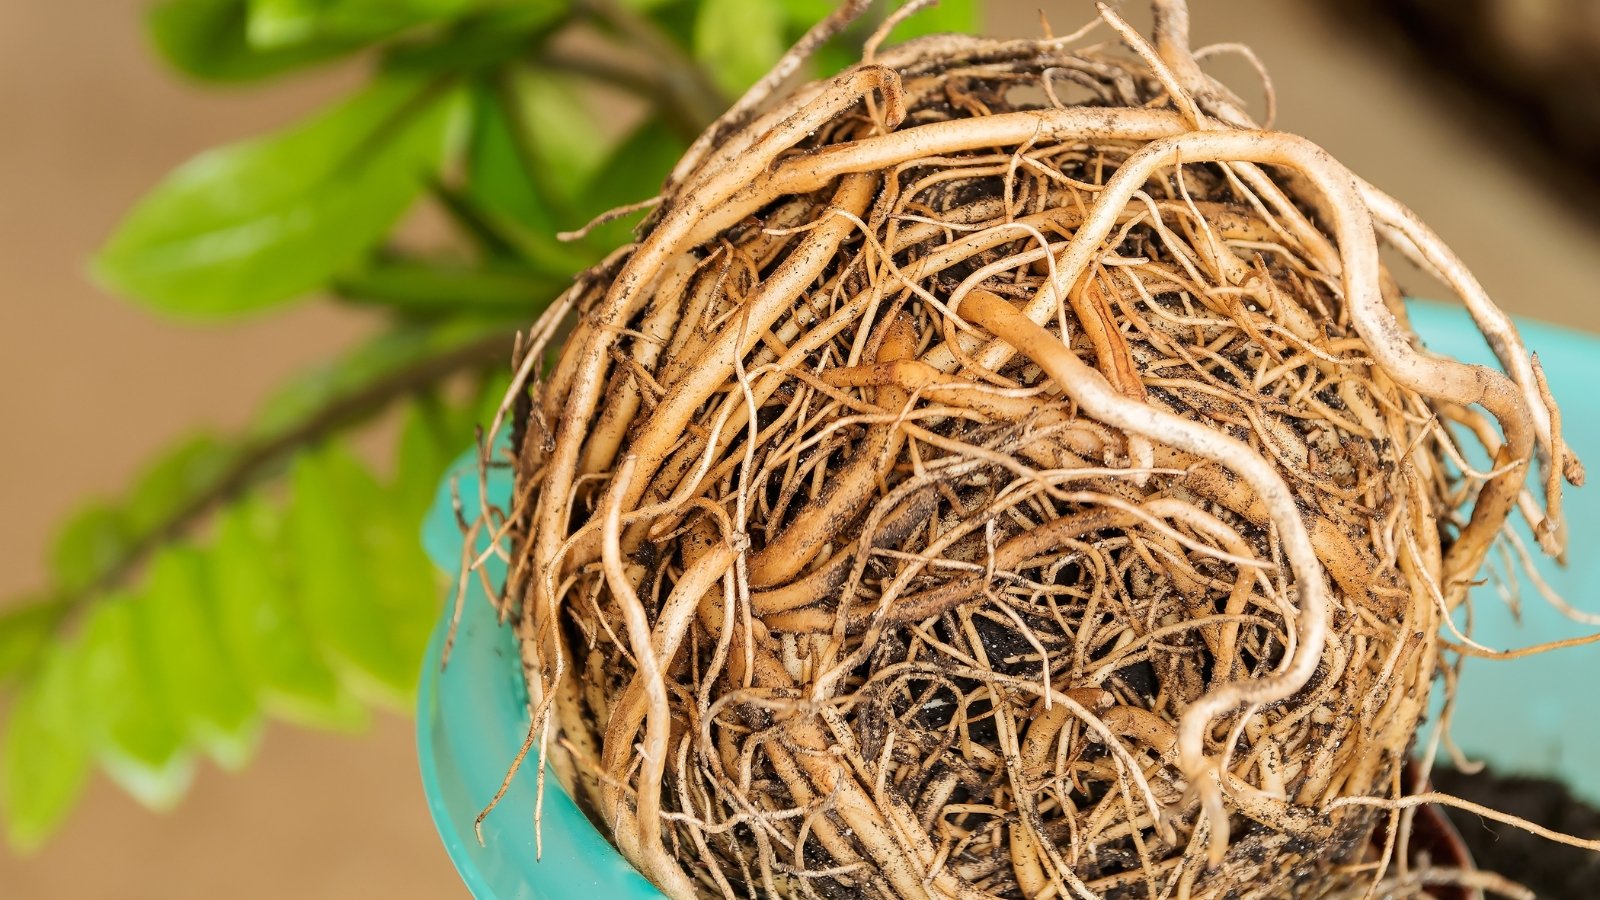 April is a great time to divide flowering perennials and herbs.
Fall and spring are suitable times to divide perennials, so you don’t need to divide your flowers and herbs in April. However, this month is a great time to divide plants that flower in late summer and fall. Dividing helps with overcrowding, improves plant health, and multiplies the number of plants! Plant the divisions in new areas of your garden or share them with friends.
Some flowering perennials to divide in April include coneflower, salvia, coreopsis, and rudbeckia; herbs include lemon balm, mint, oregano, and thyme. The best time to divide the plants is shortly after the last frost.
So, how do you divide your plants? Start by digging up the plant’s entire root ball. You don’t need a ton of soil, but you must get all of the roots. Once you’ve lifted the plant from the ground, use a sharp knife or spade to divide the plant into multiple sections. Each division should have at least one healthy offshoot and a healthy cluster of roots.
You can plant your divisions the same day or pot them into containers. Either way, water the plants in immediately after planting.
3. Clean Up Old Growth
 Clearing dead growth in spring improves garden appearance and prevents disease spread.
Spring cleaning isn’t only for your house! April is a great time to clear up dead growth that provided a winter habitat for insects, songbirds, and mammals. This will improve your garden’s appearance and help discourage the spread of diseases that overwintered in the dead growth.
Start with herbaceous perennials like coneflower, yarrow, and coreopsis. These plants produce tall stalks that die back during cold winters. I like to put on a pair of protective gardening gloves and then gently pull the base of the stalks. In most cases, they’ll pull right out of the ground. If they don’t, grab a pair of clippers and cut the stems a few inches above the ground.
Next, move on to clearing away dead growth from woody plants. Late winter is the best time to prune fruit trees, roses, and woody shrubs, but you can remove dead growth later in the season if you didn’t get around to pruning. Look for branches that are brittle and break rather than bend. If you’re unsure if a branch is dead or alive, scratch away the bark with your fingernail; dead stems will be brown, while live stems will be green.
Finally, clear away any old annuals that died over the winter or started bolting in the spring. I like to cut out large plants like broccoli and cauliflower from the ground and mow smaller plants like lettuce and bok choy.
4. Add a Fresh Layer of Mulch
 Prevent weed growth and benefit your garden by applying mulch.
One of the easiest ways to stay on top of weeds is to deal with them before they appear! While your garden may appear weed-free at the beginning of April, hundreds of weed seeds are likely just waiting for the right conditions to emerge. Adding a fresh layer of mulch to your garden will keep these seeds from germinating and smother them if they do germinate.
Mulch also provides other benefits to your garden. It conserves moisture which limits the amount you need to water. Plus, it prevents soil splash, which reduces soil-borne diseases.
Many materials work well as mulch, so the best material depends on local availability, your budget, and your needs. Some popular mulching materials include wood chips, straw, and pine needles. No matter which material you select, apply two to three inches of mulch in bare areas of your garden. Make sure to keep the mulch a few inches away from the base of your plants.
5. Direct Sow Roots and Greens
 April is an ideal time for direct sowing root crops and greens in zones 5-9.
In many areas, April is a great month to direct sow root crops and greens. In zones 5-9, the soil is often warm enough in April for these seeds to germinate outdoors. While the soil is too cold in zones 2-3, those in these zones can cover the seeds with a floating row cover to warm the soil and encourage germination.
The following vegetables and herbs are great candidates for direct sowing in April if you live in zones 4-9.
- Arugula
- Beets
- Bok choy
- Carrots
- Cilantro
- Dill
- Kale
- Lettuce
- Mustard greens
- Peas
- Radishes
- Spinach
- Turnips
If you live in zones 6-9, you can get away with direct seeding a wider variety of crops. Wait until the last frost has passed, then tuck these seeds into the ground.
- Beans
- Cucumber
- Summer Squash
6. Transplant Vegetables, Flowers, and Herbs
 Transplant crops outdoors in April based on your area’s final frost date.
No matter where you live, it’s possible to transplant crops outdoors in April. However, your growing zone determines which plants you should set outside. If you live in zones 2-6, it’s best to only transplant crops that can tolerate cold and frost. That means hardy veggies like kale, spinach, bok choy, broccoli, and cauliflower.
If you live in zones 7-10, your last frost will probably arrive in April at the latest. Therefore, place warm-weather crops outside after the danger of frost has passed. April is a great time to get your tomatoes, peppers, zucchini, and eggplant in the ground. It’s also an excellent month to plant annual flowers like zinnias, celosia, and cosmos.
No matter what type of seedlings you’re tucking into the ground, remember the proper plant spacing. Overcrowding can lead to problems with nutrient deficiency, fungal diseases, and water uptake. If you’re unsure of the proper spacing for your crops, look at the seed packet or research the information.
I recommend transplanting during the morning, evening, or a cloudy day. Transplanting stresses plants no matter how careful you are, so do your best to limit stress from heat and sunlight, and water the seedlings immediately after planting. Seedlings often look a little wilted or sad in the days following planting—don’t worry, as long as they have access to water, they’ll perk back up.
7. Keep an Eye on Weeds
 Regularly check for emerging weeds in both mulched and open garden beds.
The warmer temperatures and longer days that encourage trees to produce leaves and veggies to grow also wake up both annual and perennial weeds. It’s easy to wait until weeds are a foot tall before dealing with them, but small weeds are much easier to remove than their larger counterparts.
First, look for weeds emerging from mulched beds. Even if you have a few inches of wood chips or straw on top of the soil, persistent weeds can penetrate through the mulch. Remove the weeds before they grow large and have the opportunity to set seed. Since mulch keeps the soil moist, these weeds are often easily removed by hand.
Next, look at open beds free from mulch. If you’ve just raked the soil in preparation for planting, you’ve probably brought weed seeds to the soil surface. Warm, moist weather will encourage these seeds to germinate, so check your beds at least a few times a week. Fortunately, small weeds are easy to remove with the help of a standup hoe or handheld weeder. These tools easily cut and/or uproot small weeds, so weeding an entire garden bed only takes a few minutes if you catch the weeds when they’re still small.
8. Protect Plants from Frost
 Provide protection for sensitive plants with row covers or sheets when frost is expected.
If you live in growing zones 2-7, you can almost guarantee you’ll experience at least one April frost. And it’s not unheard of for gardeners in zone 8 to experience an April frost. Therefore, it’s important to keep an eye on the weather forecast and protect your plants as necessary.
If you’ve planted frost-sensitive crops like basil and tomatoes outdoors and a late frost arrives, cover your plants with a layer or two of row cover. Ensure the covers aren’t touching your plants, and remove them once the air temperature climbs above freezing. If you don’t have row cover on hand, cover your plants with a sheet or blanket.
Crops like broccoli, cabbage, lettuce, and carrots tolerate frost, but temperatures below 30°F (-1°C) may cause damage. If you want to err on the safe side, cover these crops with row cover when hard frosts are in the forecast.
9. Set Up Irrigation Systems
 Setting up irrigation systems in April ensures easy water access during summer.
It’s better to have access to water when you don’t need it than not to have access when you do! Setting up irrigation systems in April ensures you’ll have easy access to water during the hot and dry summer months. Irrigation systems take various forms depending on the size of your garden, the crops you’re growing, and where you live.
If you’re growing a few plants in pots or a single raised bed, hand watering with a hose or watering can isn’t a big deal. But if you’re growing multiple raised beds or planting a large garden plot, automating some of your irrigation is helpful. Drip irrigation allows you to apply water directly into the ground, allowing you to save water and prevent fungal diseases.
No matter which type of irrigation system you use, April is a great time to set up and test your system. That means it’s time to check your hoses for holes, order necessary drip irrigation fittings, and test your timers.
10. Fertilize Perennials
 Spring fertilization is ideal for promoting new growth and flowering.
April is one of the best times to fertilize perennial shrubs, trees, and herbaceous plants. Supplying a fresh dose of fertilizer gives the plants the nutrients they need to produce new growth and flowers. However, remember that not all plants require the same amount of nutrients!
Keep plant nutrient needs in mind when you add fertilizers in the spring. Perennials like apple trees and blueberry bushes are medium feeders, so they benefit from a moderate amount of slow-release fertilizer. However, perennial native plants often grow best with just a light compost top dressing.
In most instances, a balanced fertilizer will work well. These products supply an equal amount of the three macronutrients: nitrogen, phosphorus, and potassium. However, flowering and fruiting plants often benefit from a higher dose of potassium.
11. Plan Out Your Pathways
 Attention to garden layout enhances the enjoyment of your gardening experience.
It’s easy to concentrate on the exciting parts of your garden, aka the plants! However, paying attention to your garden layout makes spending time in the space more enjoyable. No matter if you’re growing in raised beds, an in-ground garden, or containers, well-established and well-maintained pathways improve your time in the garden.
When designing your pathways, consider their ideal size. You want them large enough to walk through easily and maneuver tools through but small enough not to take up unnecessary garden space. Many gardeners find two to three-foot-wide pathways work well.
After you’ve laid out the paths, think about how you’ll maintain them. Living pathways keep soil in place, but they require regular mowing. Adding wood chips or stones to your pathways limits weeds and mud. These paths require little work beyond the initial application of materials, though you will need to refresh them occasionally.