If you’ve ever been driving or walking around in the late spring and caught a whiff of sweet, floral perfume in the air, you’re probably smelling the blooms of a nearby lilac bush. Lilacs are one of the first things in our area of New England and bring a strong scent to the spring air. Their blooms don’t last very long, so we always savor the romantic purple and white flowers and their aroma while in bloom and look forward to seeing and smelling them the following year.
I know several people who travel around collecting fresh lilac petals to preserve them into cocktail ice cubes, simple syrups, soaps, and bath salts so they can enjoy them just a little while longer.
If you’re looking to create an exact clone of a lilac bush, you’ll have to dig up and plant a sucker. However, if you want to have some fun and discover a potentially new hybrid version of the lilac bush or create stock for grafting, starting them from seed is for you. It’s like playing the lilac lottery, and you may just hit the jackpot and find a fabulous new cultivar. Let’s dive into how to collect and grow lilac seeds.
Collect Seed Pods
 Harvest seed pods after petals wither, avoiding branches with new buds to preserve next season’s blooms.
Although planting seeds will not result in a clone of the mother lilac bush, it’s fun to play around and see what you might get. This is a good project if you’re a patient gardener with extra space to play around with and who likes a good challenge. Just be sure to sow new seeds or transplant seedlings 10-15 feet from existing lilac bushes so they have enough space and access to proper nutrients.
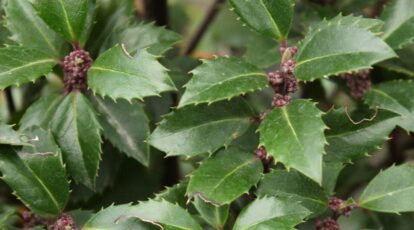
After lilac bushes bloom, find seed pods where each flower was located (as long as the flower was successfully pollinated). The seed pods are flat and football-shaped with a pointed end. Some plants have pretty seed pods that can serve as ornamentals, but lilacs are not one of these plants. As the pods dry, they turn from green to medium brown, getting big and unattractive.
Collect pods after the petals have withered and fallen from the bush in late summer or late winter. They’ll begin to crack open to reveal their seeds once fully mature, so keep your eye on them and pick them at peak harvest time. They should look like miniature Venus fly traps when their “mouths” open up.
You can harvest the whole flower head, but an important thing to note before collecting the pods is that lilacs produce next year’s buds this year. If you’re harvesting in late summer or fall, don’t cut any branches off that have a new, green bud on them. This will decrease next season’s blooms.
Remove Seeds
 Easily remove the seeds by gently tugging them out with your fingers.
Store seed pods until you’re ready to process them, or remove the seeds right away. If the pods are fully mature, the seeds inside are dry and can hang out in there for a bit. Just keep them in a bowl or container to catch any fallen seeds, as the pods will continue to open up as they dry out.
Each pod will contain one to four seeds, with one to two being the average. The seeds are papery, brown, and about 0.5-0.75 cm long with pointed ends. Once the pod is open, seeds are easy to remove. Just gently tug them out with your fingers. If your fingers are too large to grab the end of the seeds, use a pair of tweezers to remove them.
Storing Seeds
 Store harvested seeds in a cool, dry spot to prevent mold before later planting.
If you don’t plan on sowing seeds you harvested right away, hold off on cold-stratifying them. Rather, store them in a cool, dry place in a paper bag or envelope. The paper will wick away any moisture and keep them from molding.
Since part of cold stratification involves a moisture component, mix in a bit of moistened vermiculite or peat moss with the seeds in an airtight container or plastic baggie and put them in your refrigerator for 40-60 days before sowing. This will soften the outer shell and prepare them for sowing.
Cold-Stratify Seeds
 Seeds harvested in late summer require manual cold stratification for proper germination.
Earlier, I mentioned that seeds can be harvested in the late summer or late winter. The difference affects how the seeds will be cold stratified, a process they require to properly germinate.
Cold-stratification is the process of removing a seed’s dormancy after a period of cold and moist weather. Seeds left out in nature go through this naturally when left on a tree, plant, or bush or have been blown off and landed somewhere on the forest floor or in your garden.
They go dormant through the winter months, protected by garden debris, leaves, and, in some regions, snow. When the snow melts and the ground softens, the outer shell of the seed softens as nature gives it the signal that spring has arrived and it’s time to sprout.
When harvesting seeds in late winter, they will have been cold-stratified naturally over the winter and can be sown right away. However, if you collect them in the summer after the bush has bloomed, you’ll have to do this manually.
Manual Stratification
 Storing summer-harvested seeds till late fall for direct planting allows controlled natural cold stratification.
If you harvest seeds in late summer, you must cold treat them to simulate the winter weather they would naturally receive if they had been left outside. To do this:
- Soak seeds for 24 hours. Lilac seeds are hard, and this will soften them up.
- Use high-quality, well-draining, organic potting mix. Mix in some compost if you have it, and moisten the mix before sowing seeds.
- Sow seeds ¼ inch deep in cell trays or small pots, then cover them with more soil.
- Mist gently, then cover with a layer of plastic.
- Store trays or containers in a refrigerator for about two months or a dry place away from critters that’s between 36-40°F (2-4°C).
You can simply save your summer-harvested seeds until the late fall and plant them directly in the ground to allow nature to do its thing. Alternatively, you can follow the winter sowing method by sowing them in containers and leaving them outside through the winter months. This will allow them to naturally cold stratify, but you’ll have a little more control than you might have if the seeds were planted in the garden ground.
Planting Seeds
 Seeds stratified in winter through various methods will germinate when spring arrives.
How your seeds are stratified will determine when you should plant them. If you’ve winter sown in milk jugs or cold stratified them in cell trays in your refrigerator over the winter, your seeds are already sown! Once spring has sprung or they’re removed from the refrigerator, they’ll receive the signal to germinate and be on their way.
If you have stored your seeds with moistened vermiculite to cold stratify them, it’s time to take them out, brush them off, and sow them. To start the “old-school” way indoors, sow them in late winter for best success.
How to Sow Seeds:
 To sow seeds, begin by filling a cell tray with well-draining, high-quality soil.
- Fill a cell tray with moistened, good-quality, well-draining soil.
- Sow one per cell about ¼ inch deep and cover them lightly with more soil.
- Gently tamp it down by dropping the tray a few inches off your working surface.
- Water the tray lightly and place it on a heat mat at about 70-75°F (21-24°C) until a little over half the seeds have germinated. Then, remove them from heat and place them under artificial lights or on a warm greenhouse bench in the sun. Don’t be alarmed if all the seeds aren’t germinated simultaneously. Some may take several weeks or even months.
- Keep the soil moist.
- Step them up as needed to larger containers.
- Harden off properly if seeds were started indoors or in a greenhouse.
- Allow these babies to grow for an entire season and transplant them out the following spring.
Transplanting
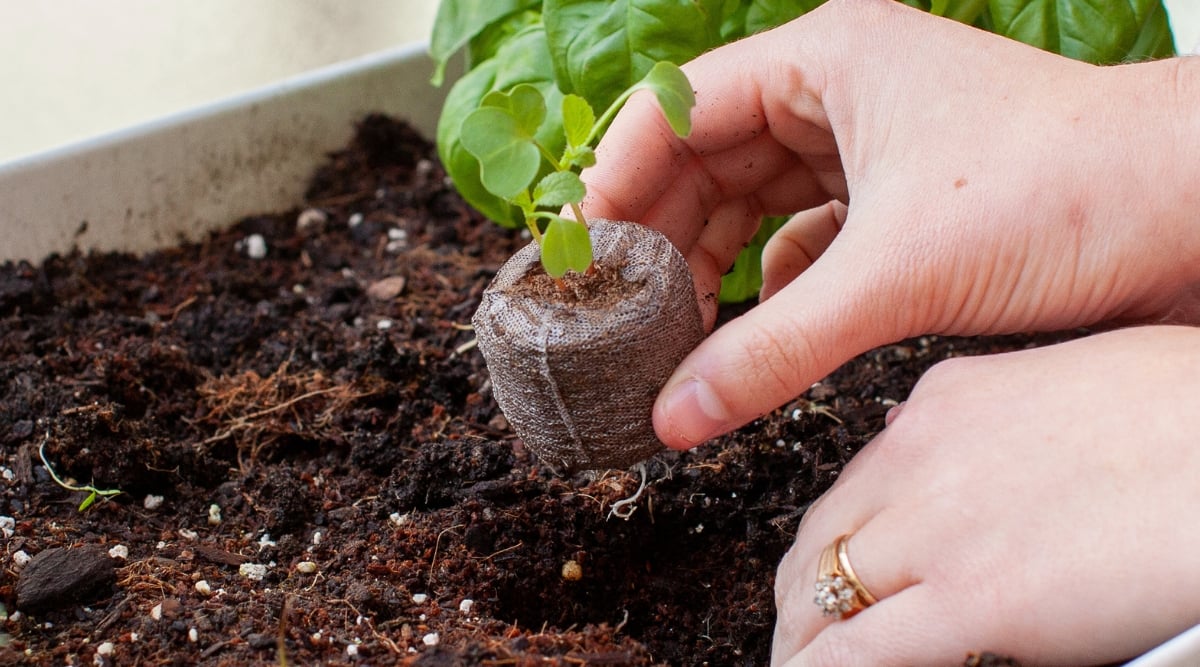 Ensure strong and healthy root systems for your potted seedlings before transplanting.
If you’ve chosen to sow your seeds in pots, you’ll soon have healthy seedlings. Make sure the root system is strong and healthy before deciding to transplant. You can either transplant them in the late fall or early spring.
When transplanting in the fall, give them about 30 days to establish healthy roots and become a little established before the first frost. If transplanting in the spring, do so before the heat of summer comes and before it leafs out.
Dig a hole double the size of the root ball and mix in some compost. Place the seedling in the hole and fill in around it with native soil, building it up if you can; they’ll appreciate the added height. Tamp down and deeply water. Optionally, lightly fertilize with fish emulsion or kelp meal.
Things to keep in mind:
- Choose a spot that receives full sun for best results.
- Soil should be well-draining. If you have acidic soil, add a cup or so of lime at the base.
- Mulch your new plant to help suppress weeds and retain moisture.
- Ensure your plant has at least 10-15 feet on either side to bush out.
- Don’t over-fertilize with nitrogen.
- Lilacs prefer to be a bit elevated, so if you can hill up the spot, it may perform better.
- Water at least once a week until the soil is moist, more during dry spells.
- Lilacs are hardy in zones 3-8, with a few more hardy and heat-tolerant varieties.
Caring for Your Young Lilac Bush
 Pruning lilacs initially fosters root growth and encourages blooms by the third year.
Once your seedlings are established, they’ll be growing in no time, requiring low maintenance from you. Keep the base of the plant mulched, clear of debris, and weed-free, and fertilize at least once a season. Water it weekly when there is no rainfall for the first year and as needed in the long term.
While pruning lilacs isn’t entirely necessary, doing so the first few years will encourage the plant to focus on root development and new growth. This will encourage blooms by the third year.
Be patient and have fun. If you’re happy with the new bush you’ve created, dig up a sucker and plant it or take a softwood cutting to create another of the same!
Final Thoughts
Although growing lilac bushes from seed isn’t the most popular way to propagate them, it’s a fun and economical way to discover new cultivars and add new lilacs to your garden. With a little patience, you’ll enjoy these lovely scented flowers each spring for years to come.