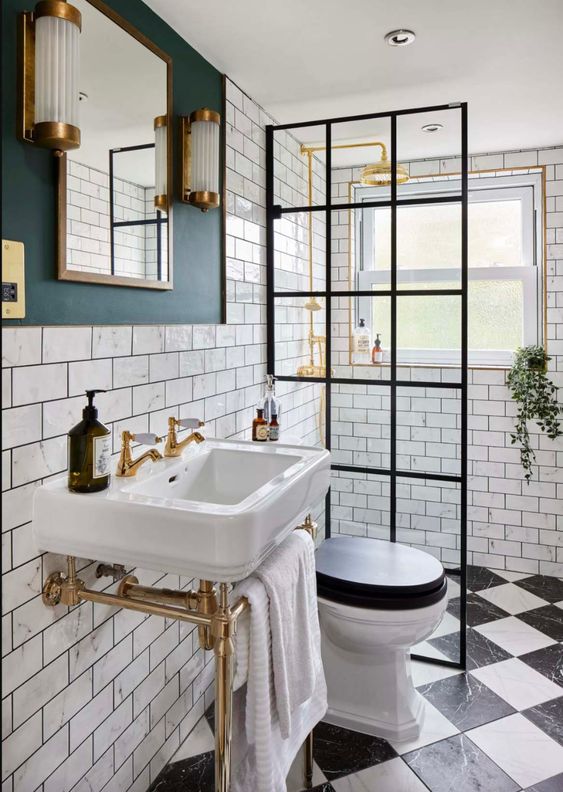
Photo By: backsplash.com
Are you ready to breathe new life into your bathroom space? Renovating your bathroom is an exciting project that can rejuvenate your home, enhance its value, and make your daily routine a little more enjoyable. Before you dive into the world of tiles, fixtures, and paint colors, there’s one crucial step that can’t be overlooked: bathroom demolition. In this guide, we’ll walk you through the basics of bathroom demolition for beginners, helping you start your renovation journey on the right foot.
Why Demolition Matters
Bathroom demolition might not be as glamorous as selecting beautiful tiles or elegant faucets, but it’s an essential part of the renovation process. It’s like a blank canvas that allows you to wipe the slate clean, get rid of outdated features, and create a fresh foundation for your new bathroom design. Here’s why it matters:
1. Safety First: Demolishing your bathroom means removing potentially hazardous materials like old wiring, plumbing, and fixtures. It’s a chance to ensure your new bathroom is safe and up to code.
2. A Clean Slate: Demolition lets you start with a clean canvas. Remove the old tiles, fixtures, and cabinets, and you’ll have a blank space to work with when planning your new design.
3. Cost Savings: While it may seem counterintuitive, proper demolition can save you money in the long run. It can reveal any underlying issues like water damage or rot that need to be addressed before moving forward with the renovation.
 Photo via: Pinterest
Tools and Materials You’ll Need
Before you start swinging a sledgehammer, gather the necessary tools and materials to ensure a smooth demolition process. Here’s a list to help you get started:
Tools:
- Safety gear: This includes gloves, safety glasses, and a dust mask to protect yourself from debris and dust.
- Sledgehammer: A key tool for breaking down walls and removing tiles.
- Crowbar: Ideal for prying up tiles, fixtures, and cabinets.
- Utility knife: Useful for cutting through drywall and removing old sealants.
- Screwdrivers and pliers: Essential for removing screws and plumbing fixtures.
- Pry bar: Useful for removing trim and baseboards.
Materials:
- Heavy-duty trash bags and containers for debris disposal.
- Plastic sheeting to protect surrounding areas from dust and debris.
- A roll-off dumpster for larger renovation projects, or coordinate with a waste removal service.
- A demolition plan: Before starting, create a plan for how you’ll proceed, including the order in which you’ll remove items.
 Photo By: homebuilding.co.uk
The Demolition Process
Now that you have your tools and materials ready, let’s dive into the demolition process. Take it step by step, and don’t rush. A careful approach will yield better results.
1. Prepare the Area:
Start by protecting the surrounding areas. Lay down plastic sheeting to prevent dust and debris from spreading to other parts of your home. Cover any furniture or items you want to keep clean.
2. Turn Off Utilities:
Ensure all utilities (water, electricity, gas) are turned off before you begin. This is crucial for your safety.
3. Remove Fixtures:
Begin with the fixtures. This includes removing the toilet, sink, and any other fixtures you want to replace. Turn off the water supply, disconnect the plumbing, and carefully remove them.
4. Remove Cabinets and Vanity:
If you have cabinets and a vanity, use your tools to carefully remove them. Start by removing any screws or fasteners, and then use a crowbar to detach them from the wall.
5. Demolish the Walls:
This is where the sledgehammer comes into play. Carefully break down the walls, starting from the top and working your way down. Be mindful of electrical wires and plumbing hidden behind the walls. It’s essential to avoid damaging them.
6. Remove Flooring:
Use your crowbar and utility knife to remove the flooring. Whether it’s tiles, vinyl, or hardwood, take your time to avoid damaging the subfloor underneath.
7. Clean Up:
As you progress through the demolition, keep the area clean by disposing of debris in heavy-duty trash bags or containers. This will make the process more manageable and less messy.
8. Inspect and Repair:
Once everything is removed, take the time to inspect the space for any structural issues or damage that needs repair. Fix any problems before moving on to the renovation phase.
 Photo by: mirandaschroeder.com
Demolition Tips for Success
Here are some additional tips to ensure a successful bathroom demolition:
1. Work Methodically: Plan your demolition process, and work in a logical order to avoid unnecessary damage or complications.
2. Label and Save: If you’re planning to reuse any fixtures or materials, label them as you remove them to ensure you can reinstall them correctly later.
3. Dispose of Waste Properly: Follow local regulations for the disposal of construction debris. Consider renting a roll-off dumpster for larger projects.
4. Seek Professional Help When Needed: If you’re uncertain about dealing with plumbing or electrical components, it’s wise to consult with a professional to avoid potential hazards.
5. Protect Yourself: Safety should be your top priority. Always wear appropriate safety gear, and be cautious when handling tools.
Conclusion
Bathroom demolition for beginners is an important step on the path to a refreshed and revitalized bathroom space. Take your time, follow these guidelines, and work carefully to ensure a successful demolition that sets the stage for your renovation project. Remember that if you’re ever in doubt or face complex issues, it’s perfectly fine to seek professional assistance to guarantee a safe and beautiful bathroom renovation. With the old out of the way, your new bathroom design will have the perfect canvas to come to life. Happy renovating!


