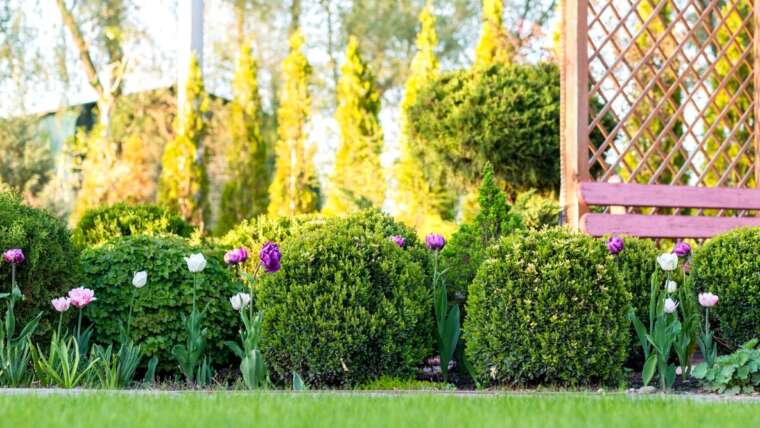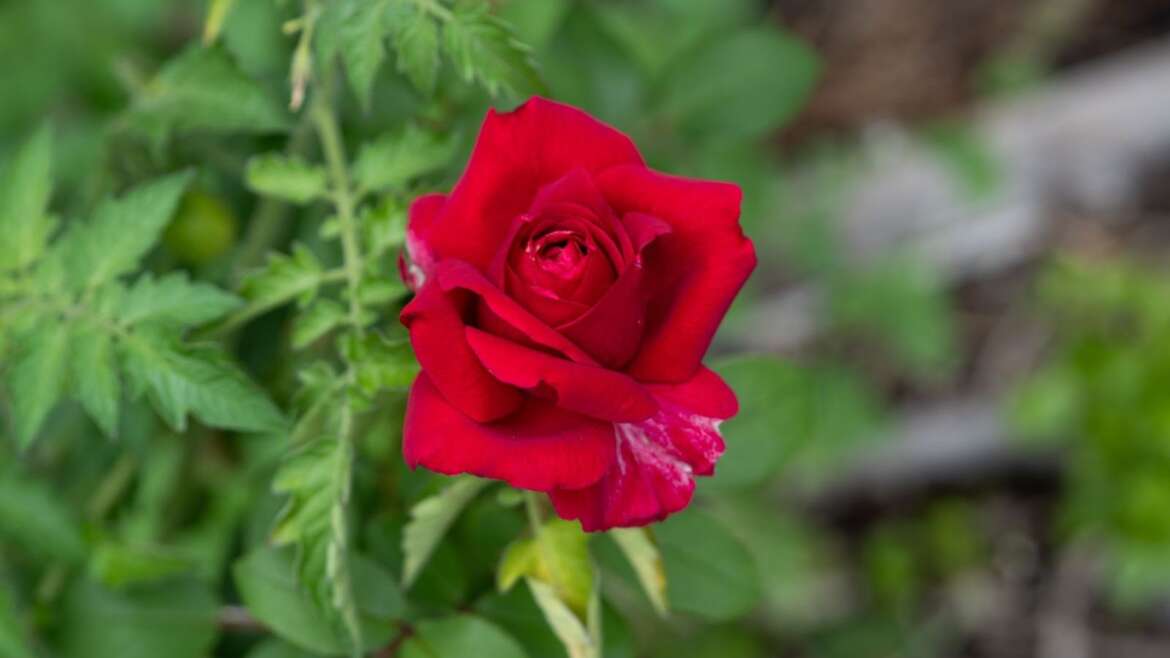
Starting roses from seed is an excellent activity for children, classes, or rose-growing enthusiasts. If you have a favorite rose variety but want it to have different colors, shapes, or fragrances, try growing a few of its seeds. There’s a chance you’ll discover a new hybrid variety with attractive qualities!
Unlike propagating with cuttings, seedlings sprout into new plants that are genetically different from their parents. You may grow a fun new type or a dud, but the only way to know is to experiment. The first time I started roses from seeds, I had no expectations. I simply wanted to see what would happen, but I was pleasantly surprised to find a rose with gorgeous, double blooms in rich shades of red.
Try using this mentality for seedlings, as you never know what you’ll grow! Without predetermined expectations, you can grow roses worry-free. If they aren’t to your liking, give them away to friends and neighbors, or plant them in a forgotten part of your yard for endless rose blooms.
So, let’s get sprouting! We’ll start by choosing parent plants with pleasing attributes and then we’ll collect their hips. Let’s find and plant your rose seeds with these seven easy steps.
Step 1: Choose A Parent Plant
These flowers tend to self-pollinate, producing unique-looking sprouts.
Start by selecting a rose variety you’d like to collect from. The parent rose is incredibly important because it dictates what genes your seedlings will receive. Roses can self-pollinate but often use pollinators to collect pollen from other shrubs. Your seedlings will have both the mother’s and father’s DNA, meaning they’ll have traits resembling either.
Even if your parent plant self-pollinates, its seedlings may look different. Roses, like humans, reorganize their DNA during reproduction, allowing for new genetic combinations. This results in new physical expressions, like yellow petals or short thorns. So, even if your mother rose self-pollinates, the seeds you collect from it will sprout unique kinds.
Parents influence everything in their seedlings, like disease resistance, height, or flower presence, to name a few. Choose a parent with healthy leaves, many flowers, and few pests. Strong parents create strong children because they pass on their pest and disease-resistance to create a resilient future generation.
Step 2: Collect Rose Hips
 These small hips or flower fruits are hard to extract.
Rose hips are the bright orange and red fruits on mature bushes. Their flesh is edible and slightly sweet, although it’s hard to extract from the many knobby seeds. They only form off of pollinated flowers, so leave a few on your shrub to fade. They may look drab and dreary for a few days but will quickly morph into green, then orange fruits.
Start by finding hips in late summer or autumn. They form out of pollinated flowers on tall stems—flowers fade and drop their petals, and hips swell from the base. Some roses make a few large hips, while others produce many small ones. Gather hips by slicing them off at their base using herbal snips or pruners. You’ll need one or two large ones or more than three small ones.
If you want to grow dozens of seed roses, gather more hips so you get plenty of seeds. Watch for thorns during the collection process, as some varieties have many on their stems and leaves. Wear gloves while gathering your hips, and be extra careful around poky cultivars.
 Let the fruits soak for at least 24 hours first.
With hips in tow, you’re ready to extract the seeds. There are two easy ways to do this, and we’ll cover both. The first is less labor intensive but takes longer, while the other requires more work and less time.
If you have time, try this first extraction method. Start by slicing and mashing the hips, then place them in a bowl of water. Let them soak for at least 24 hours, then strain the pulp and floating seeds. The remaining ones at the bottom of the bowl are viable and ready for drying.
If you don’t have time, try the quick method. Slice open the hips and manually take the seeds out, removing as much fruit flesh as possible. When they’re mostly clean, rinse them with a strainer and remove any other small pieces of pulp.
So, what can you do with all that hip pulp? It’s edible and nutrient-dense! I like to put it in a container in the freezer for smoothies. You can also make jelly or jam preserves with added sugar, or dry them for homemade tea.
Step 4: Dry and Store Them
 Drying is a vital part of preparing them for germination.
Wet seeds need to dry before you can store them. When dry, they’ll last for at least a year in long-term storage. Start by taking the wet ones and placing them on a towel or cloth, then leave them until they’re completely dry to the touch.
When dry, transfer them into an airtight container. Plastic, glass, or paper keeps them safe, dry, and secure from mold. Put the containers in a cool, dark location until you’re ready to sow the seeds. A pantry, closet, or cabinet works perfectly for seed storage.
If you plan on germinating the roses this year, you’ll need to cold-stratify the seeds before you can plant them. Cold stratification is a process many plants undergo in the winter, where they use cold, moist conditions to wake up their sleeping cells.
Mimic cold stratification by leaving seeds outside during the winter, or by putting them in your refrigerator three to four months before planting. Put a damp towel around them, then seal them in their container outside or in the fridge. The moist towel and cold temperatures together simulate natural cold stratification.
Step 5: Germinate Seeds In Spring
 They appreciate lots of light while germinating.
After cold stratification, seeds will be ready to sprout! Place them in 5” nursery pots full of potting soil. Any potting mix with drainage components works well. If the soil is low in nutrients, add some balanced organic fertilizer as a powder before sowing.
Bury your seeds a half inch deep in the soil, then water well. Rose seedlings appreciate plenty of light while they germinate. Give them bright indirect light all day or at least three hours of direct sunlight daily; either will work great. You may start them indoors or outdoors, so long as temperatures are above 60°F (16°C). A heat mat may be of assistance in areas where it’s cooler.
Seeds should sprout after two weeks but can take up to two or three months. Keep the soil moist but not soggy, ensure they get proper sunlight, and wait for warm spring weather. If they don’t sprout by midsummer, you’ll want to start over and try again. One way to avoid this is to plant a dozen or more—the more you plant, the higher your chances are of growing a successful seedling.
Step 6: Monitor for Changes
 These sprouts thrive best in full or partial sun.
Seedlings won’t be ready for transplanting until fall or the following spring. Watch them in their pots to make sure they survive the summer. They need the extra time to put down sufficient roots and grow hardy in their pots. While in containers, they may be susceptible to pests, diseases, and adverse growing conditions.
Keep seedlings in full sun or partial shade for best results. They’ll need water daily during high summer heat and less often in early spring and fall. Keep them moist but not soggy, and prune off any leaves or stems if they have signs of disease.
Pests like aphids and spider mites love feeding on roses. Aphids are particularly troublesome on young plants, as they eat buds, leaves, and stems and weaken them over time. Hose them off with a strong stream of water daily until they disappear. This simple method keeps most pests off your seedlings, including mites.
Step 7: Transplant Seedlings
 When transplanting, dig a deep hole that is twice as wide as the root ball.
Your rose seedlings are ready for transplanting when autumn arrives. Plan to move them into their final home at least six weeks before your first frost date or after they start losing their leaves. This gives them plenty of time to put down roots in new soil and adapt to their new conditions.
Start by digging a hole as deep and twice as wide as the seedling’s root ball. Place your rose in the hole, and backfill the soil until it reaches the base of the trunk. Water well, then add compost or an organic mulch on top of the soil. This should prepare your roses for the winter so they survive frosts, rains, and storms.
If you live through freezing temperatures in winter in hardiness zones 4 and below, consider transplanting your roses in the spring. Keep them in a greenhouse, cold frame, or row cover throughout the winter, then transplant them outdoors a week or two before your last average frost date.