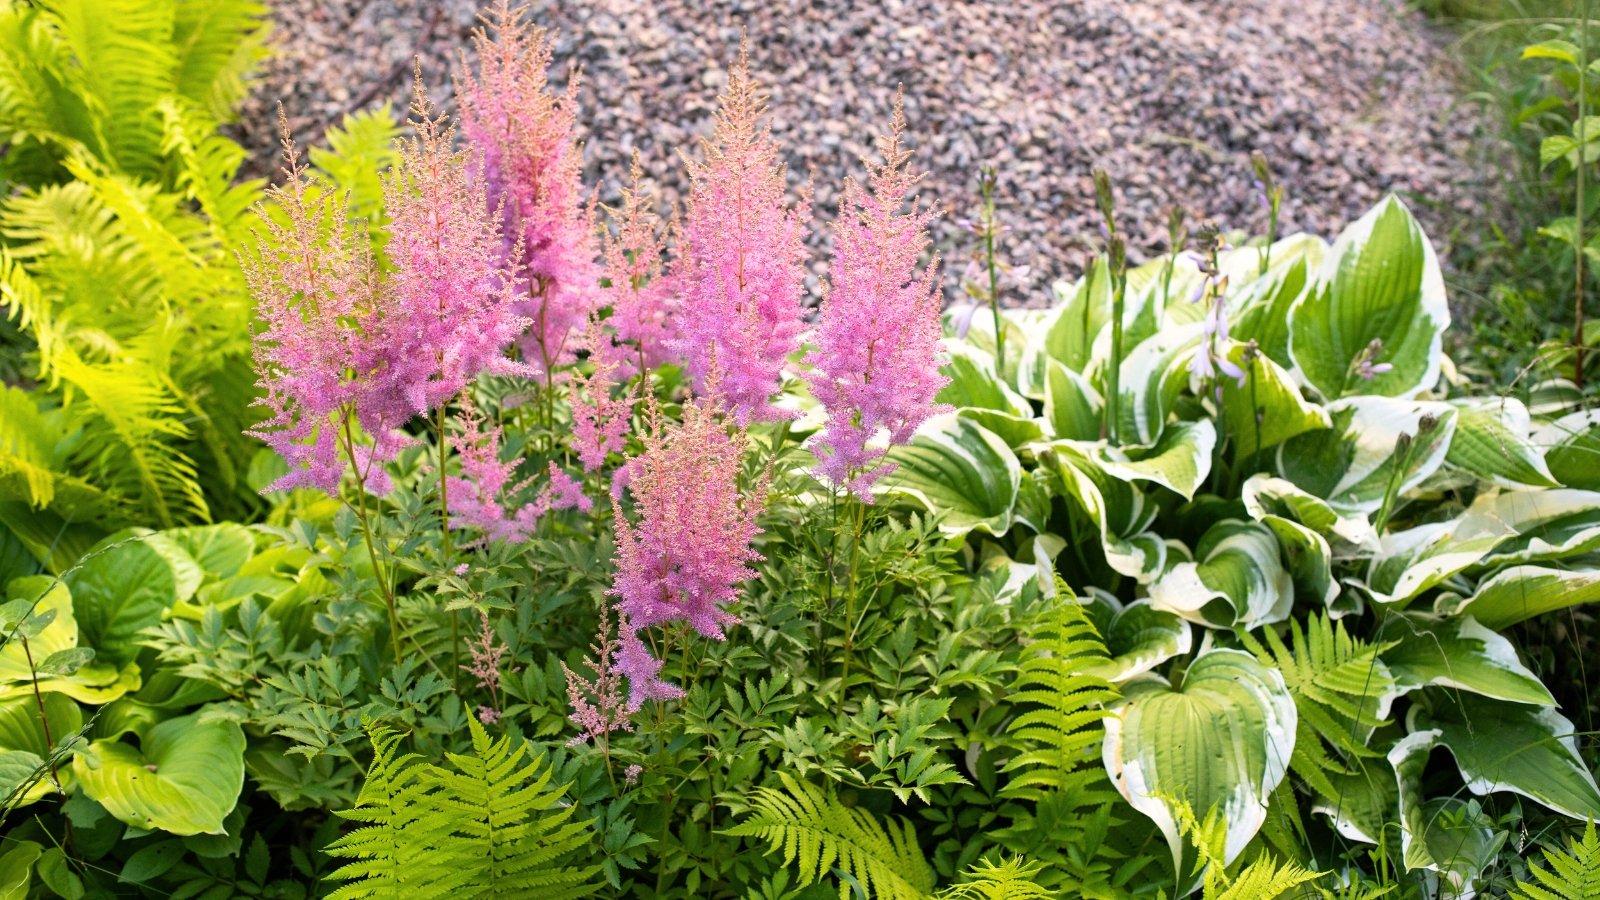
Those little perennials you started from seed or transplanted as seedlings have grown a tremendous amount. It has been exciting to watch them develop their first flowers, fill in their space, and thrive, bringing color and beauty to your landscape.
By fall, those perennials have become large and robust and perhaps occupy a little too much space, signaling that it’s time to prune or divide them. Maybe they are starting to look weak and aren’t growing as fast or flowering as profusely. Or perhaps your plants are starting to crowd each other and compete for space, sunlight, water, and nutrients. You may even notice that the centers of your perennial clusters are turning brown and dying.
If your garden perennials are crowding themselves, competing for space with their neighbors, or starting to seem a little less vigorous, it’s time to divide them.
Benefits of dividing perennials:
- Control the plant’s size
- Multiply your plants, increasing populations
- Share plants with others
- Rejuvenate plant’s growth
- Thin overcrowded clusters
Dividing fall perennials is an economical and practical way to stay engaged in your garden and keep it looking its best. It takes a bit of time and advance planning but the results are well worth the effort.
Are you ready to get started? Let’s walk through these 15 tips to help you divide overgrown perennials in the fall to help your garden grow, bloom, and thrive!
Advance Planning is Key
Plan carefully and prepare thoroughly for successful plant transplanting.
Are you ready to transplant some perennials? Don’t jump into your project just yet. First, have a plan.
- Which plants are you dividing?
- How large do you want your new clumps to be?
- Do you have good weather conditions?
- Are your tools clean and ready to use?
- Have you prepared your transplanting site?
- Do you have soil conditioners and amendments ready?
When you’ve taken the time to plan your project, you’ll have all your tools, plants, and materials ready to go. You can work safely and efficiently. You will be able to minimize transplant shock. And most importantly, your plants will have the greatest chance of success.
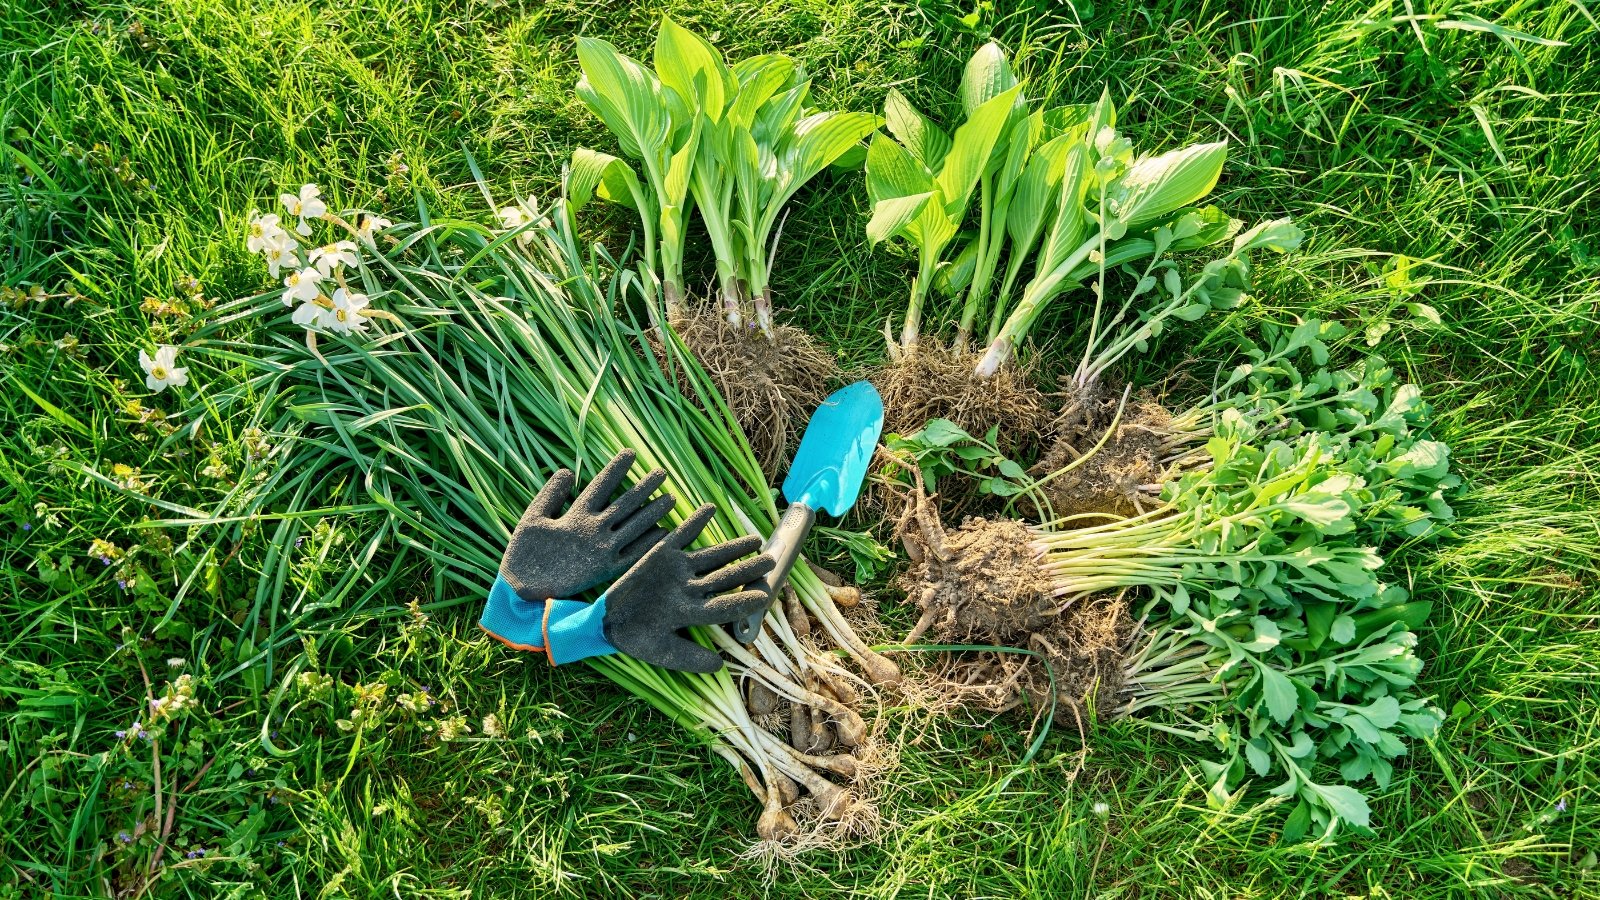 Essential tools for transplanting include gloves, a spade, and a trowel.
You don’t need fancy tools to divide fall perennials, but you will need the right tools. The first and most versatile gardening tool you’ll want is a comfortable pair of gardening gloves. Gloves will help protect your hands from minor pokes, scrapes, bugs, and blisters. They’ll also help keep some of the dirt off.
A sturdy garden spade is very handy for transplanting. You’ll use your spade to cut through the soil and start to remove the root ball from its original location. A garden fork can also be very handy for transplanting. Use a garden fork to help pry apart large, matted tangles of roots without cutting through them.
Finally, a comfortable hand trowel is very useful, especially when working with smaller plants and adding soil amendments. Even if you don’t use your trowel for every transplanting job, you’ll find it has many varied uses around the garden for transplanting bedding plants, removing weeds, and moving small amounts of soil.
Work With the Weather
 Cool, overcast days are ideal for successful transplanting.
Increase your chances of success by dividing and transplanting during favorable weather conditions. What are the best weather conditions for this project? Cool, overcast days are best, and hot, sunny days are the worst for transplanting. Doing so early in the day is ideal.
Try to avoid digging in your garden if the soil is particularly hard and dry, or if it’s especially soggy. Give dry soil a thorough watering a day or two before you dig, allowing it a chance to be moist and manageable. Unless you’re working with wetland plants that are always growing in wet soil, allow saturated soil a chance to dry a little until it reaches a good consistency to work with.
Divide Larger Clusters
 Wait until your plants need more space before dividing.
If you just planted a perennial within the past year or two, it’s unlikely that it needs to be divided this fall. Many clump-forming perennials should be divided every three to five years to keep them healthy and manageable. Some species can last five to 10 years between divisions. And some perennials never need to be divided.
Wait until your plants actually need some separate space before dividing them, but don’t wait too long. If you wait until your plants are severely overcrowded with dying or diseased central crowns, they will be significantly harder to work with.
You’ll know that you should divide your perennials this fall if your plant has expanded beyond where you’d like it or started to lose vigor. You can divide and transplant whenever your perennial patch appears overcrowded or if your cluster has grown large enough to share some with friends.
Know Your Plants
 Some species thrive without division and prefer seeds or cuttings.
Not all species want to or need to be divided. Some should only be divided if you intend to propagate them. Others do not form prolific side shoots, stolons, or rhizomes and simply don’t need to be divided or thinned.
If your plant has formed a dense cluster and spreads into a larger and larger clump each year, there’s a good chance it’s a great candidate for division. If your plant forms a single stem and hasn’t become a dense, expanding cluster, don’t attempt to divide it. These plants are likely best propagated by seed or cuttings instead.
Wait Until After Flowering
 Divide late-blooming plants in spring and others in fall.
Perennials that bloom in late fall are best divided in the spring because you don’t want to divide them when they’re in the middle of flowering. For spring, summer, or early fall-blooming perennials, however, mid to late fall is an excellent season for dividing.
Blooming plants are directing all their energy into producing flowers and may struggle to form new roots. If you absolutely must divide your perennials while they’re flowering, take the time to give them some extra care, offer plenty of water, and protect them from the harsh midday sun until they have time to catch up again after transplanting.
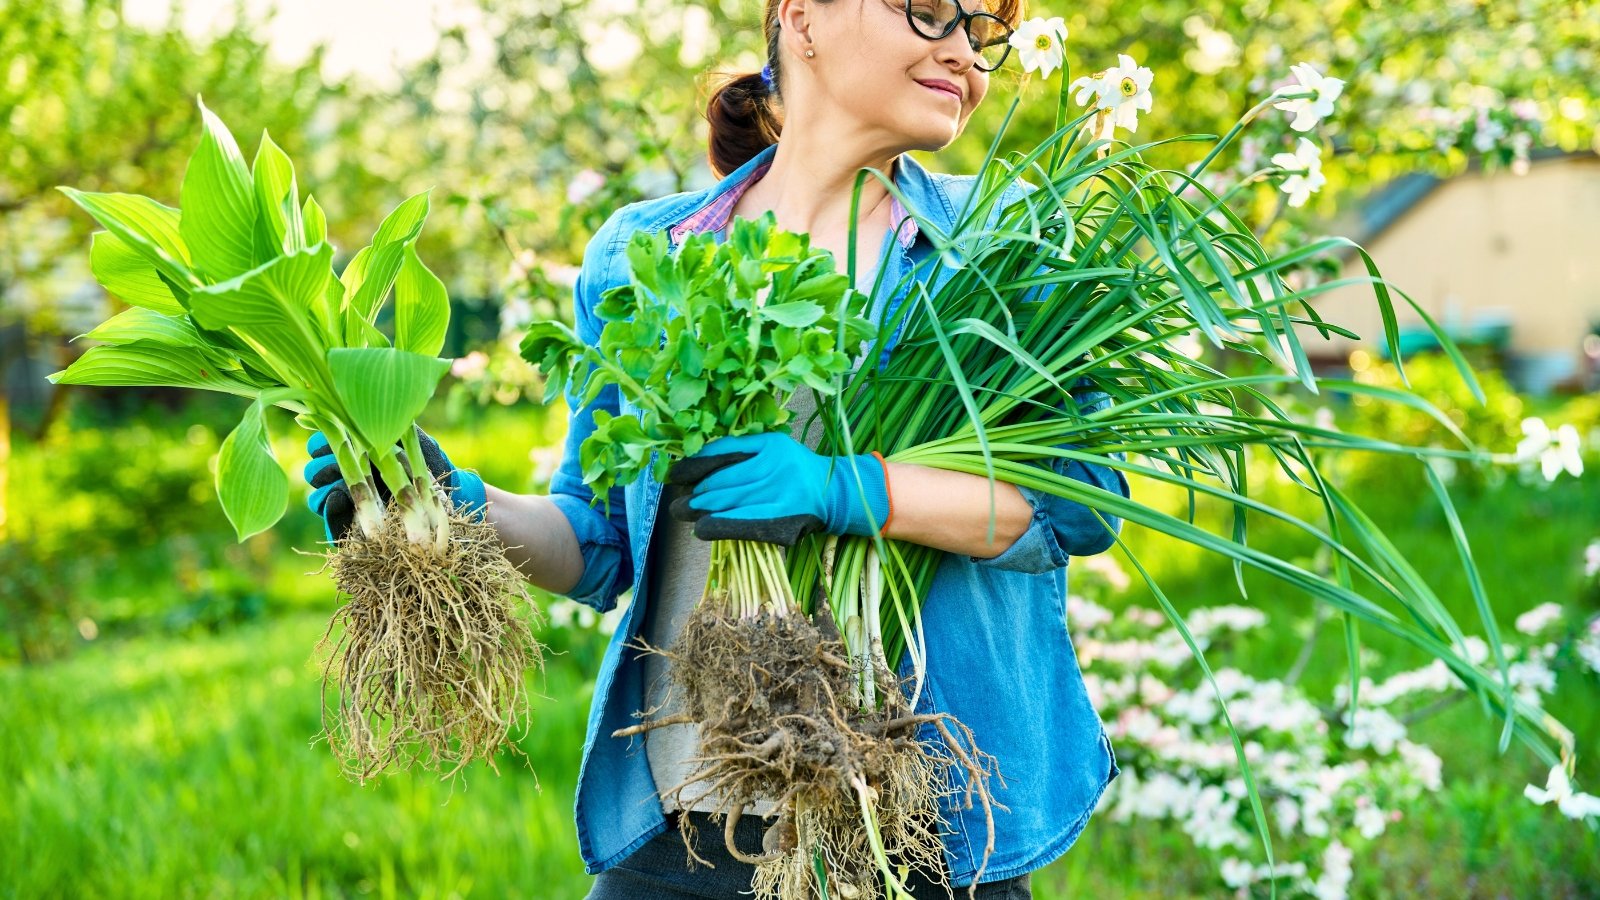
Divide Complete Plants
 Carefully separate large root clumps into smaller, healthy sections.
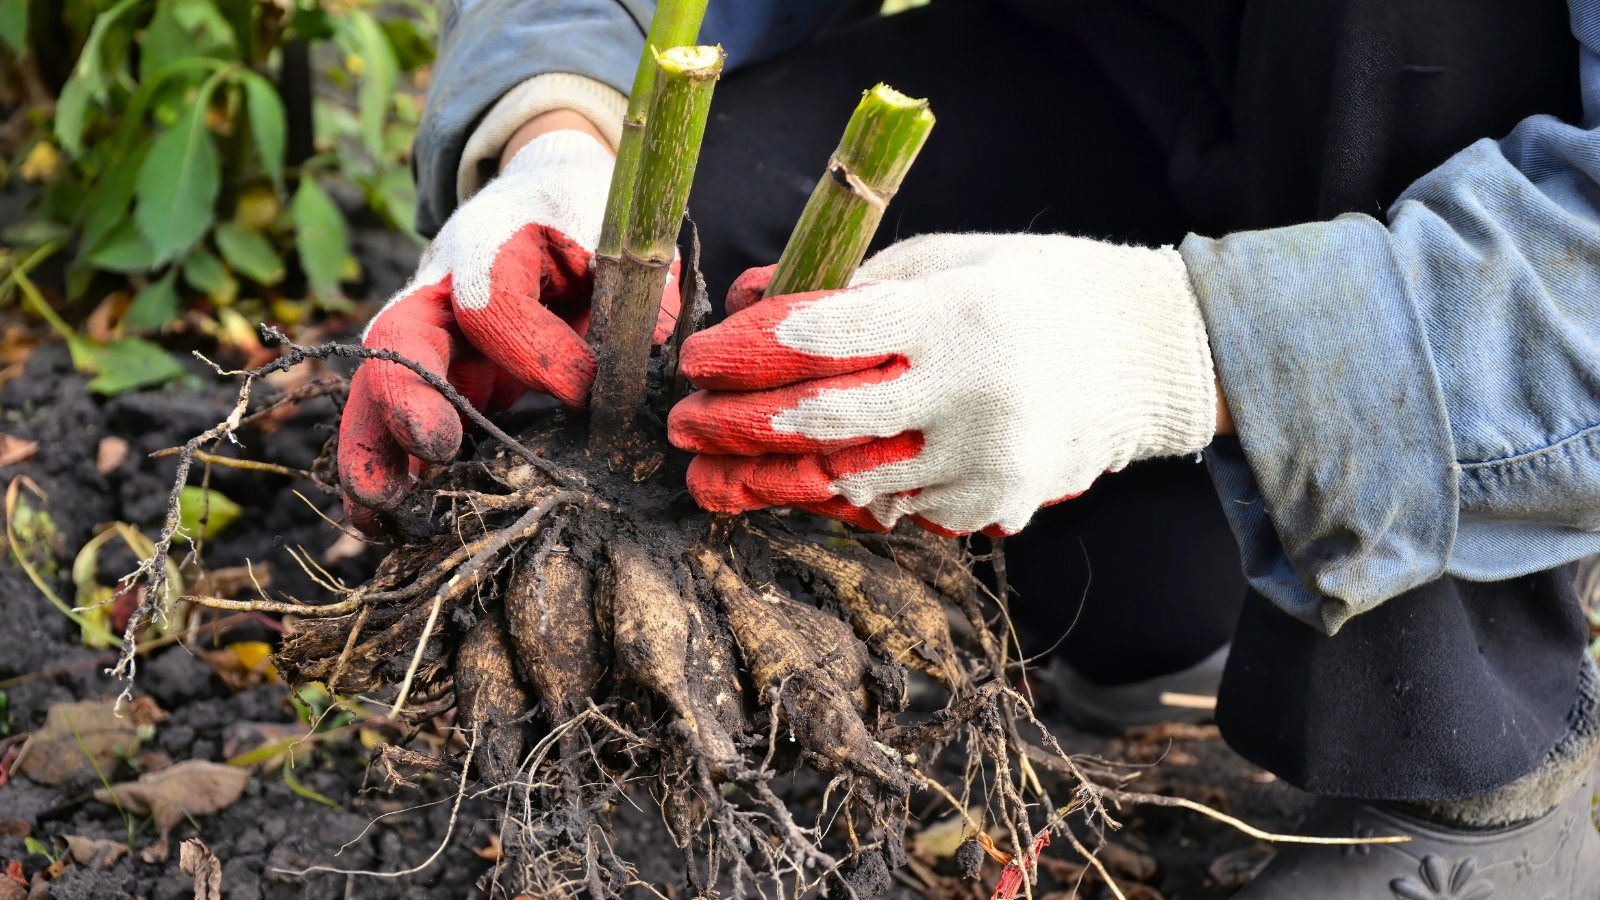
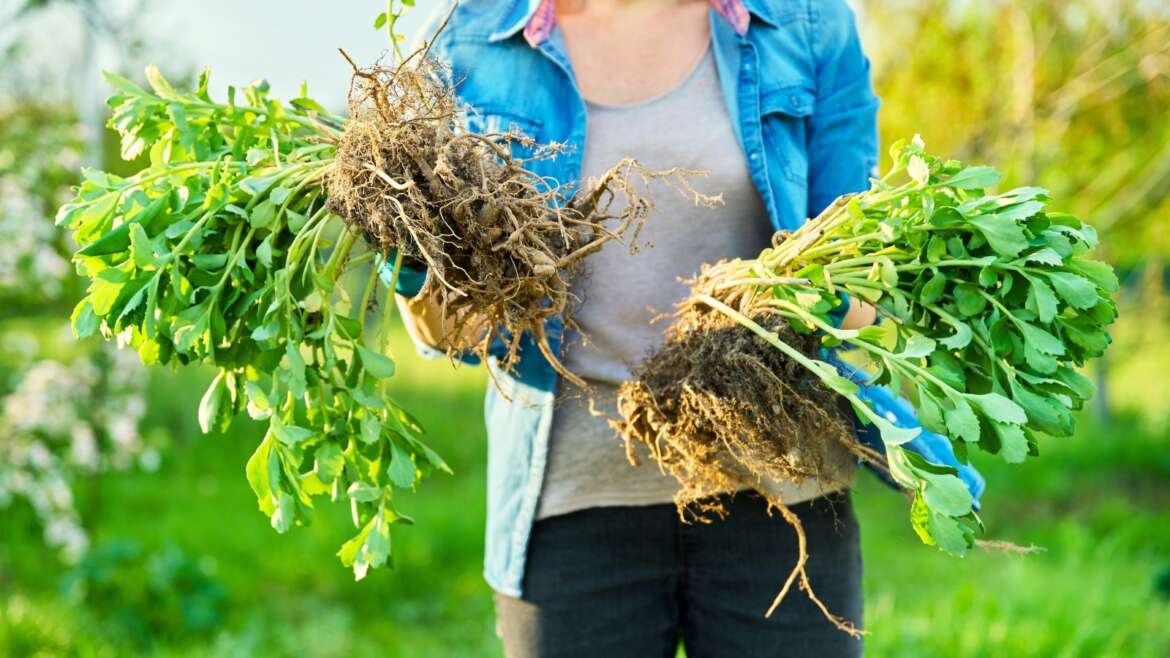
When you dig out a clump of perennial roots, stems, and leaves, you’ll probably have a hefty mass of vegetation to deal with. How do you divide it into smaller sections? First, take a little time to look at the entire plant. You’ll see a large tangle of roots and many stems emerging from the roots. Identify where each stem or crown of stems emerges.
Find healthy crowns with vigorous root masses beneath them. Use your hands or a garden fork to carefully pry apart and separate the large mass into a few smaller sections.
You don’t necessarily need to divide it down into individual plants, but you can if you want to restart them each small. You can take a single large clump and divide it in half, thirds, or quarters; just make sure each section contains one or more complete plants with healthy roots and stems or crowns.
Keep Your Divisions Moist and Replant Promptly
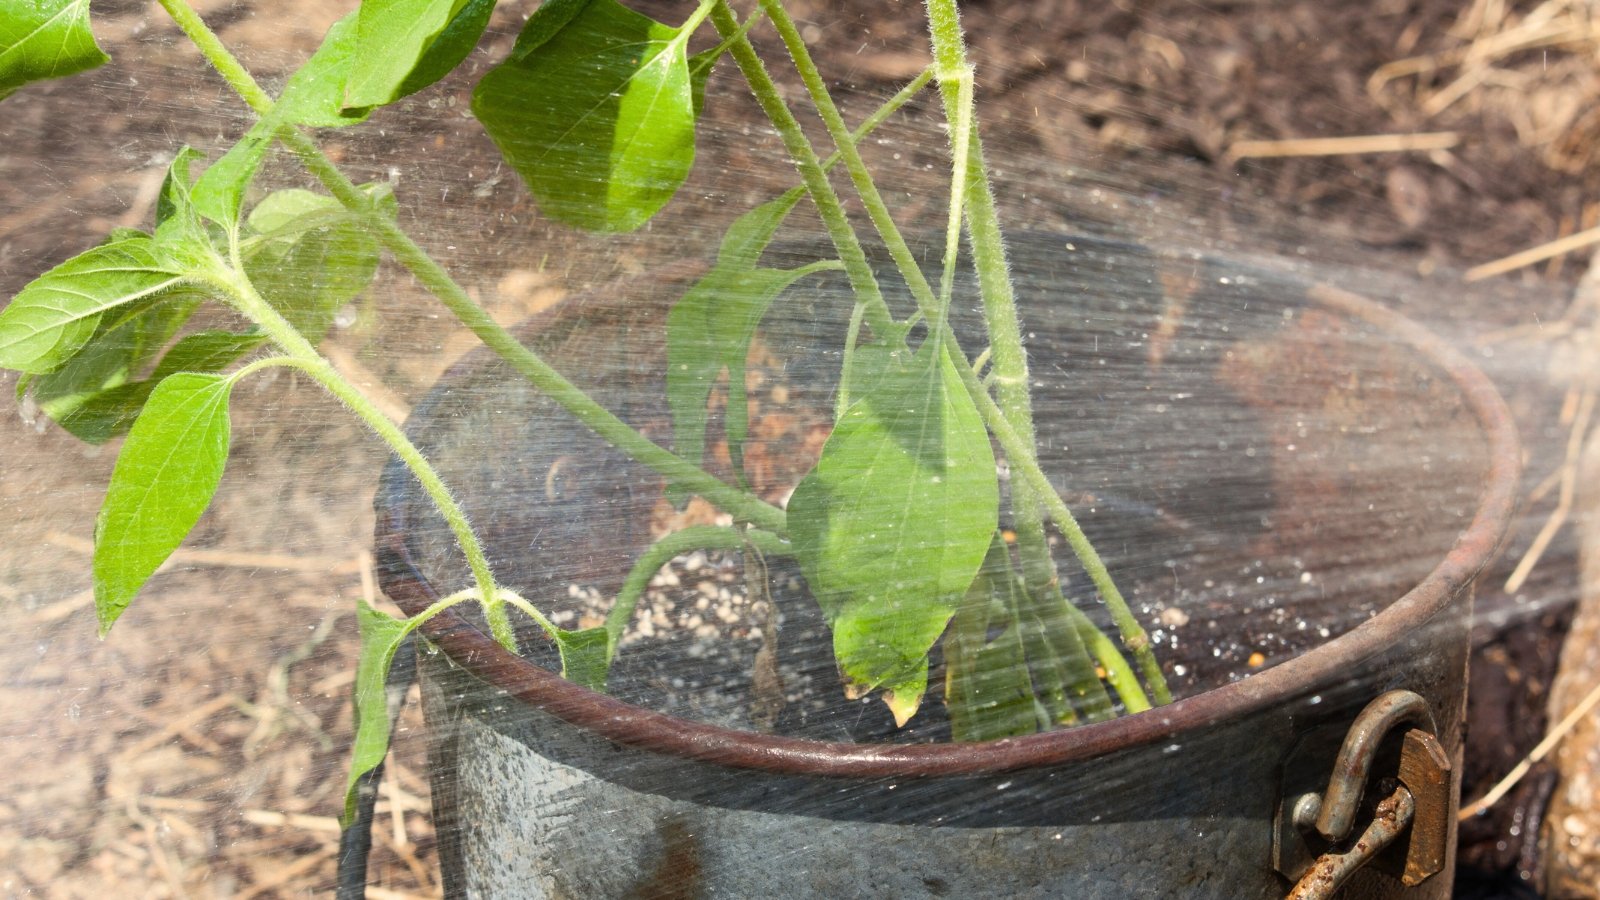 Minimize root exposure by keeping divisions moist before transplanting.
The time between digging and transplanting is critical to your success. You’ll want to make this process as efficient as possible so your plants’ roots spend more time in the ground and less time exposed to the air.
Unless you can move your divisions directly from one location to the other, you’ll need a safe place to keep your divisions until you’re ready to relocate them. Keep them moist by placing them in a bucket and sprinkling the roots with water or covering them with a moist cloth or moistened newspaper.
If your divisions dry out during this time, soak them in water to thoroughly moisten them again before replanting.
Allow Enough Space
 Adjust spacing to give each plant room to thrive.
When you divide your plants, you have the chance to adjust their spacing. You’re taking a crowded mass of vegetation and spreading it out to a more comfortable and healthy spacing. Now is your chance to spread out your plant divisions so each new root clump has plenty of space to grow anew.
So, how much space does each newly divided specimen need? It depends on the species and your garden style. If you’re dividing container-grown specimens, it’s best to stick to one clump per container. If you have a large area that can accommodate many new transplants, you can give each a bit more space to spread over time. Remember that each of your transplants will grow and expand for a few more years before it will benefit from another division.
Divide Before Frost
 Allow them time to adjust before winter’s cold sets in.
Give your divisions some time to adjust before the harsh winter cold kicks in. Allow newly divided perennials at least four to six weeks to develop some fresh root growth before the first fall frost. In mild climates, you can do your divisions shortly before or even after the first fall frost.
The air temperature may fluctuate but the ground temperature will remain warm enough to give your perennials time to adjust. In colder climates, however, you’ll need to plan enough time for mild weather adjustments before your plant goes completely dormant.
Rejuvenate Your Soil
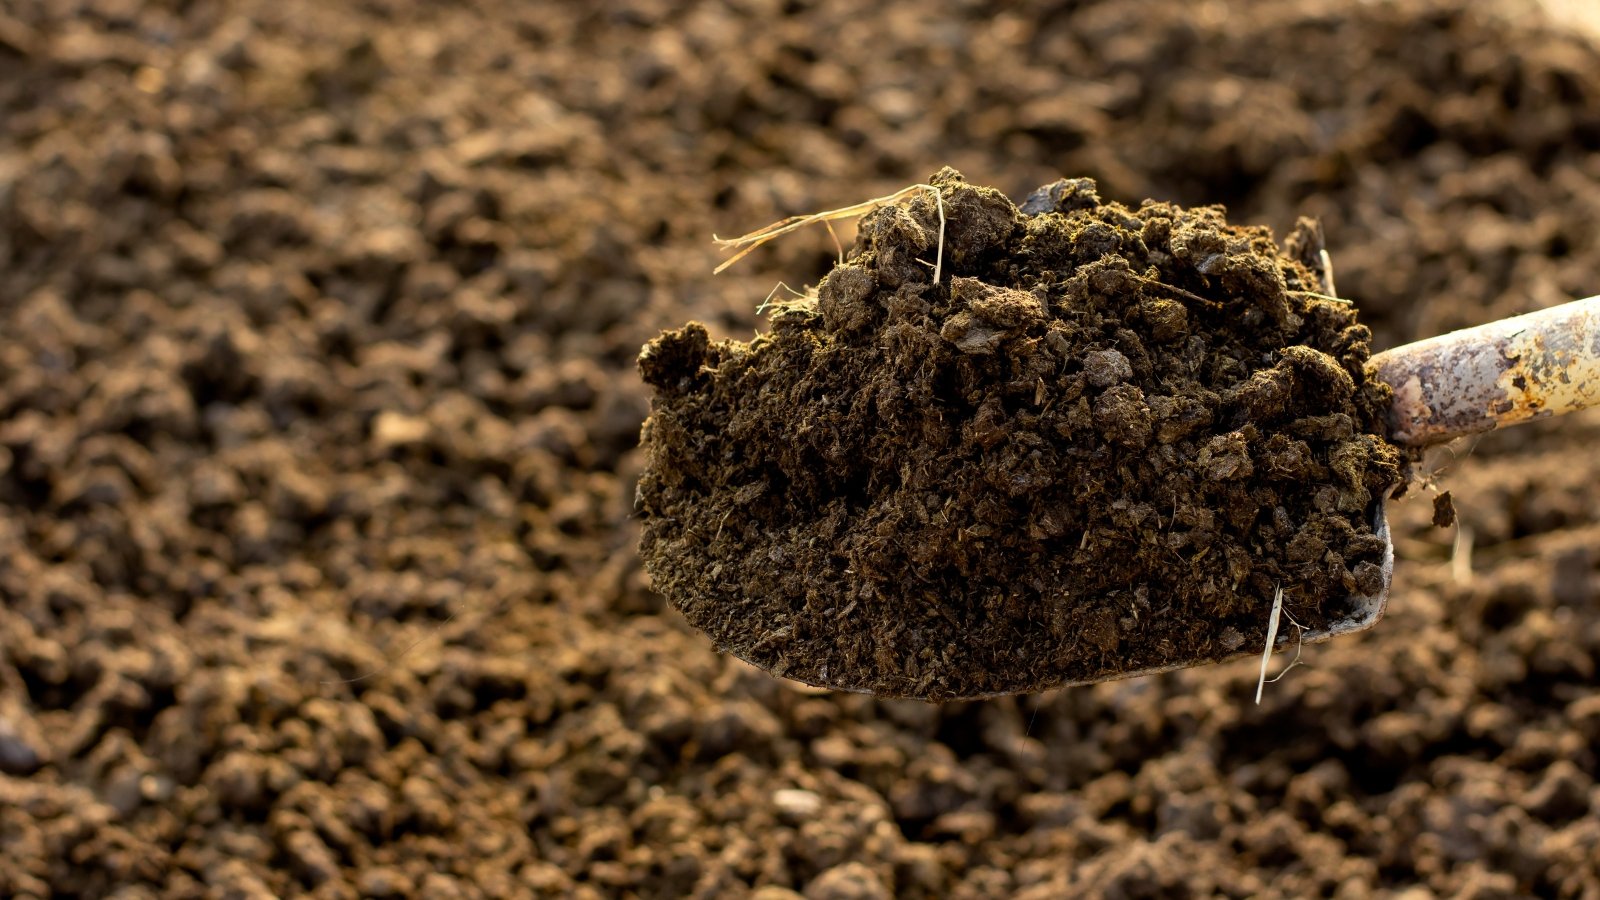 Refresh the soil with compost for healthier, thriving perennials.
You’re digging out old perennials from a location where they’ve lived for several years. This is the ideal opportunity to rejuvenate the soil because healthy soil is what makes a healthy garden. When you remove the plant from its original location, add some compost or nutrient-enriched soil and mix it in well. Similarly, add some organic compost to any new locations where you will be transplanting your divisions.
This fresh soil is full of healthy nutrients that will boost your plant’s performance. If you simply divide and replace a plant without adding any soil amendments, you will have missed the perfect chance to refresh the soil. You can use your own home-made compost or buy commercially prepared bulk or bagged compost. Make sure your compost is well-aged and thoroughly mixed into your planting site before replanting your perennials.
Proper Planting Depth
 Maintain the same depth as the original site.
Don’t bury your transplants too deep, or allow them to stay exposed to the elements when you move them to a new site. Pay attention to the root and crown depth when you first dig them from their original site. Try to replicate the same planting depth when you move them.
The roots should be completely below the soil line and the crown of the plant should typically be just below the soil surface; although, this varies from species to species. Try to replicate the same planting depth as when you dug your plants out.
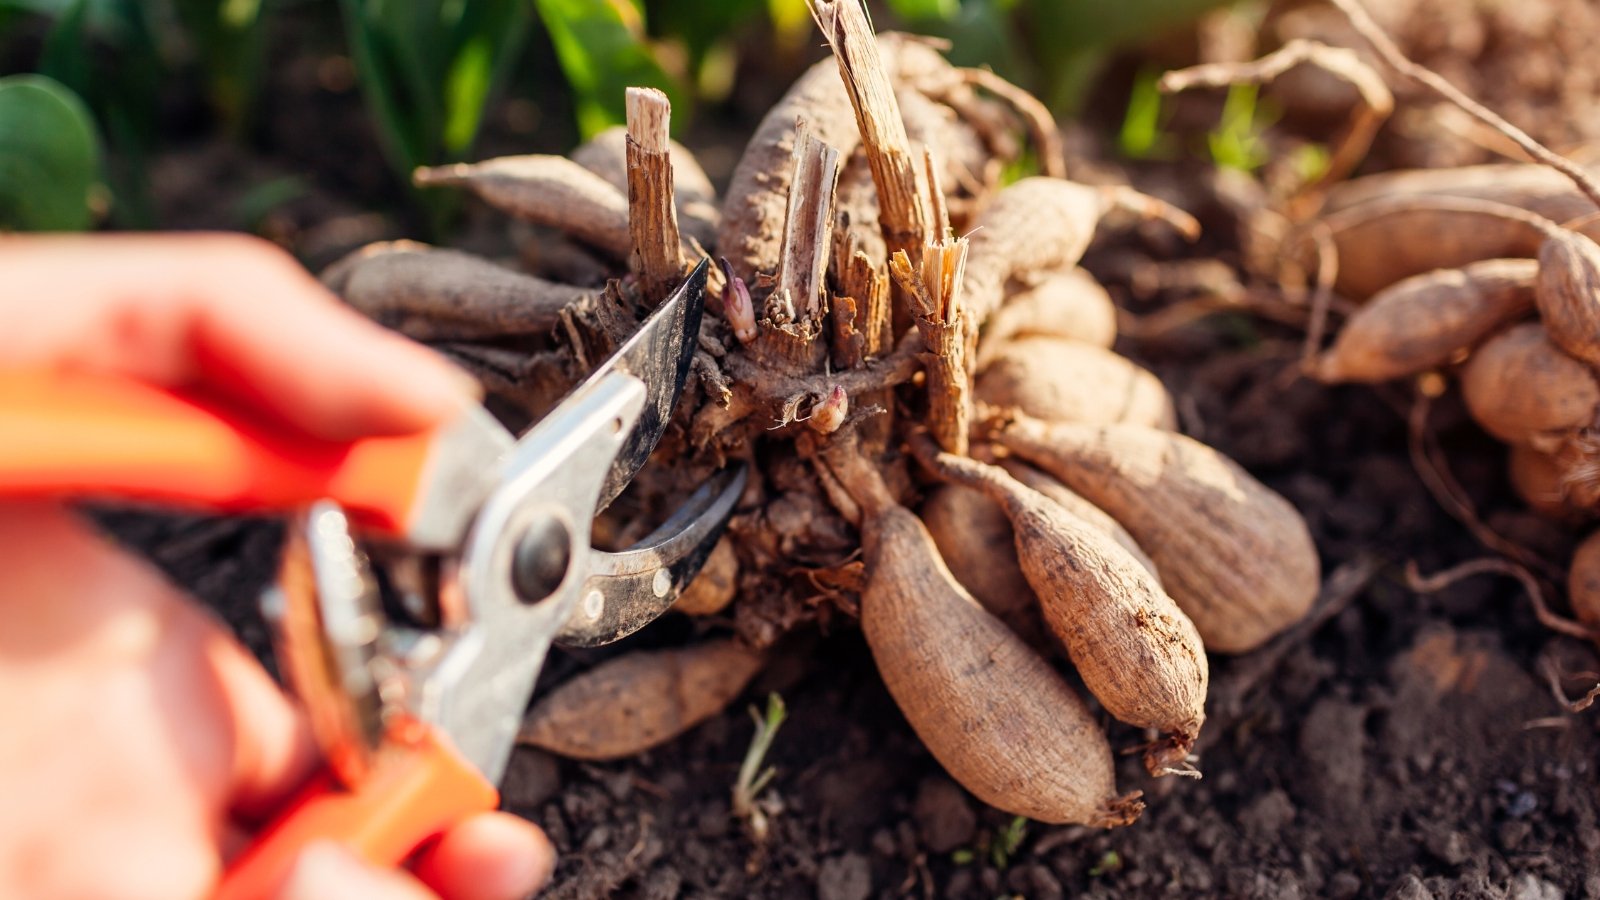
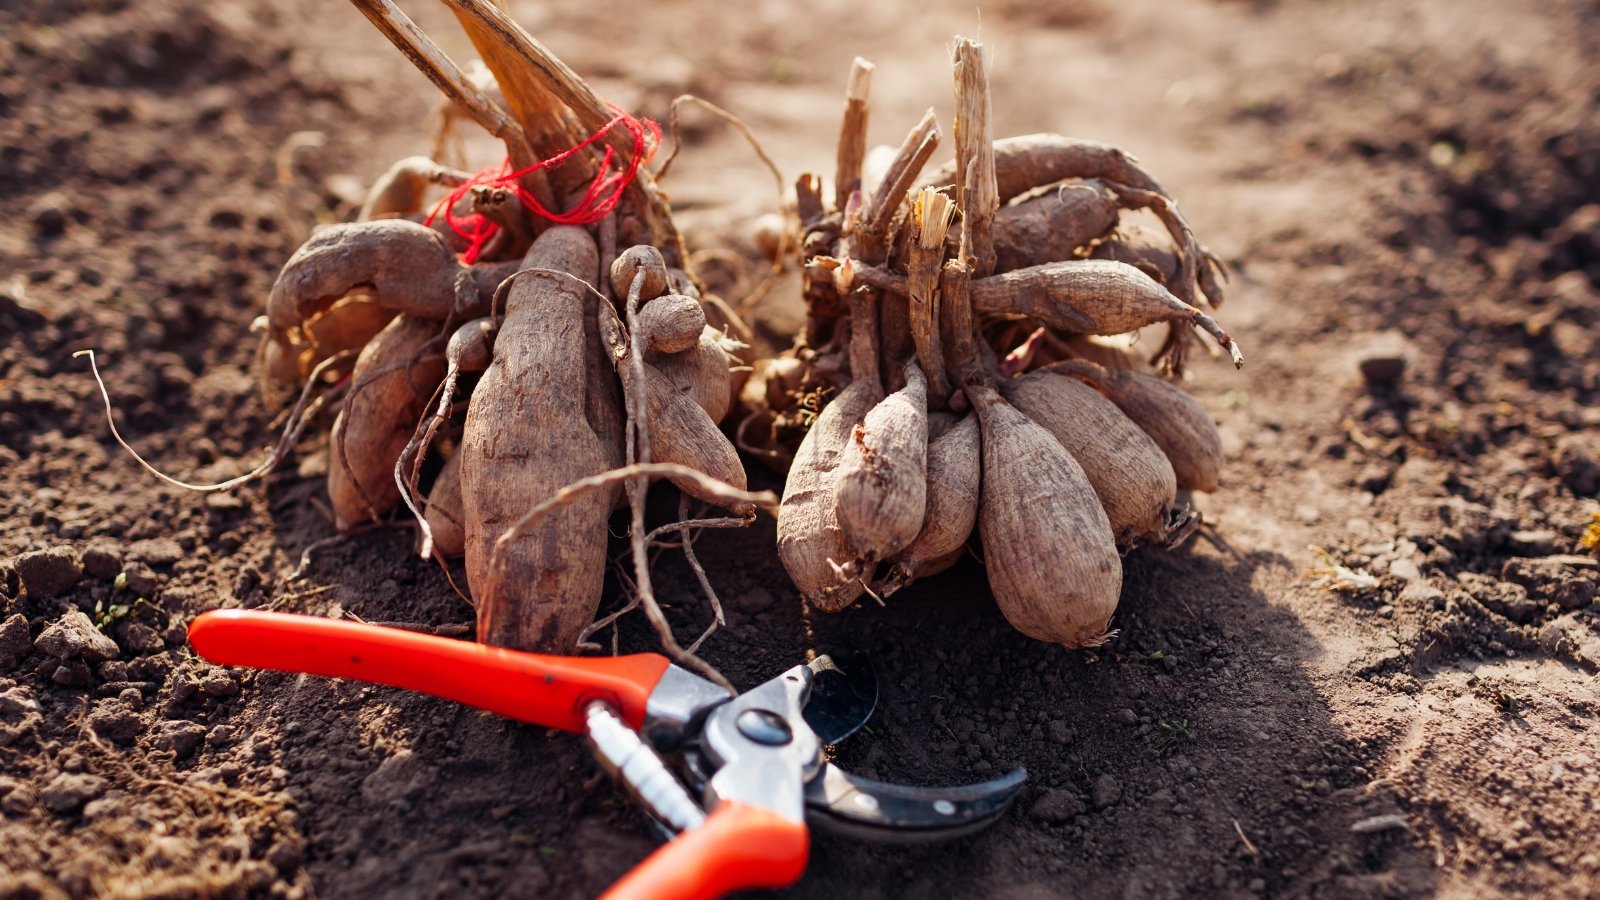
Discard Disease
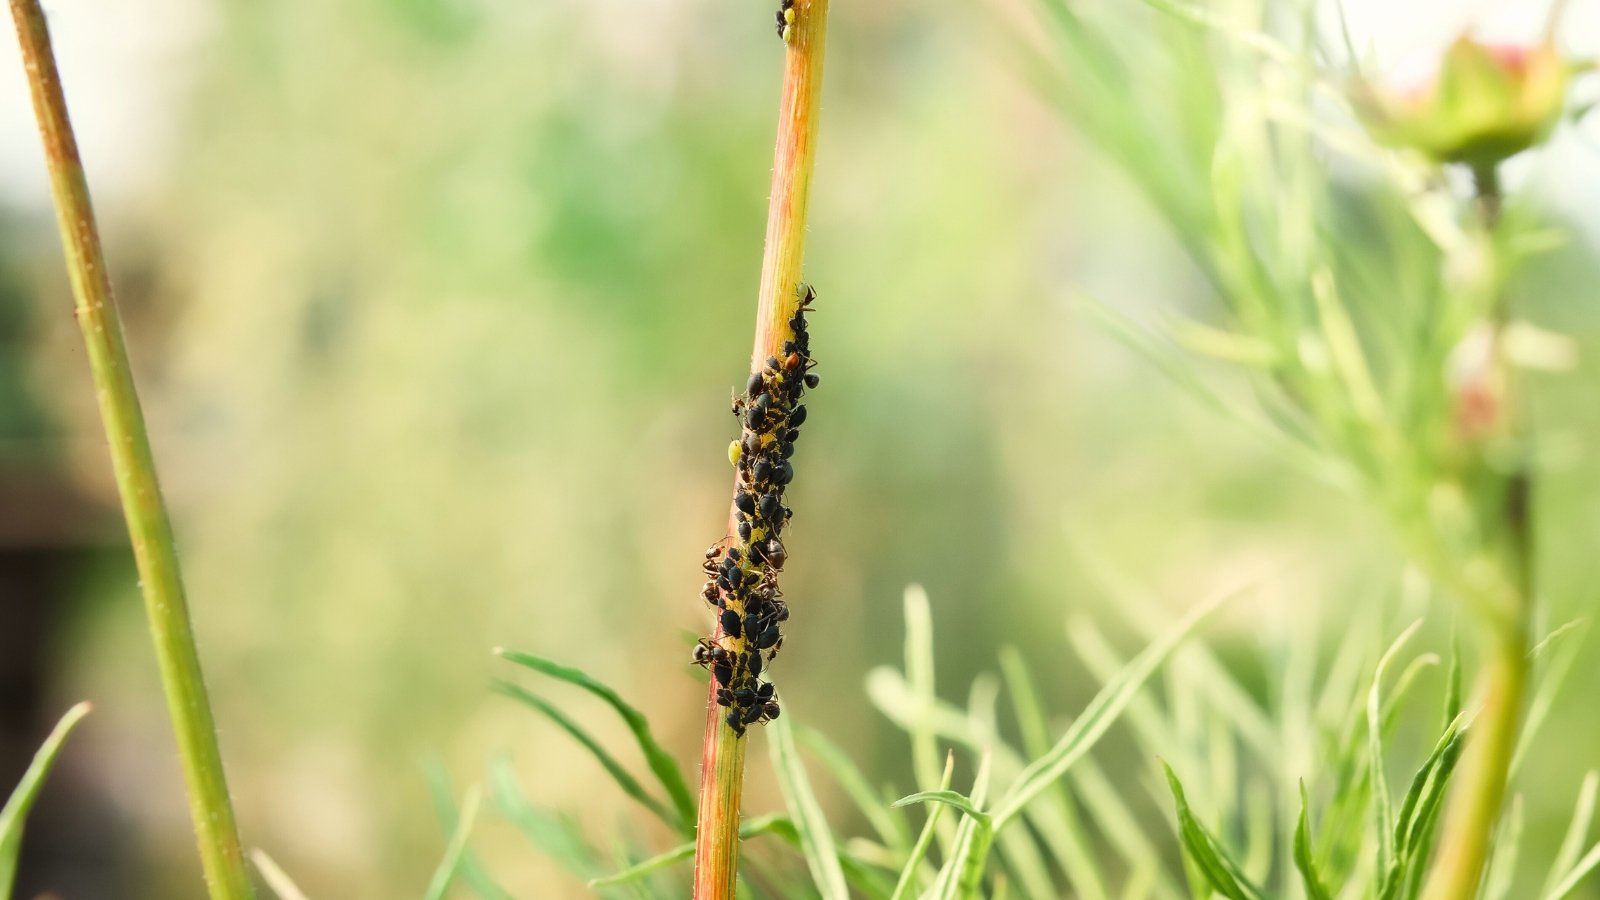 Discard diseased sections to prevent the spread of pathogens.
Sometimes, when you divide perennials, you’ll discover insect infestations and other signs of disease or rot. If you do encounter diseased plant material, discard any sections of rotten roots, moldy crowns, and insect-infested stems. Replanting diseased plant materials won’t help your garden revive. Replant only the healthiest sections and toss the rest to prevent the unnecessary spread of disease.
Water Them Well
 Water thoroughly after transplanting to reduce stress and wilting.
Digging and moving plants, even in the best of circumstances, stresses them and will probably cause them to wilt, at least temporarily. Once your divisions are relocated to their new homes, keep them well-watered for several days after transplanting.
This helps the roots adjust to their new location and reduces transplanting stress. Once they have perked up again and seem well-adjusted, you can go back to your normal watering routine.
 Share extra divisions with friends or local gardening clubs.
One of my favorite things about dividing my perennials is sharing them. When you divide multiple mature specimens, you will probably end up with some extras that you simply don’t have room to replant in your own yard.
Do you have friends or neighbors who enjoy gardening? Why not ask them if they would like some of your extra divisions? If they grow well in your yard, they should also perform well anywhere else in your neighborhood. Many local gardening clubs also offer seasonal plant swaps. This is a fantastic opportunity to connect with other local gardeners and trade plants!
Frequently Asked Questions
The process for container-grown perennials is basically the same as if you were growing them in raised beds or ground-level garden plots. It may be even simpler because it’s easier to get entire plants out of a container than out of the ground. The major difference is that you’ll empty the entire pot when dividing container-grown perennials.
Carefully remove your mature plants from the container, including all the soil (particularly for smaller containers). Divide your plants into multiple smaller clumps. Refill your container or containers with fresh soil; using fresh soil gives your plants a fresh dose of nutrients rather than placing them back into nutrient-depleted soil. Replant the divided sections in the fresh soil and water them well.
Some perennials don’t ever need to be divided while others greatly benefit from division. If your perennials are multiplying into an ever-expanding clump, don’t wait until it’s too late to divide them. Overcrowded perennials will eventually suffer and perform poorly. It’s possible to grow perennials and never divide them but they simply won’t look their best and you’ll eventually end up with a garden that looks cramped and overgrown.
Immediately after dividing and transplanting, your garden plot may look a little rough and ragged. You’ve just dug some holes, moved things around, and made your plants considerably smaller than they just were. You can spruce up your transplanting site right away by adding mulch. Use natural shredded wood mulch or bark, aged leaves, or pine needle mulch. Add a layer of your chosen material around your fresh transplants to help your garden look neat and appealing.