Of all the fruits and veggies you can grow in your garden, few offer as much utility as onions and garlic, foundational ingredients to countless dishes. These Alliums also store really well—sometimes lasting for up to six months, especially if kept somewhere cool, dark, and dry.
Gardeners new to this growing process often wonder what to do when it comes to harvesting and curing. How do you know when to harvest the bulbs, and how do you ensure that they’re completely “cured” and ready for storage?
And what should I do with all the funky onions and messed up cloves that you need to eat sooner rather than later? From pre-harvest garden practices to how to use up your garlic scapes, explore our garlic and onion pro tips.
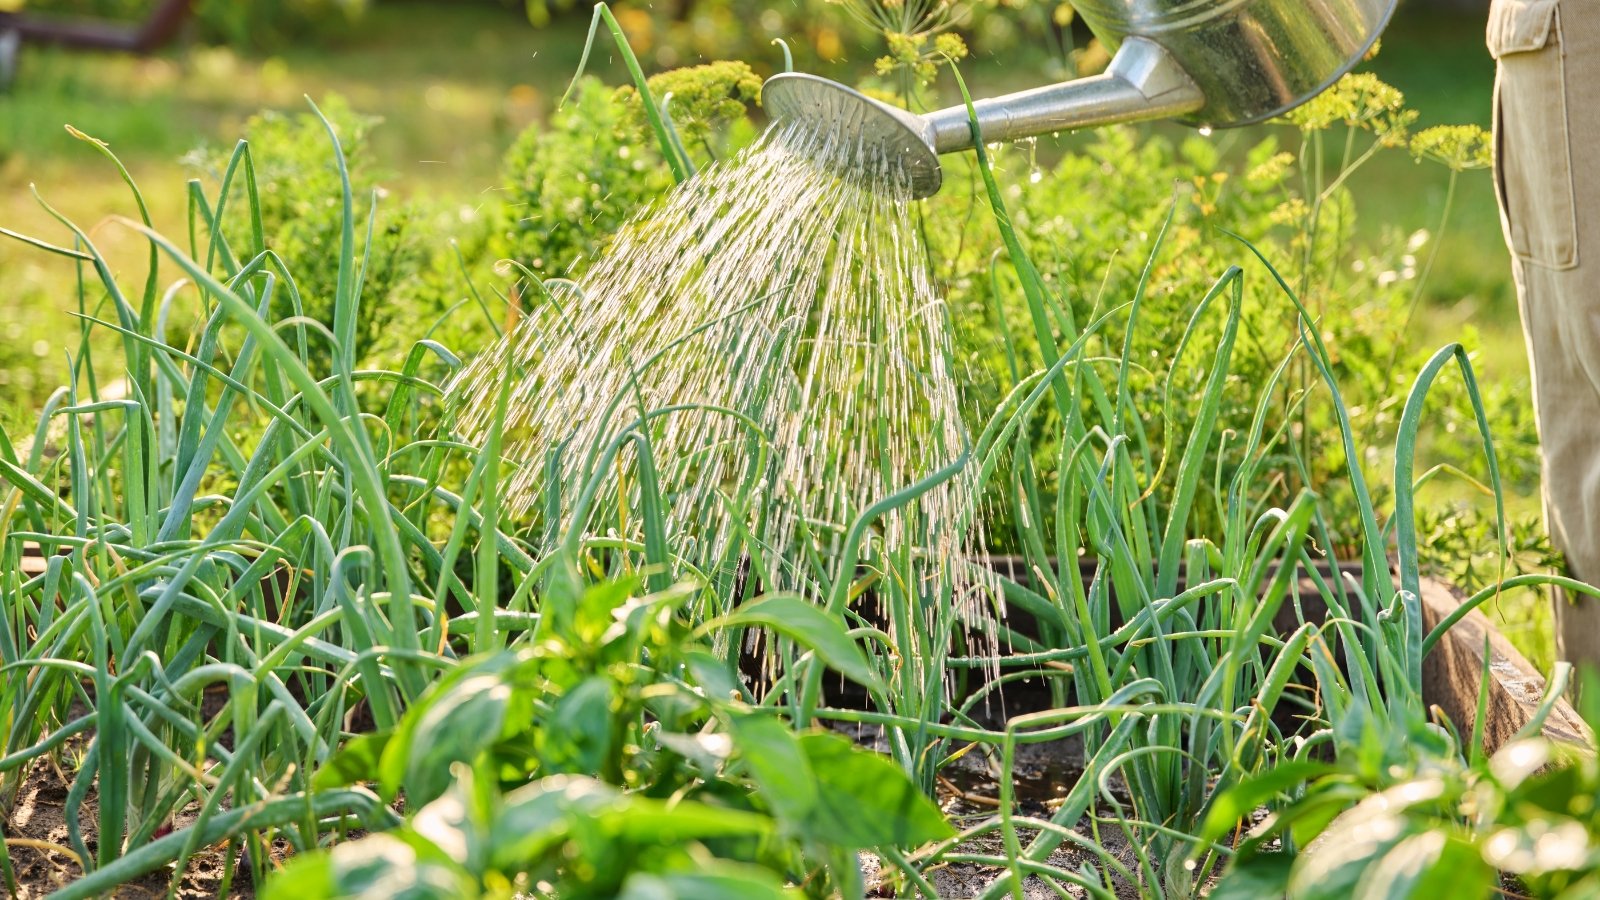
Skip Watering Pre-Harvest
 The plants won’t be absorbing much more water at this point in their lifecycle.
As you approach harvest season, avoid watering these plants. Research shows that it can cause them to rot. They’re better off in bone-dry soil during this time.
When the bottom leaves of Allium plants begin to brown and dry out, this is when you stop watering. The plants simply won’t be absorbing much more water at this point in their lifecycle. If you water anyway or experience heavy rain, the underground bulbs can rot from all the excess moisture in the soil.
This is the last thing you want to happen right before a bountiful harvest. Prepare well-draining soil to begin with, and be wary of those first browning leaves so that you know exactly when to quit your watering routine.
Harvest At The Right Time
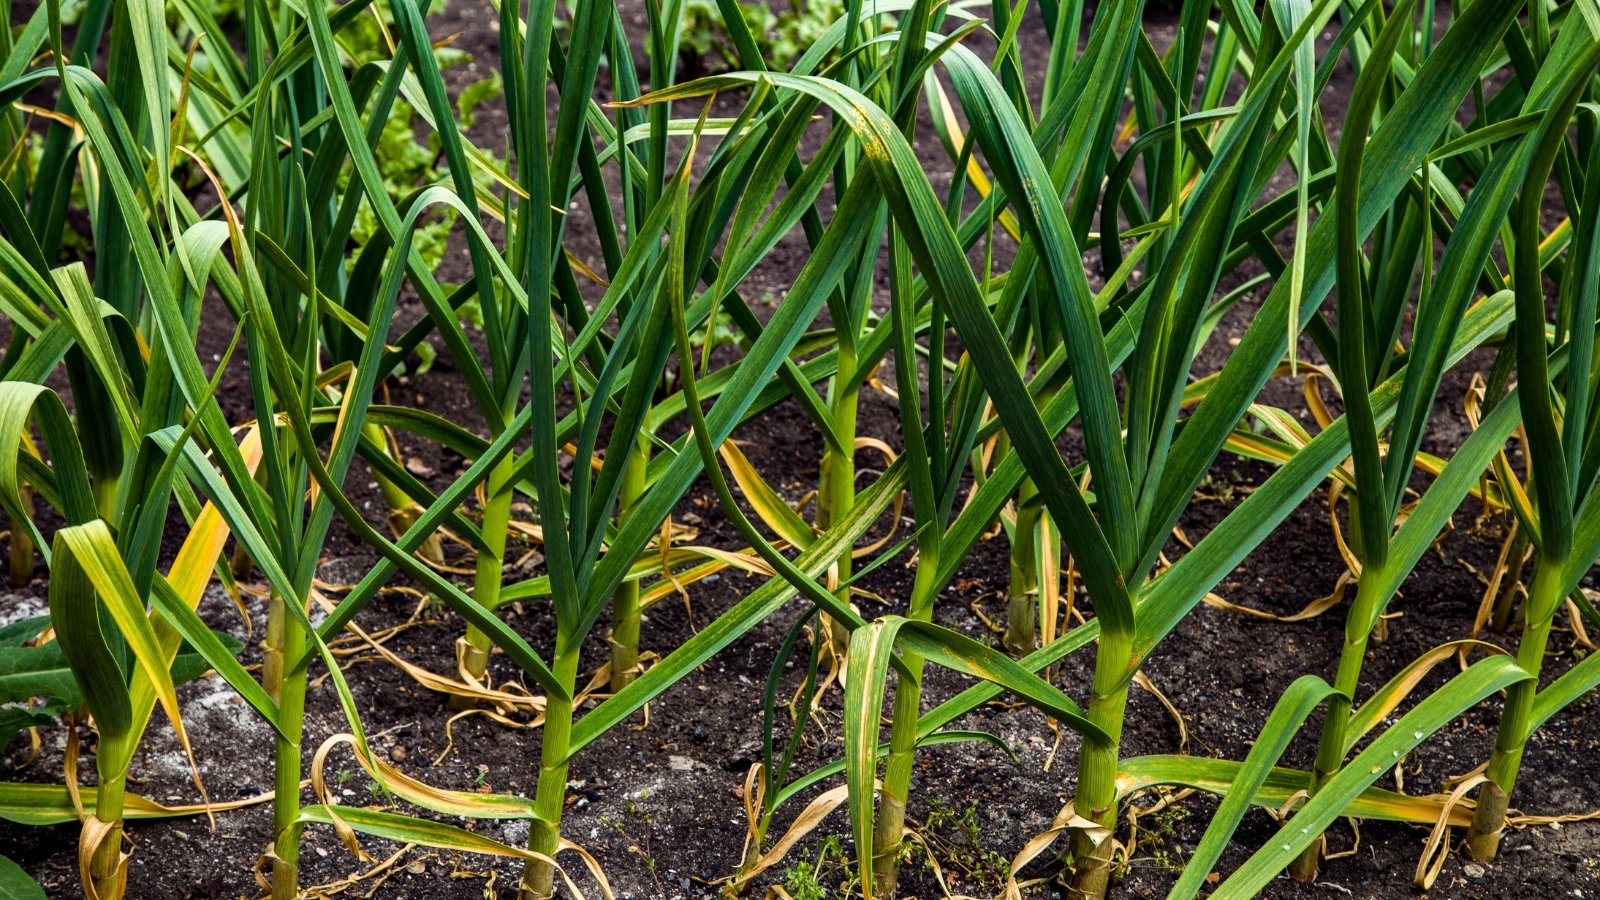 If your plant has six leaves and three of the bottom leaves are brown, floppy, or crispy, then it’s harvest time.
You’ll know it’s time to harvest when about half of the garlic plant’s leaves are dead or dying. If your plant has six leaves and three of the bottom leaves are brown, floppy, or crispy, then it’s harvest time. Grab it near the base with one hand to gently pull it out of the ground.
However, keeping a close eye on the wrappers near the base of the plant is a good idea, even when a harvest seems too early. If your plant still has mostly green leaves but you can clearly see that the wrapper is starting to deteriorate, harvest it.
When half of the leaves are dead, the plant should be near its maximum size while still maintaining a solid wrapper. If you leave the bulb in the ground much beyond this time, the wrapper will begin to rot. Bulbs that don’t have quality wrappers won’t store properly, so you should eat them quickly.
What if it’s time to harvest, but the bulbs aren’t easily removable from the ground? If a gentle tug isn’t popping the bulb out of the ground, don’t pull harder. You could accidentally break it. Instead, grab a garden fork or shovel. Approach from the side, propping up the soil containing the bulbs. Just don’t accidentally stab the bulb, especially if you’re using a fork.
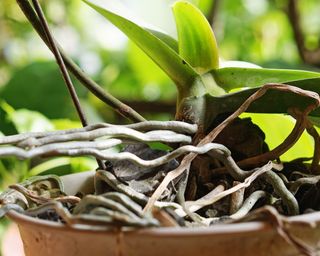
Cure Properly and Thoroughly
 Curing refers to the process of drying out the bulbs to remove excess moisture.
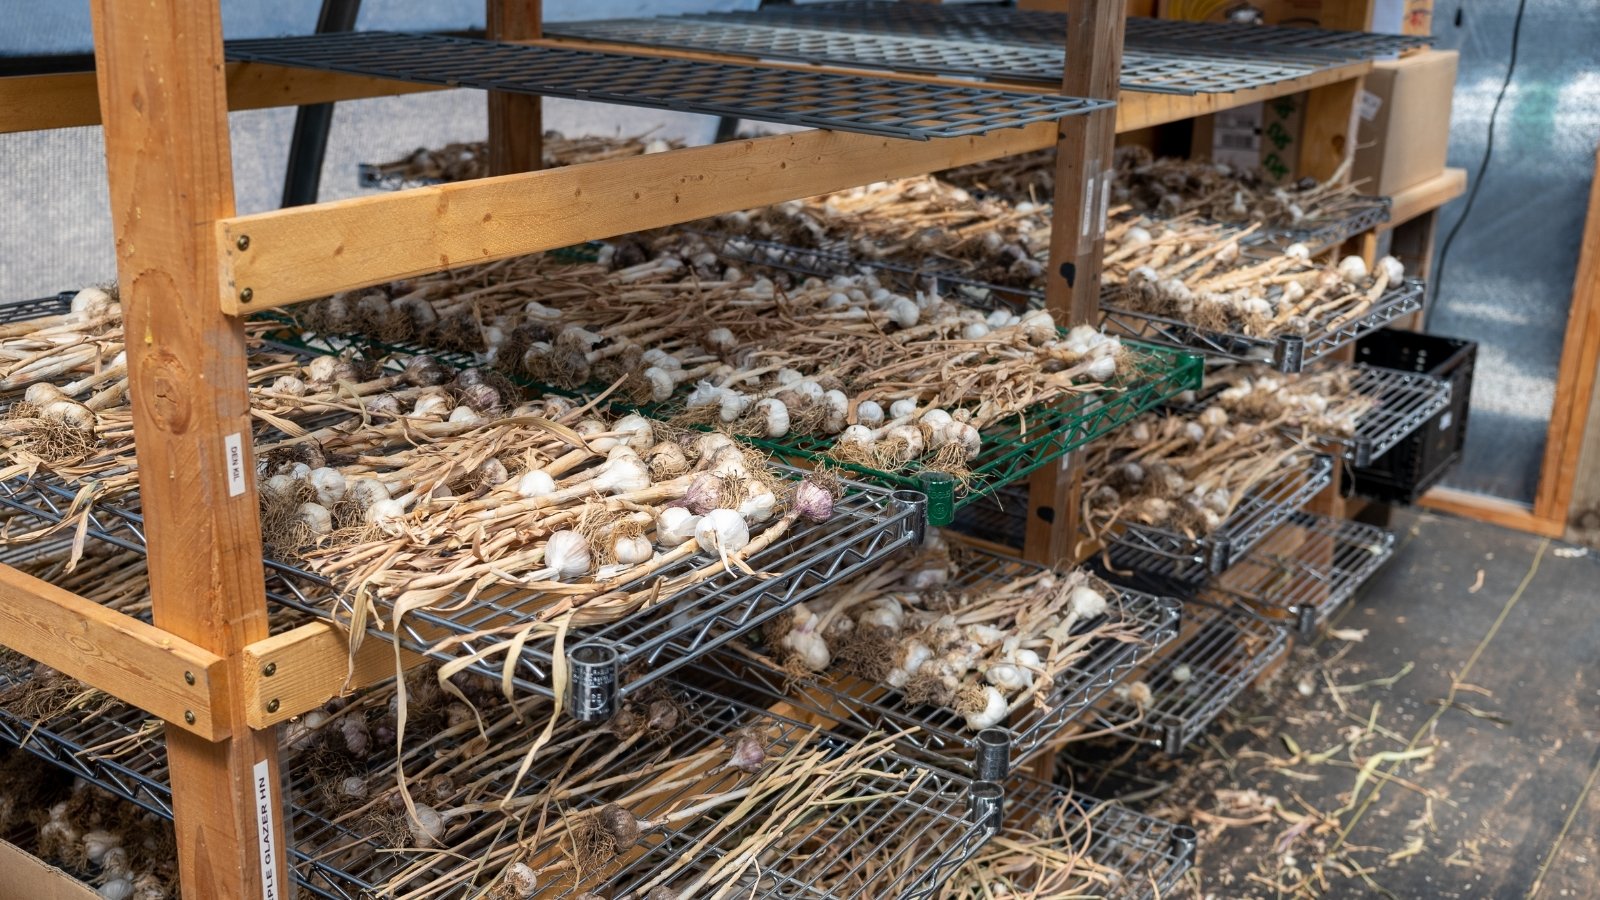
Once garlic has been harvested, cure it properly so that it won’t spoil in storage earlier than expected. Curing refers to the process of drying out the bulbs to remove excess moisture. A classic method of curing includes tying the stems together and then hanging them somewhere cool and dry.
There are many clever ways to maintain good air circulation between bulbs while curing. You can place them in the holes of a baker’s rack shelf or through wire mesh. Ideally, you want there to be plenty of airflow.
The curing process can take as little as 10 days or as long as a month. Keep the bulbs out of direct sunlight during this time. You will know that curing is complete when the bulb and stalk have dried completely. The stalk will be 100 percent brown, with no green remaining, and the roots will be dry and crispy.
Use Wrapper-Less Garlic Quickly
 Note that these bulbs won’t store properly, but there’s no need to waste them.
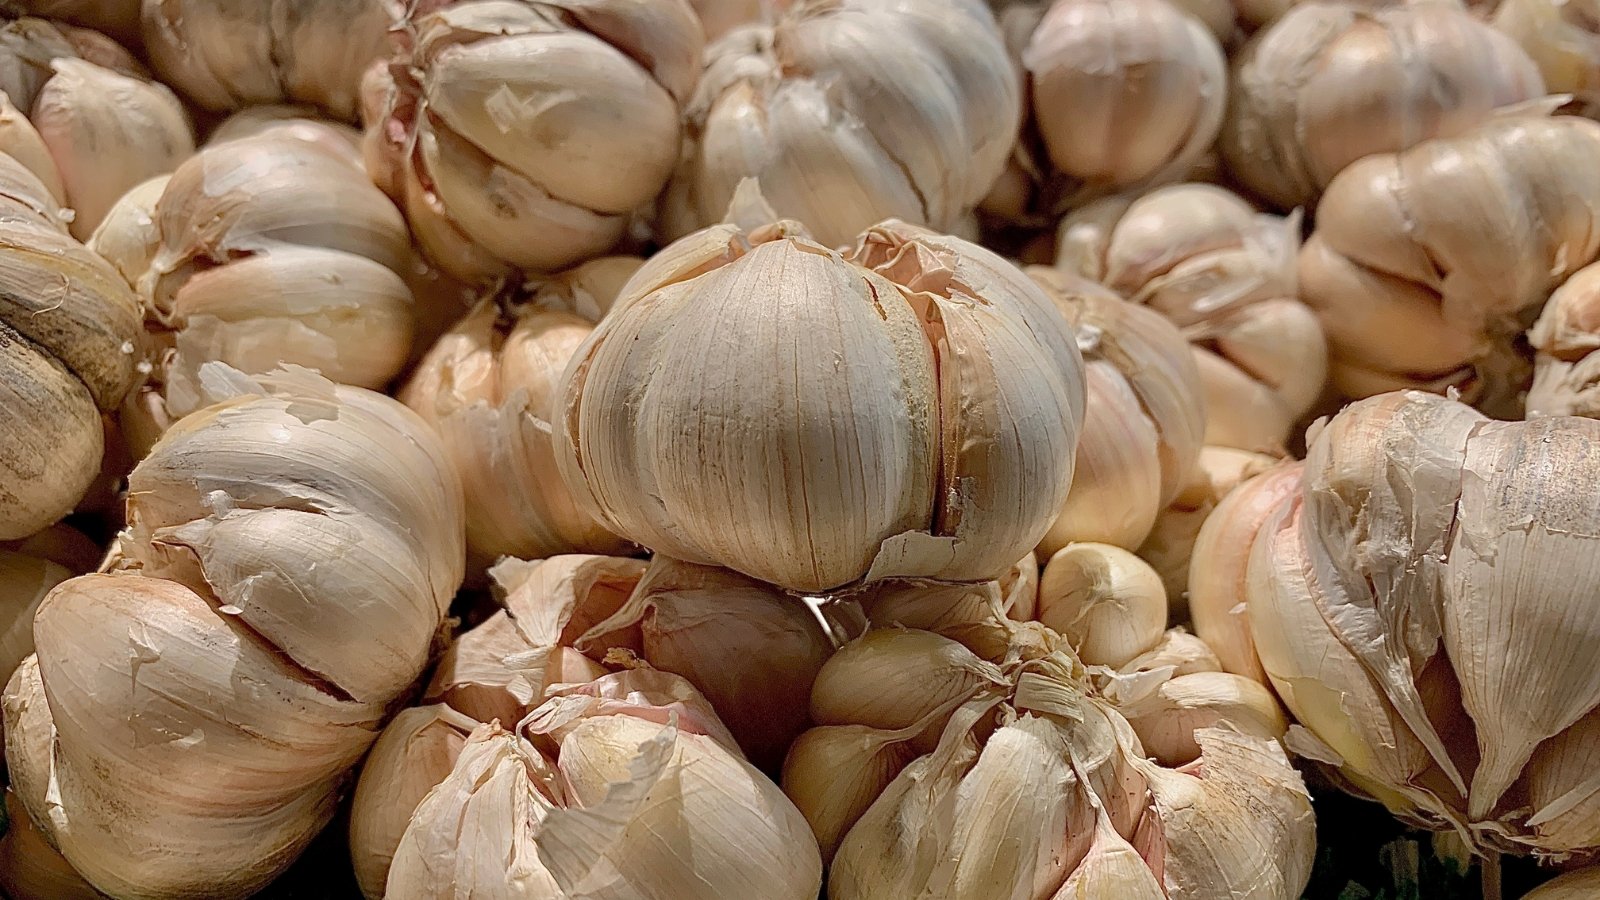
If you’re growing a lot of garlic, then your entire harvest probably won’t be perfect. You’ll likely get some with lackluster wrappers or with cloves sticking out. These bulbs are still good to eat—for a short window of time.
Note that these bulbs won’t store properly, but there’s no need to waste them. You simply need to eat or otherwise process them ASAP. You don’t need to cure it; you can just eat it. Curing is only necessary before long-term storage.
If you have more imperfect bulbs than you can use within a week or so, try pickling the cloves, fermenting them, or dehydrating them to make a powder seasoning.
Store Hardneck Garlic Cleverly
 Growers often braid theirs together and hang them that way.
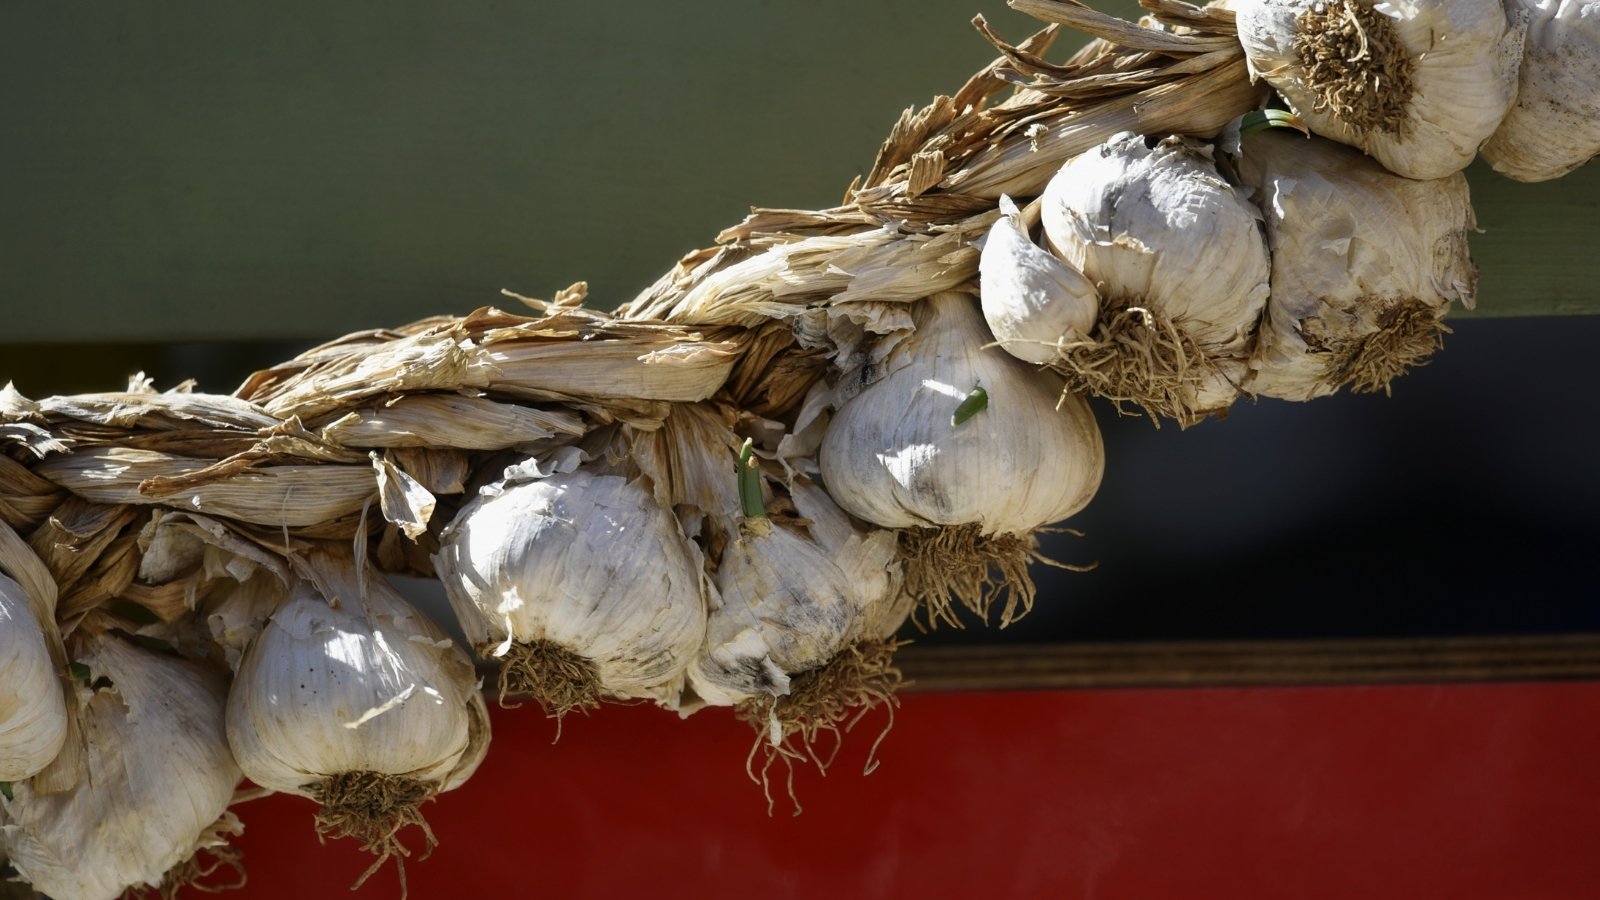
Store garlic in a cool, dark place with good air circulation. Growers often braid theirs together and hang them that way. There are plenty of ways to store the bulbs, as long as you don’t put them in an enclosed plastic bag or sealed container.
Hardneck varieties can be harder to braid due to their hard necks. A clever way to store these bulbs is with a long landscape staple.
First, use pliers to straighten the staple, so it forms a straight line. Then, use your pliers again to bend the stick towards the bottom, about an inch or two from the end, to form an L-shape.
Stand up the L-shaped staple. The top of the staple should have a very sharp edge. Take a head of longneck garlic and pierce the neck with the staple about an inch above the bulb. Slide the bulb all the way to the bottom.
You can continue to do this until the bulbs reach the top of the staple, alternating the direction of each bulb to form a spiral. If you leave a few inches at the top of the staple, you can bend it to form a hook, making it even easier to hang your bounty.
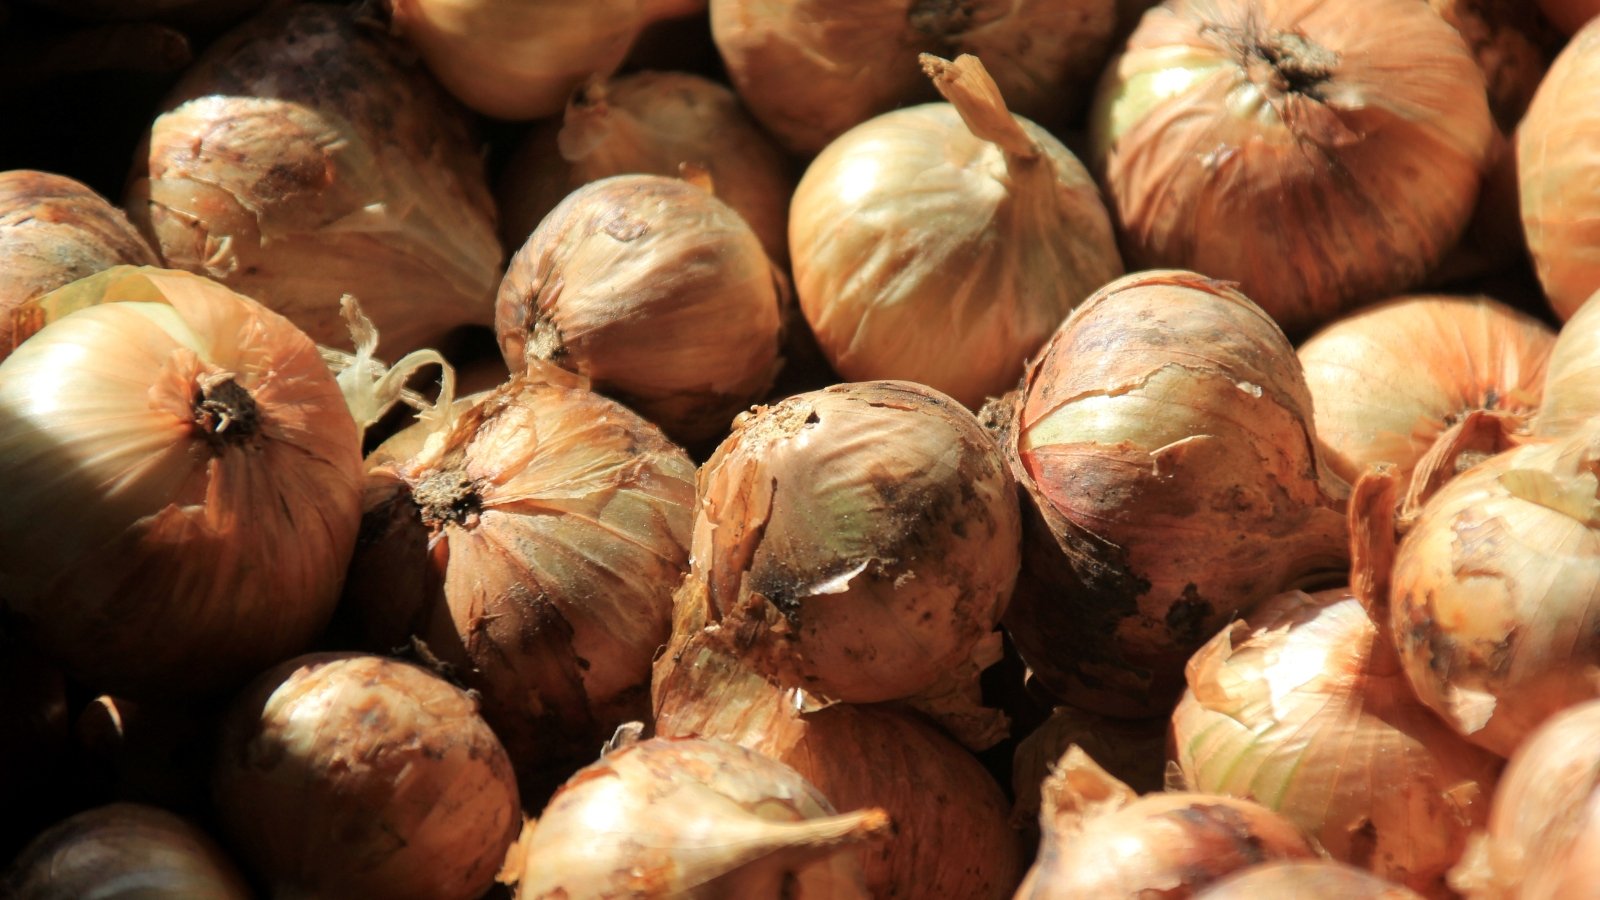
Prepare Onions for Indoor Storage
 You want the stems to be extremely dry and brown, with minimal green remaining.
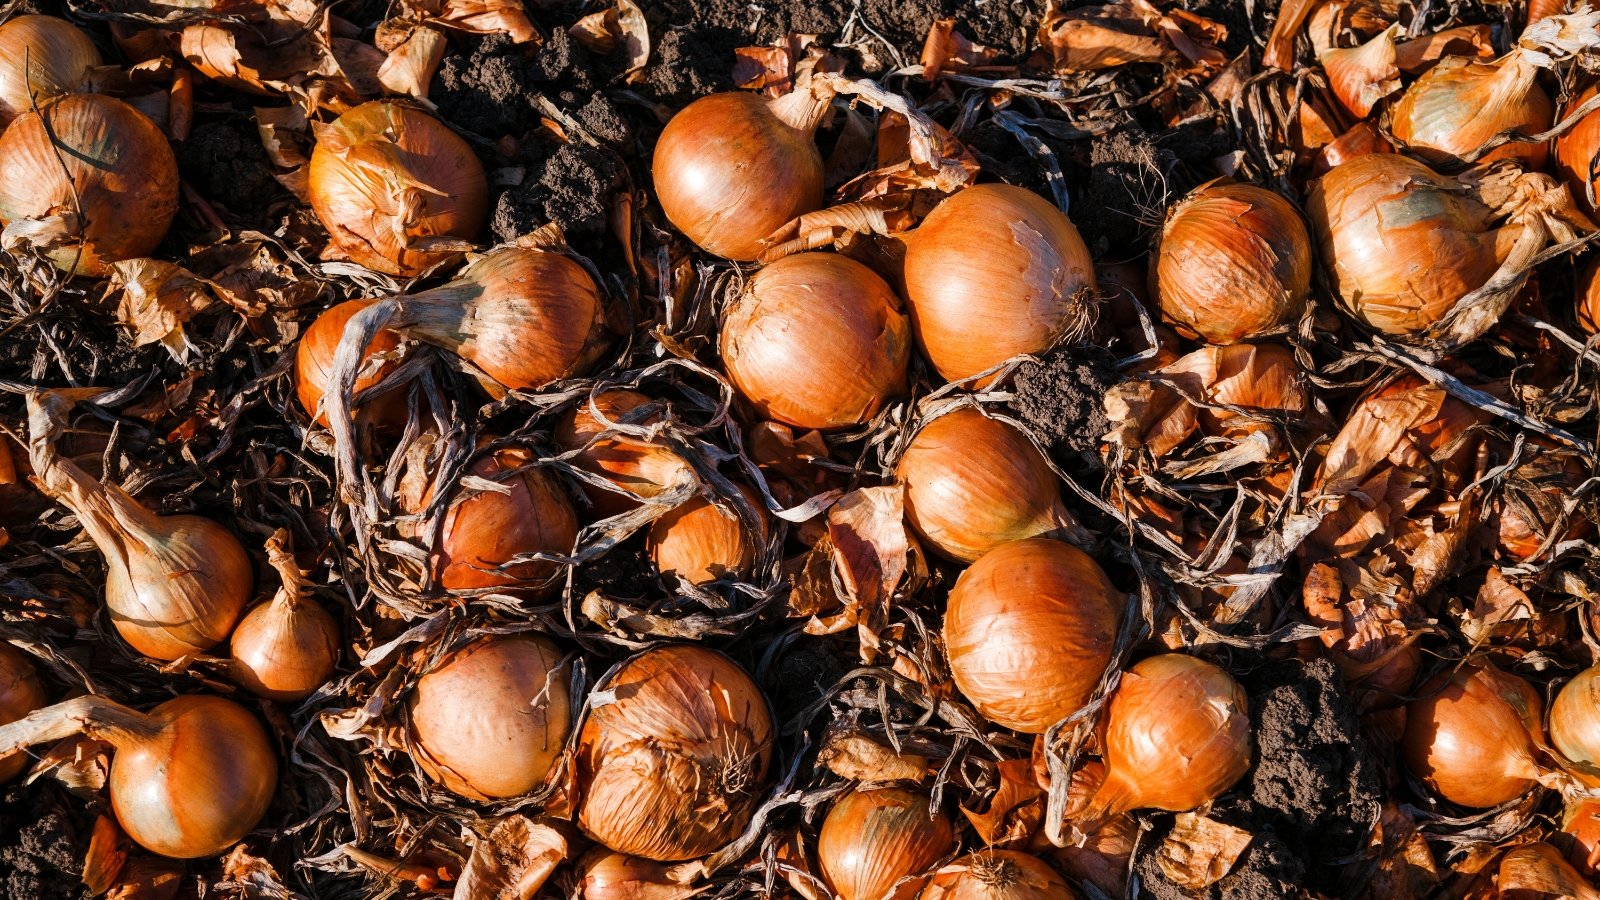
Leave out onions to dry in a similar manner to garlic. Keep them out of direct sunlight while you wait. You want the stems to be extremely dry and brown, with minimal green remaining, before you bring them inside for storage.
Using sharp pruners, sever the stem about an inch above the bulb. The dry roots should be easy to remove with your fingers. You can remove some of the outer leaves that are less attractive if you wish, but it’s not necessary.
Store Onions the Right Way
 Ideally, they should be kept in a cool, dark place away from direct light.
At this point, your onions should look the same way they do when purchased at the grocery store or farmer’s market. There are many ways to store them, but ideally, they should be kept in a cool, dark place away from direct light. Hanging them in a mesh bag encourages good airflow.
When storing onions, keep them away from potatoes. Onions release ethylene gas, which causes potatoes to sprout or spoil faster, while potatoes have a bit of moisture, which can encourage onions to spoil. If possible, keep these veggies separate.
Bonus Tip: Use Scapes and “Ugly” Harvests
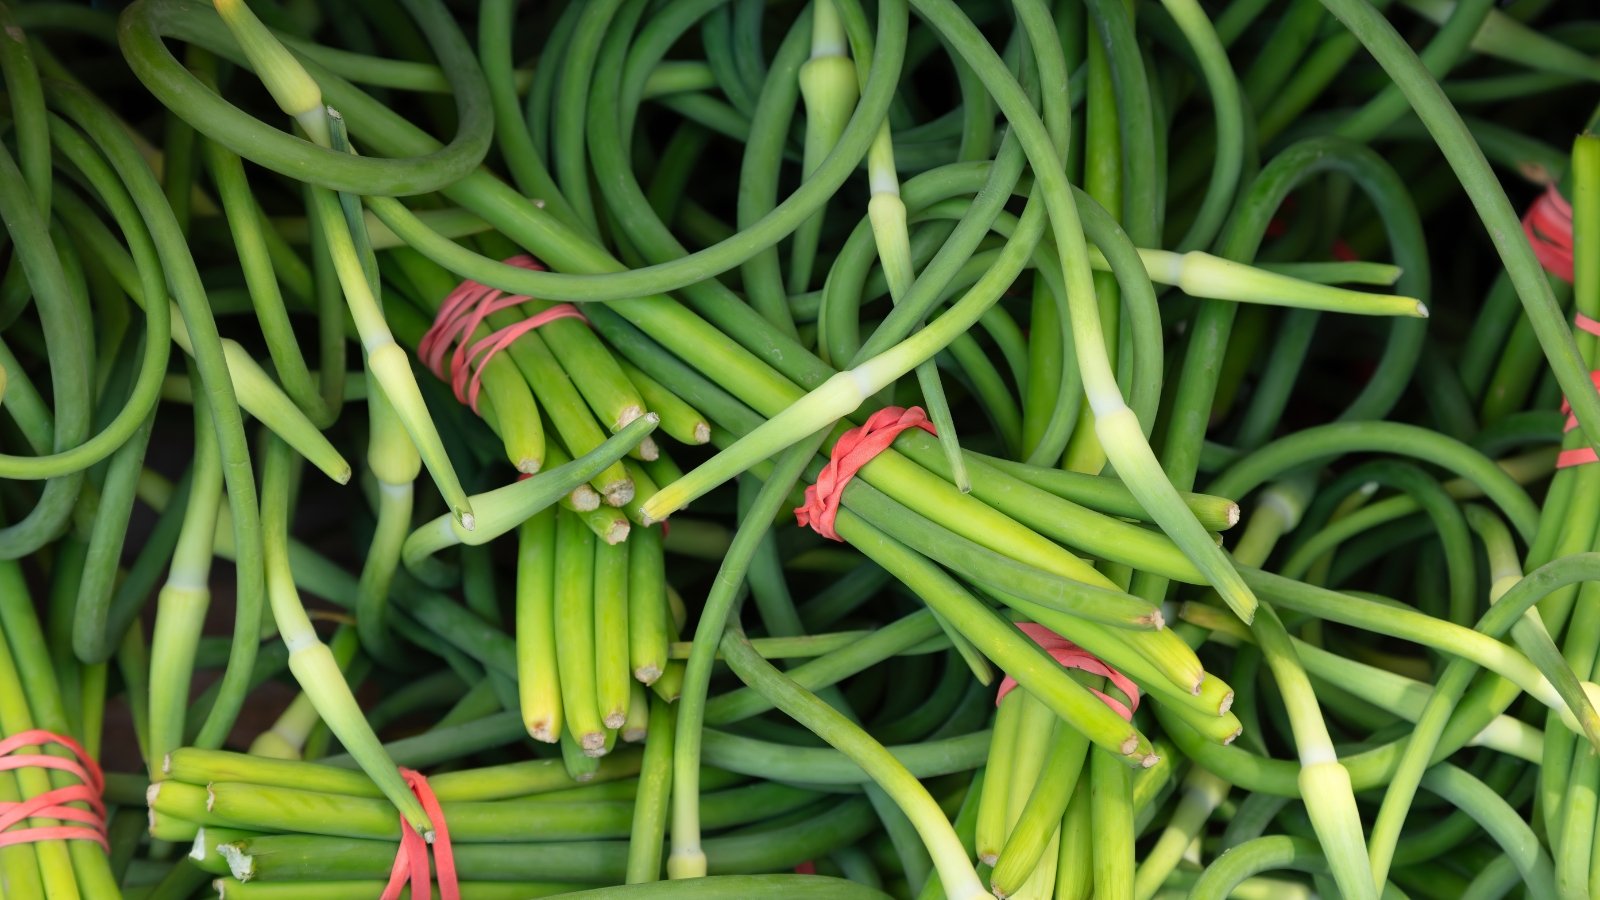 Scapes taste like mild garlic, and you can use them interchangeably with scallions.
If you’re growing hardneck varieties, then you’re probably familiar with garlic scapes. Each plant produces one scape. These are the long, curly stems that grow from the base of plants in spring and early summer. You can harvest these and enjoy them in a variety of ways.
Some folks ignore their scapes or remove them, but they have a fair bit of flavor. Scapes taste like mild garlic, and you can use them interchangeably with scallions. They also store well in the fridge for up to a month.
There are many ways to use scapes. You can use them as the main ingredient in pesto, pickle the heads, use them to make flavorful vegetable stock, and you can even dehydrate them to make a powder. Scape powder is a seasoning you can use all year long.
Enjoying your scapes is one way to get as much as possible out of your harvest. Another way is to find uses for your “ugly” onions—the kind of imperfect bulbs that you wouldn’t see on the shelf at the store.
Whether they are small, marked up, oddly shaped, or lacking wrappers, you can still get good use out of them. You can use them right away in your cooking, or you can find a way to process them. Like scapes, these onions make a great homemade onion powder.
If dehydrating for powder, whether you’re drying scapes, garlic, or onions, be sure to cut small, uniform pieces. This will result in the fastest drying process. Note that your dehydrator will have a fairly extreme fragrance during the time, so leave it outside if possible.