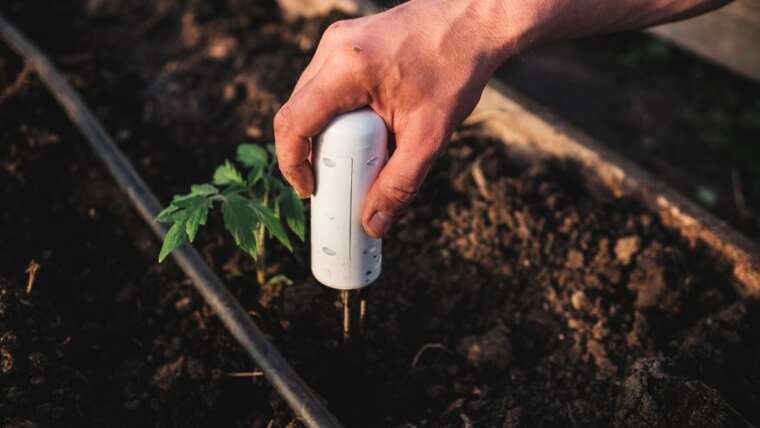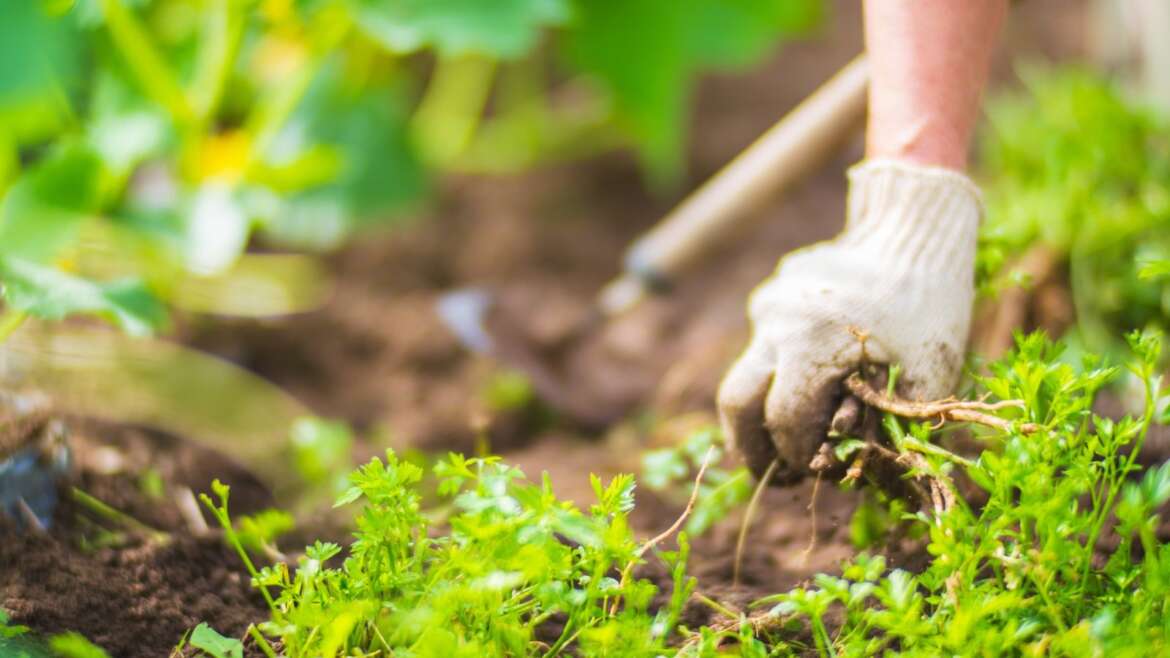
Weeds are pesky little plants—often non-native invasive species, they readily replace native ones. Pull them up, then turn them into fertilizer to bolster your ecosystem! Not only are you removing garden invaders, but you’re also adding beneficial nutrients to your soils.
There are ways for this from easy to heavily involved; whichever method works best for you is the one that fits in your schedule. If you’ve got a lot of weeds, try using more than one technique and reduce their populations.
A clever way to have never-ending fertilizer made of weeds is to leave dandelion roots in your garden. Pull their greens, use them as fertilizer, and wait. The in-ground roots re-sprout leaves that you can pull and repurpose again. With dandelions, you’ll never run out of fresh greens for fertilizer!
Some species spread rampant, even after you’ve pulled them. Keep reading to learn which ones to watch out for and how to use those eager self-spreading weeds as fertilizer.
Don’t Let Weeds Reseed
Many annuals go away when you remove their seeds.
Keep future headaches away by pulling weeds before they reseed. This eliminates hundreds of seeds from the seed bank, making weed control much more manageable in the future.
Many annuals go away when you remove their seeds. Perennials are tough, but removing their roots and seeds also makes them vanish. Some common invasives, like Scotch broom, sprout seeds that last over 50 years! Remove plants, and they’ll stop producing long-living seeds.
The only times you’ll want annuals to reseed is if you prefer them to stay. Some “weeds” are native plants that behave much better than their non-native plant relatives. Lance selfheal may look like European selfheal, but it’s a West Coast native plant with purple flower cones. Identify your weedy species, and you’ll earn a good sense of the herbs that grow where you garden.
Watch for Roots or Bulbs
 These invasive species require diligent removal.
Weeds to watch out for are ones with freely rooting stems, bulbs or bulbils, and lots of seeds. Lesser celandine is one terrifying example: it has tuberous roots underground, bulbils aboveground, and seeds. Removing it often spreads populations further, as the bulbils easily disperse in water or soil.
These invasive plant species require diligent removal. Depending on your infestation’s severity, it may need annual control over many years. But what should you do with all the tubers, bulbs, and seeds that may spread?
Avoid putting these invasive plants in your compost or using them as mulch. They’ll sprout roots and will creep into new areas. If it’s summertime, use the sun’s power to kill tuberous roots, bulbils, and stems. Put them somewhere without soil, like a tarp, driveway, or patio. Leave the pile under direct sunlight; the sun burns and dries them, preventing them from growing again.
If you have wet weather, this method won’t work as well. Try sealing the plant parts in a container without soil. Leave them be for at least three months and longer for long-surviving species. Then, if the they have started to decay, use them in compost, mulch, or buried deep.
Make Weed Mulch
 Dead vegetation decays and adds valuable organic matter to soils.
The easiest way to make fertilizer with garden weeds is by throwing them on the ground. Seriously, that’s it! Dead weeds are decaying organic matter, and they add beneficial nutrients to soils. Fungi and microorganisms eat them, turning death into life. Their waste adds nutrients, more microorganisms, and aeration to soils.
Watch out for readily self-propagating species like English ivy, kudzu, or lesser celandine. They’ll sometimes grow anew, rooting wherever you put them. Treat these plants with sunlight or sealed containers, per the guidelines above.
Weed mulch works well on pathways—as you walk, you tamp them down, aiding in their decay. It isn’t the greatest option for vegetable or ornamental garden beds because the plants easily resprout in the soft soil. Consider making compost if you’ve put weedy vegetation on your pathways and still have leftovers.
Create a Compost Pile
 Their green leaves feed bugs, microorganisms, and worms.
Adding weeds to your compost is an efficient way of recycling them into fertilizer. Their green, fleshy leaves feed bugs, microorganisms, and worms. Keep the pile alive with a continuous supply of herbaceous material—you’ll have a humus-rich amendment to refresh your garden beds.
A proper decomposition pile needs water, dappled sunlight, and air for decaying organisms to survive. You’ll want your piles to be moist but not soggy.
There are two easy ways to make these at home, either using hot or cold methods. Cold piles are easier but take longer than hot ones. Hot piles are the opposite; they’re labor-intensive but quick. Choose the one that seems right for you.
Hot Pile
 The heat, combined with decay organisms, turns these problematic plants into a black, crumbly amendment.
Hot compost is the most efficient method for recycling weeds and using them as fertilizer—it kills seeds, pathogens, and bulbs. The heat, combined with decay organisms, turns these problematic plants into a black, crumbly amendment. It needs two types of waste materials, called “greens and browns.”
Greens are fleshy plant material like vines, stems, leaves, roots, tubers, and bulbs. They also include kitchen vegetable scraps and coffee grounds. Browns are woody or dried; think fallen leaves, sticks, and straw.
Use a green-to-brown ratio of one to three. For every one part of fresh greens, you’ll want three parts of dead browns. Mix this up in a pile, and let it sit for a week. Turn it after the week’s over to feed it some oxygen.
Your pile should be visibly hot with steam within two to four weeks. Slow-working piles need more greens, and slimy or smelly ones need more browns. Turn your piles once a week to continuously upcycle your pesky weeds.
Cold Pile
 To make a cold pile, use the same green-to-brown ratio of one to three.
Unlike the hot pile method, cold composting requires little maintenance. The downside? It doesn’t destroy weed seeds. This means you might have volunteers wherever you put your finished soil amendment. More weeds means more green plant material, so if you continuously weed your garden this is no problem. If you’re worried about invasive species spreading further, you may want to opt for the heated method.
To make cold compost, use the same green-to-brown ratio of one to three. Turn your pile less often, once a month instead of once a week. Use a pitchfork and lift the layers, mixing them in. You’ll have a ready-to-use amendment in six to twelve months.
Use hot and cold compost if you’ve got a lot of weed waste. The cold method is convenient since you can make large piles and forget about them. Hot decomposition gives you quick returns, meaning you’ll have a speedy way to process unwanted vegetation.
Brew Tea
 Pour it directly into your garden near trees, perennials, and vegetables.
You won’t want to drink compost tea, but your plants will! It’s a great way to deliver nutrients quickly to plants’ roots.
Make it with these materials:
Take a scoop of compost, then put it in the cheesecloth, making a giant tea bag. Put this in your container, and fill it with water. Drop a little dropper full of activator liquid in the water.
Stir the mixture twice a day for three days—stir more often if you have the time. Aeration stimulates the microbes in the same way that turning stimulates piles. Some gardeners use a small pump with an aquarium bubbler to keep the tea aerated.
After three days you’ll have well brewed compost tea. Pour it directly into your garden near trees, perennials, and vegetables.
Use Cardboard
 Use chemical-free, unpainted, and unprinted cardboard.
Cardboard’s versatility is supreme! This paper material snuffs out weeds and provides a thin brown layer of nutrients. When used to stifle weeds, the paper and plant material decay, creating rich dirt underneath.
Use chemical-free, unpainted, and unprinted cardboard. This ensures that hazardous materials stay out of your precious garden soil. Place the cardboard in a single layer on top of the weeds. Then, add compost, mulch, or potting soil atop the cardboard. Plant directly into the dirt, or wait a few weeks before planting to let decay happen first.
This is also an excellent method for converting lawns into garden beds. Cardboard kills grass, decays, and creates a cozy home for new perennials or annuals.
Turn weeds into gardens with cardboard, and say goodbye to throwing free fertilizer in the trash. Non-invasive vegetation is nutritious for other plants, and an excellent resource for gardeners to utilize.
Key Takeaways
- Pull reseeding annuals before they flower or seed to keep weeds out of your garden.
- Be careful with tuberous roots, bulbils, and rooting stems. Kill weeds with these parts under direct sunlight, or seal them in a bag until they decay.
- Weed mulch is the easiest way to recycle weeds. Hot compost is the most efficient way to upcycle them.
- Don’t want to pull weeds? Use cardboard instead. Stifle plants with cardboard, then plant new ones in their place.