Celery’s origins lie in Eurasia, where it evolved by enjoying long, cool growing seasons. In North America, it thrives before the heat of summer and during autumn in warm winter zones. Grow celery alongside cool crops like carrots, beets, and kale.
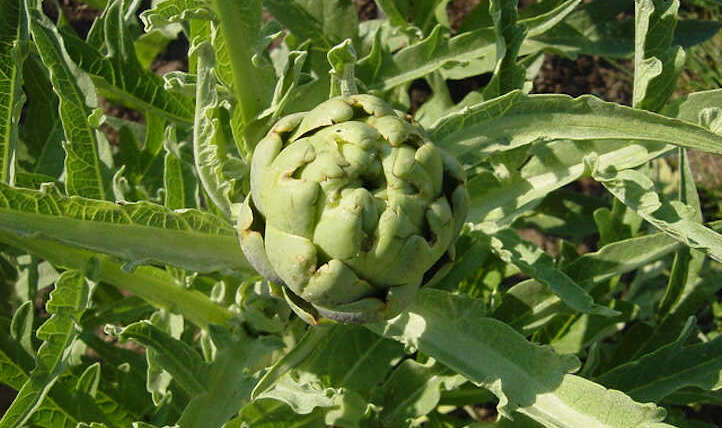
Celery’s scientific name is Apium graveolens var. dulce. It is in the carrot family, growing similarly to other carrot relatives. Strong stalks shoot out with leafy bunches at their ends. If left to flower, celery sprouts white umbels that mature into little brown seeds.
When choosing to grow celery at home, select some varieties you prefer to eat. ‘Utah’ is commonly available in grocery stores, so try this one if you like store-bought bunches. ‘Conquistador’ is a variable type that works well in multiple climates. It’s ready for harvest earlier than most other types.
Sow at the Right Time
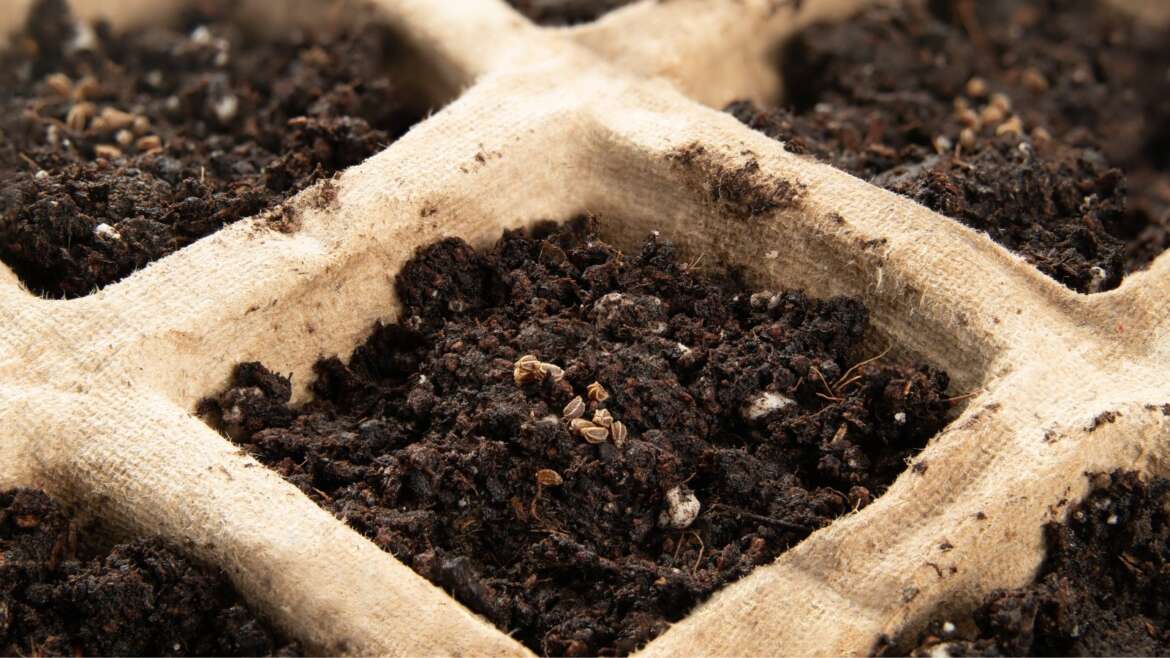
Start celery seeds indoors in biodegradable pots a quarter inch deep.
Once you’ve selected your variety, you’re ready to get planting. Celery thrives when daytime temperatures stay below 75°F (24°C) and when nighttime temperatures hover between 50–60°F (10-16°C). This time frame differs depending on your hardiness zone.
You’ll want to sow celery seeds 10 weeks before transplanting them outside. Transplant during fall, winter, or early spring for zones without hard winter freezes. Where winters are cold, transplant celery seedlings outside after the last average frost date in your area.
Sow seeds in biodegradable pots a quarter inch deep, then water well. Keep the soil moist, and place pots under bright light so seeds germinate readily. Biodegradable pots minimize root disturbance, although they are not necessary if you’d prefer to use other containers you have on hand.
Use Good Soil
 Amend poor soils with compost before planting to improve nutrient levels.
Celery appreciates moist, rich, and light soil. When direct sown, its roots can creep four feet deep! Transplanted specimens won’t reach quite as far, although they still appreciate deeply cultivated soil.
Where soils are poor, amend them with compost before planting. Mix a healthy layer of compost into your soil before planting seedlings. Then, after sowing or transplanting, add a thick layer of compost on top. Celery struggles to grow in clay soils, so amend nutrient-poor dirt weeks before sowing.
Celery is a heavy feeder, and nutrient-rich soil helps lower the fertilizer you’ll have to use. This crunchy crop needs organic liquid fertilizer every two to three weeks with water. The general recommended dose on your fertilizer’s instructions should work well.
Space Out Plants
 Ensure plants are adequately spaced for optimal airflow.
Celery varieties differ from each other, with some varieties growing tall and others remaining compact. Compact types can grow closer to each other than the larger ones, although all types of celery appreciate space around their root zone.
Place plants six inches apart in rows two feet apart. If you’re growing celery amongst other crops in a raised bed, give it at least six inches of space from its stalks to other plants. This helps airflow reach the plant, which keeps diseases and pests at bay.
Extra tall types, like ‘Utah’, reach 30 inches tall! They may need additional space as they grow big and tall. Look to packets or labels of the variety you’re growing for optimal spacing recommendations.
Blanch the Stalks (Or Don’t!)
 Enhance their flavor by blanching the stalks using a paper milk carton.
Growers blanch store-bought celery—blanching involves covering the stalks while they grow, protecting them from sunlight while allowing the leaves full sun. This causes stalks to grow milder and lighter colored than if they grew without a covering.
If you like the mild flavor of grocery-store celery, you might want to blanch your stalks. Blanch them by placing a paper milk carton, box, or paper covering around the stalks. Cut a hole in the top and bottom of the container so that both roots and leaves have access to air and water. Another way is to cover their stalks with mounds of soil.
If you’re looking for more flavorful celery, try leaving them unblanched. Unblanched stalks are crunchier, greener, and more flavorful than blanched ones. You can also try a self-blanching variety that naturally tastes mild and is a light color. ‘Golden Boy’ is one type with yellow-green stalks shorter than most other types.
Harvest Continuously
 Their leaves add tasty accents to soups and stews.
Celery sprouts multiple stalks from one central point. When you harvest each stalk on its own, you encourage plants to continue growing new stalks. Harvest continuously and you’ll have a constant harvest the whole season long.
Alternatively, you can harvest bunches all at once. Do this if you’re planning to use lots of this crop in a recipe or if you’d like to store it in the fridge before eating it. Cold storage milds celery’s flavor and lowers its bitterness.
Whether you harvest continuously or all at once, you’ll need a few weeks after planting before stalks are ready for slicing. While you’re waiting, try cutting some celery leaves off. They taste scrumptious chopped in soups, stews, and salads.
Final Thoughts
Celery is a lovely crop for raised beds. It is crunchier, more flavorful, and closer to ripeness than store-bought bunches. You also have the chance to try blanching or not blanching stalks and see if you like this vegetable either way.
Even if you decide not to grow it next year, you’ll have growing experience under your belt. Select a type like ‘Utah,’ follow these tips, and your crop will produce bunches of stalks before you know it!