Hard or compacted soil can be a real headache for gardeners. It can also be a difficult problem to remedy. This challenge is not because the solutions don’t exist, but because improving hard soil fast requires quite a bit of work. As my dad would say, it takes a lot of elbow grease.
Gardening as a whole requires a good deal of work and effort. The work of tending to plants tends to be more enjoyable. Planting, pruning, watering, and fertilizing can be pleasant and relaxing. But digging giant holes? Not so much. The process of amending hard soil is tedious and physically taxing. But if we want our plants to have strong, healthy roots, it is a process we can’t neglect.
Quick Fix
If you have insanely compacted ground, the absolute fastest way to improve hard soil is to grow on top of it. Instead of laboring away with garden forks and shovels, install a wood or metal raised garden bed on top of the poor soil and fill it with a quality loamy topsoil blend.
Microorganisms will slowly bring organic matter into the lower surfaces. Plant roots can also eventually reach down into the ground below, but for most of their life, they can enjoy all the benefits of a raised garden bed. You can also create hugelkultur mounds or lasagna gardens on top of hardened ground.
However, raised beds aren’t an option for every garden. Read on to learn how to improve hard soil for the long haul.
Why is Hard Soil a Problem?
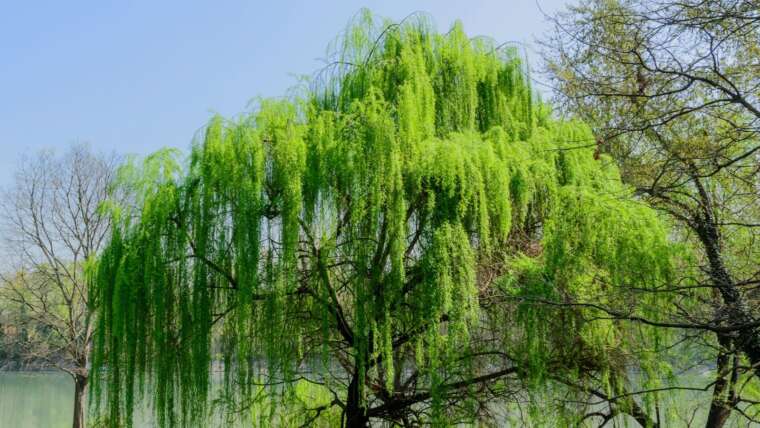
Healthy plants thrive with well-developed, loose soil for robust roots.
Plants require certain elements, like sunlight, moisture, and nutrients, to grow. They take in sunlight via the above-ground portions, and some moisture as humidity is also absorbed through leaves. However, plants uptake the bulk of their moisture and most nutrients from their roots. Logically, well-developed roots take in more of what the plant needs to thrive. On the other hand, weak, underdeveloped roots lead to weak plants.
The roots of most cultivated plants we like to eat develop best in loose soil that contains the right amount of moisture and nutrients for that specific plant. Root development directly correlates with plant health and vigor. A stunted root system won’t be able to take in as many of the elements they need to support a healthy plant.
If the ground is very compacted, the roots of our favorite veggies struggle to move through it. They also have a hard time absorbing nutrients and moisture. In dense and compacted conditions, the roots don’t develop well and plants usually struggle. Loosening and improving hard soil promotes faster growth and general root health.
How Does Soil Become Hard and Compacted?
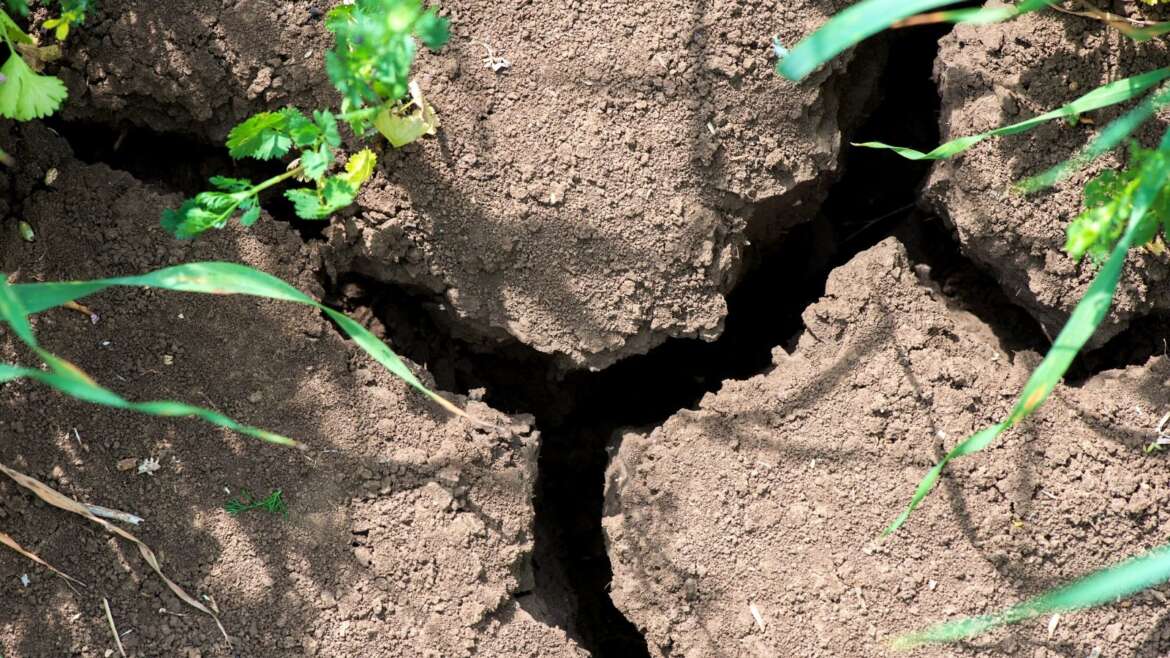
 Soil compaction results from various factors like composition and traffic.
Several factors may have caused your soil to compact. In part, soil composition plays a starring role. Soil composed of clay and silt, for instance, will compact more easily than sandy or loamy soil. Heavy clays are the most prone to compaction because of their tiny particles that get pressed together.
Low Organic Matter
A lack of decaying organic material in sandy soil can contribute to hard soil as well. Generally, soils with less than 2% organic matter are more prone to compaction and undesirable texture for growing many flowers and veggies. Loamy soil can compact, but it is less common because the higher levels of organic matter create a fluffy, aerated texture.
Traffic
Another cause of hard soil is continuous traffic. Areas that get a lot of traffic, whether by feet, wheels, or otherwise, are more compacted. Soil we regularly walk on or drive over gets all the air squeezed out. This presses the particles closer together and makes the soil denser.
Water
Water is another factor that influences soil compaction. This is specifically true for clay soil. When there is a continuous lack of water, the clay dries out and hardens. Then, when it does rain, the water takes longer to penetrate the hard soil and pools or runs off. So not only do plants in this hard soil have a difficult time developing roots, but they also either don’t get enough water, or they get waterlogged.
Too much water can also cause soil to compact. Heavy rain or overwatering causes soil particles to move closer together. This forces out air pockets and makes it denser. This water balance can cause quite a conundrum for those with soil that compacts easily. In addition to compaction, this scenario may cause drainage issues.
Tillage and Disturbance
Rototilling, heavy plowing, and mechanical disturbance are other major causes of hard soil. They may appear to temporarily fluff up the soil, but continuous tillage destroys soil structure over time. Soil naturally wants to aggregate (form moist clumps of organic matter), but tillage effectively puts your garden dirt in a metaphorical blender and churns it all to dust. The dust then settles and compacts into hard, difficult-to-work-with dirt.
So What Can You Do About Hard Soil?
Now that we’ve established the issues that arise from hard soil and what causes it, the question remains of what to do about it, and how to improve it fast. The best solution is always prevention, but that doesn’t help us out of our current predicament. Luckily, there are ways to fix your compacted soil. Once that is complete we can focus on preventing it from recurring.
Step One: Loosen Things Up
 Loosening hard ground requires patience, a shovel, and a garden fork.
The first steps to improving hard soil are by far the most labor-intensive, and they are not always fast. In fact, I wouldn’t blame you if you chose to hire out this portion of the task. Block out a significant amount of time, because this is the part that takes the longest.
The first step to loosening up your soil is to manually aerate it. There really is no short-term workaround for this. Tilling is one option, but ultimately, it can lead to the same compaction issues down the road. It’s better to use a shovel and a garden fork or broadfork to work the top layers.
Do this step while the ground is dry. If the dirt is too wet it will simply settle back in and dry out and harden again. This process usually takes more than one session. You don’t want the bed to compact again before you’ve amended it.
Break up the top layer as best you can. The looser, the better. A spade shovel can help break apart stubborn chunks of soil. A garden fork is useful if there is an abundance of roots present.
There are also long-term methods of improving poor ground. They involve piling organic matter on top of the bed routinely. This causes the soil beneath to break down and eventually become looser, but it can take several seasons. It doesn’t help if you need the bed loosened up for planting right away.
Step Two: Dig Deeper
 Deeply loosen the soil to foster drought-resistant plants with resilience.
If that first step was tough, buckle up! Step two is more of sweaty, but rewarding work. Once you’ve got that top layer broken apart, you will need to break apart the hardpan layers underneath. It is important to loosen deeply enough for plant roots to grow deep. Deep roots make a plant more drought-resistant.
A good rule of thumb is to loosen the soil at a depth of two shovel blades. This is the metal portion of the shovel. It’s usually right around one foot long. Loosening down two feet should be just right.
Once this step is complete, your job is not over. But things do get significantly easier and less strenuous at this point. Remember, if you do this correctly, you’ll never have to dig this garden bed again!
Pro Tip: Don’t begin this process if there is rain in the forecast. Rain will cause the ground to compact again. Then, it will dry, and you have to repeat these steps all over. Start this task when you will have at least two days of dry weather.
Step Three: Add Compost
 Maintain loose soil by incorporating aerated organic materials like compost.
Once the soil is all loosened up, you want to make sure it stays that way. As I mentioned, if soil gets wet in the meantime, it may harden again. This is especially important for heavy clay or silt.
The best way to keep that soil loose is to mix in materials that are loose and aerated. Improving hard soil fast requires a lot of organic material. If you are a composter, that compost is about to come in handy. Compost is the best substance to mix in with hard soil. It does not just combine with the compacted soil; it also adds valuable nutrients, fertility, and microbial activity. This enrichment will give your plants a strong start.
If you don’t have compost handy, there are plenty of alternatives. Some other materials you can mix in include grass clippings, straw, manure, sphagnum moss, or leaf waste. If your soil has a lot of clay, mixing in some coarse sand can help improve the hard texture, too.
Whatever amendments you choose, mix them in well. Pour your amending materials on top of the broken-up soil. Use your shovel to turn them over. Try to get the amendments mixed in as far down as possible.
Step Four: Mulch on Top
 Maintain soil quality post-planting with protective mulch layers.
Technically, your soil is now loosened and amended in a way that you should be able to plant. You can go ahead and do your planting at this point, but keep one thing in mind: You’ve improved the hard soil for now, but you must maintain it to prevent it from hardening back up.
A great way to do this immediately after planting is to layer on some mulch. Mulch serves multiple purposes in the garden. First, it helps to hold moisture. If your plot is in direct sun, the water will evaporate quickly. Mulch slows this evaporation, keeping the roots of your plants moist.
Mulch also protects against soil erosion. If you get a hard rain right after you amend your soil, the water could wash that soil away. This can expose the roots of your new plants, making them vulnerable. Mulch helps to keep that top layer of soil intact.
Mulch also breaks down over time and mixes with lower layers. The decomposing mulch adds nutrients while boosting overall texture. Essentially, it will continue the work of amending the soil so you don’t have to dig again!
Step Five: Go Organic
 Regularly add organic matter to maintain loose, fertile soil quality.
This step lines right up with the last, but it’s one that you can do now and again throughout the year. Think of this as a preventative, to keep from having to repeat steps one and two ever again.
Whenever you have some organic materials available, pile them on. When it’s time to rake leaves, use them as mulch. If you have some spare compost, add it to the top of the pile. If you happen upon an earthworm, this is the jackpot of soil improvement. Pick that worm up and put him to work, keeping the soil loose. You can also add vermicompost, peat moss, horticultural sand, shredded straw, and composted manure.
Over time, all of these organic materials serve two purposes:
- They boost overall nutrients, microbial activity, and water retention.
- They help the soil stay loose and fertile for the long term.
Step Six: Water Regularly, But Don’t Overdo it
 Maintain soil health with balanced watering to prevent compaction.
This is another maintenance step that is more preventative than immediate. If you think back, one of the events that contributes to compacted soil is a lack of water. This is particularly common for clay and silt-heavy soils. The clay or silt gets very dry and hard, and then the water just runs off rather than soaking in.
Conversely, too much water can cause soil to compact, making the ground dense and then hard again. Water causes the particles to close in and force out air. It also washes nutrients out of the bed.
Striking a balance is the best thing you can do. Water often enough to keep the soil from hardening, but not so much that it becomes soggy and dense.
Step Seven: Stay on the Beaten Path
 Protect soil health by designating paths to prevent compaction.
Another preventative maintenance step is to avoid traffic in that area going forward. You’ve probably planted things in this space, so perhaps this won’t be an issue, but it bears mentioning.
Heavy traffic is a major cause of hard, compacted soil. I realize that it can be impossible to eliminate all traffic from a space. If you have kids or animals around, there is only so much you can do to keep them from traversing the area. However, you can designate specific paths through the yard and garden for heavy traffic.
Final Thoughts
Improving hard soil is a labor-intensive task. In the long run, it will lead to significantly healthier and more vigorous plants. Once you amend, make sure to maintain it by taking preventative measures. Keeping your soil healthy is much easier than hauling in expensive topsoil.