These plants can be particular about their growing environment. However, they are sturdy plants and produce an abundance of colorful blooms when grown under the right conditions.
These tender perennials are sensitive not only to cold weather but to heat as well. They prefer the cool and mild temperatures of spring. Once the thermometer consistently rises over 70°F (21°C), they will stop blooming and go dormant.
Prolonging the growth and flowering of these plants involves giving them some shelter from heat. Some gardeners use shade cloth as the weather warms to keep their ranunculus plants cool.
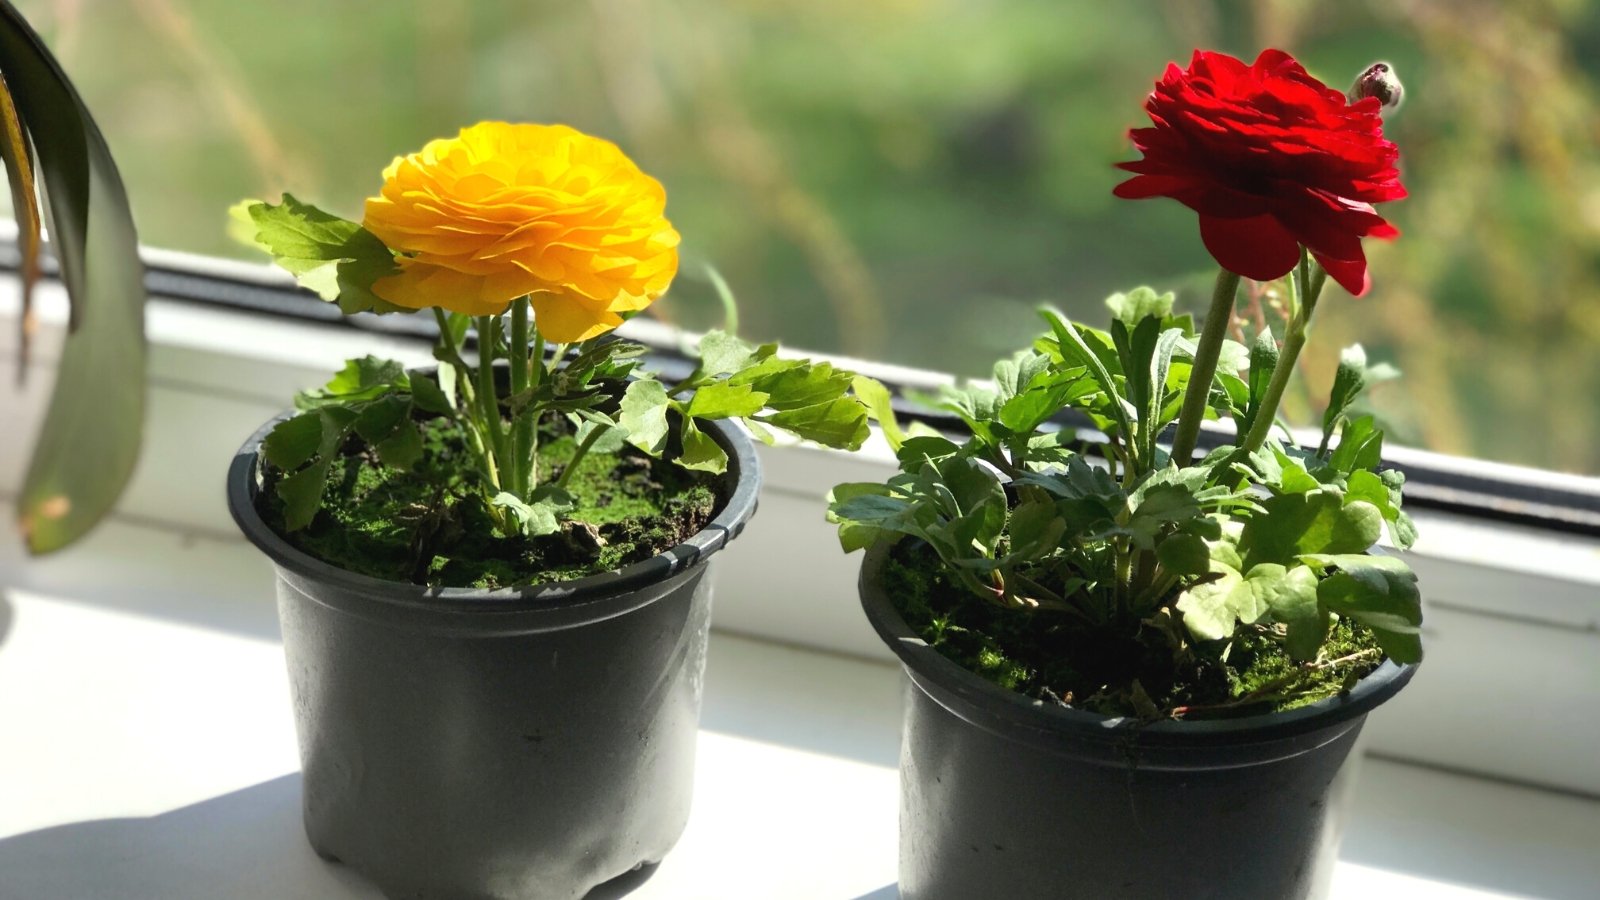
Another great option is to grow your plants in containers that you can move. While these plants prefer full sun, they will continue to grow and bloom longer with some shade. By growing your ranunculus in containers, you can adjust their location and sun exposure according to the weather.
Growing these plants in containers is no more difficult than growing them in the garden. There are some tricks of the trade. If you keep these tips in mind, you should have beautiful blooms in just a few short months.
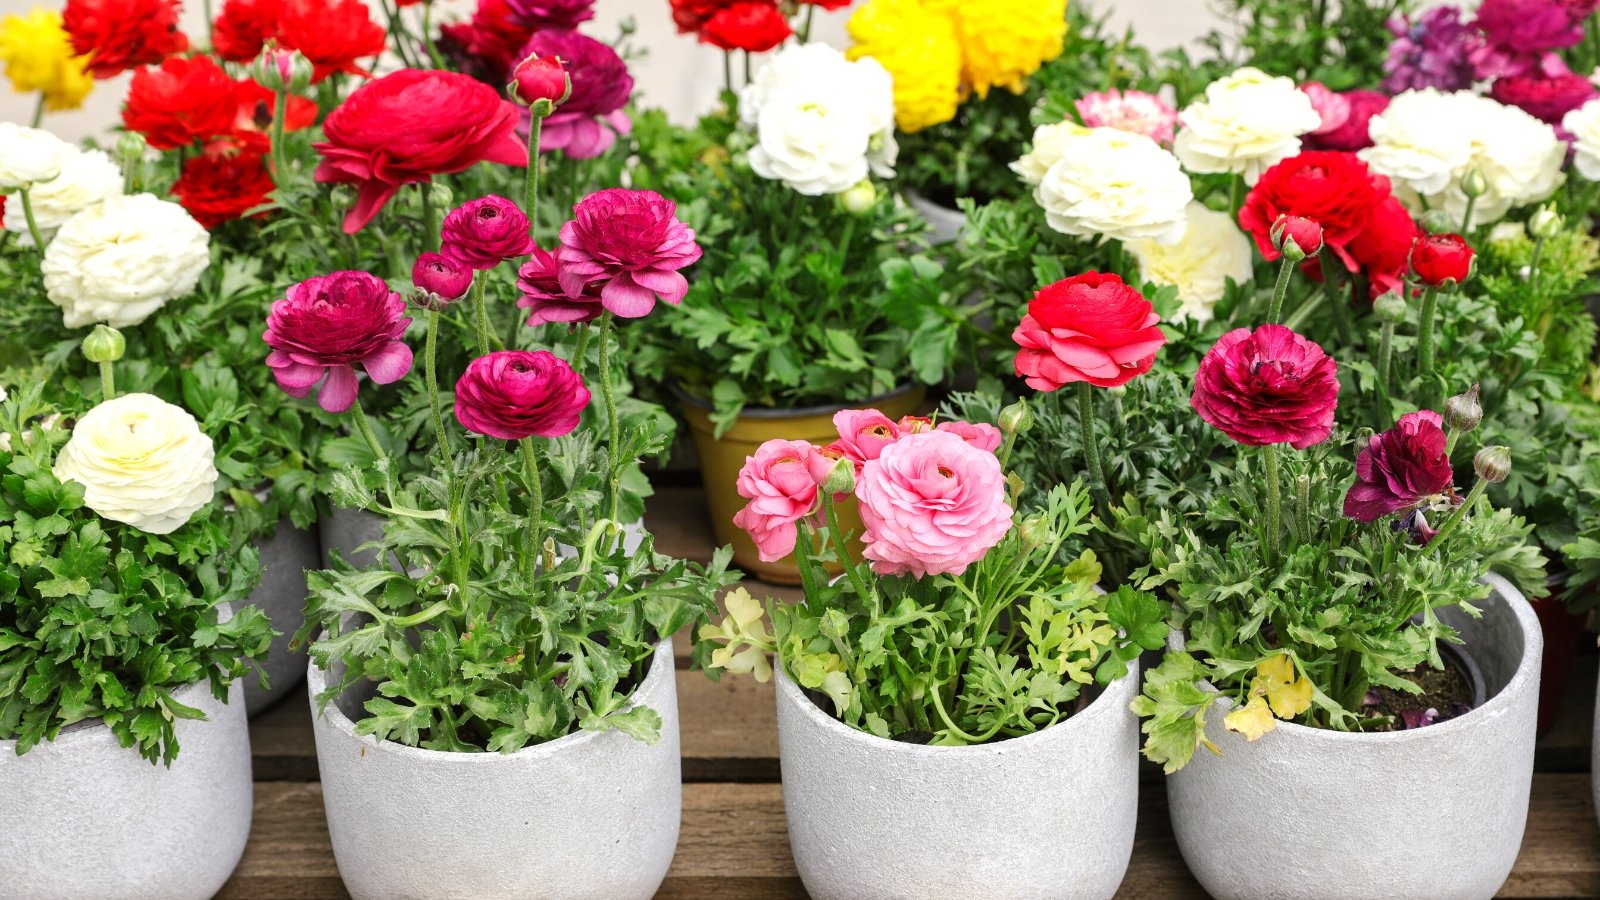
Choose Your Varieties
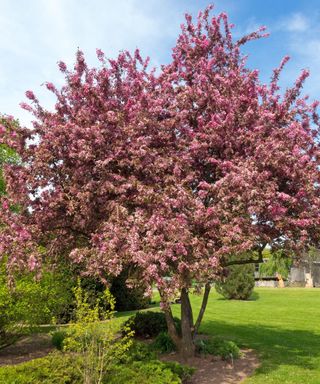
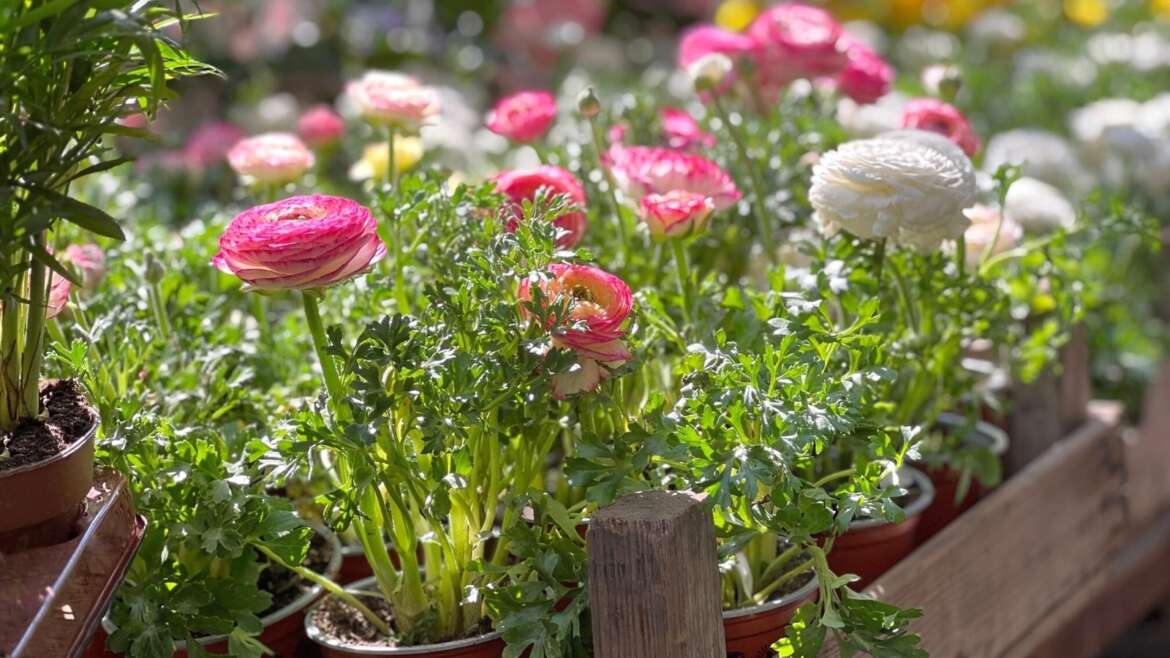
Explore the diverse beauty of Ranunculus flowers for your garden.
There are a multitude of different varieties of ranunculus out there. They come in a wide range of colors and a few different flower forms. The tightly packed and neatly arranged petals make these flowers popular among florists. They are particularly popular flowers for wedding design.
The first time I ordered corms I was a bit daunted by the sheer volume of varieties available. It was difficult to narrow my choices to just one or two types. You can purchase corms individually or in groups. You are likely to get a better deal purchasing a greater number of one variety.
I love a variety of colors, so I opted for just a few corms, each of several varieties. This is entirely a matter of personal preference. One variety is not more tricky to grow than another.
Plant at the Right Time
 Planting Ranunculus corms should be based on your climate for optimal growth.
The time of year you should plant your ranunculus corms depends on your climate. These plants are perennials in Zones 8-11, and with some protection, in Zone 7. In Zone 7, treat those growing in containers like annuals, as they are less frost-tolerant without the insulation they have in the ground.
Plants in containers are more susceptible to cold than those in the ground. Where your corms will withstand some freezing weather if planted in the ground, they will be less resilient in pots. The reason for this is that there is less soil to protect them in containers. Soil acts as an insulator for plants during cold weather.
In warmer climates, you can start your ranunculus corms in the fall. They will grow over the winter months and have a significantly longer blooming time in the spring. These plants prefer cool weather, so you want to give them as long as possible to bloom before the summer heat sets in.
In cooler climates, wait until spring to place your ranunculus in containers outdoors. These plants are somewhat frost-resistant once they’ve sprouted. But it’s a good idea to wait until the threat of frost passes in your zone.
Choose the Right Pot
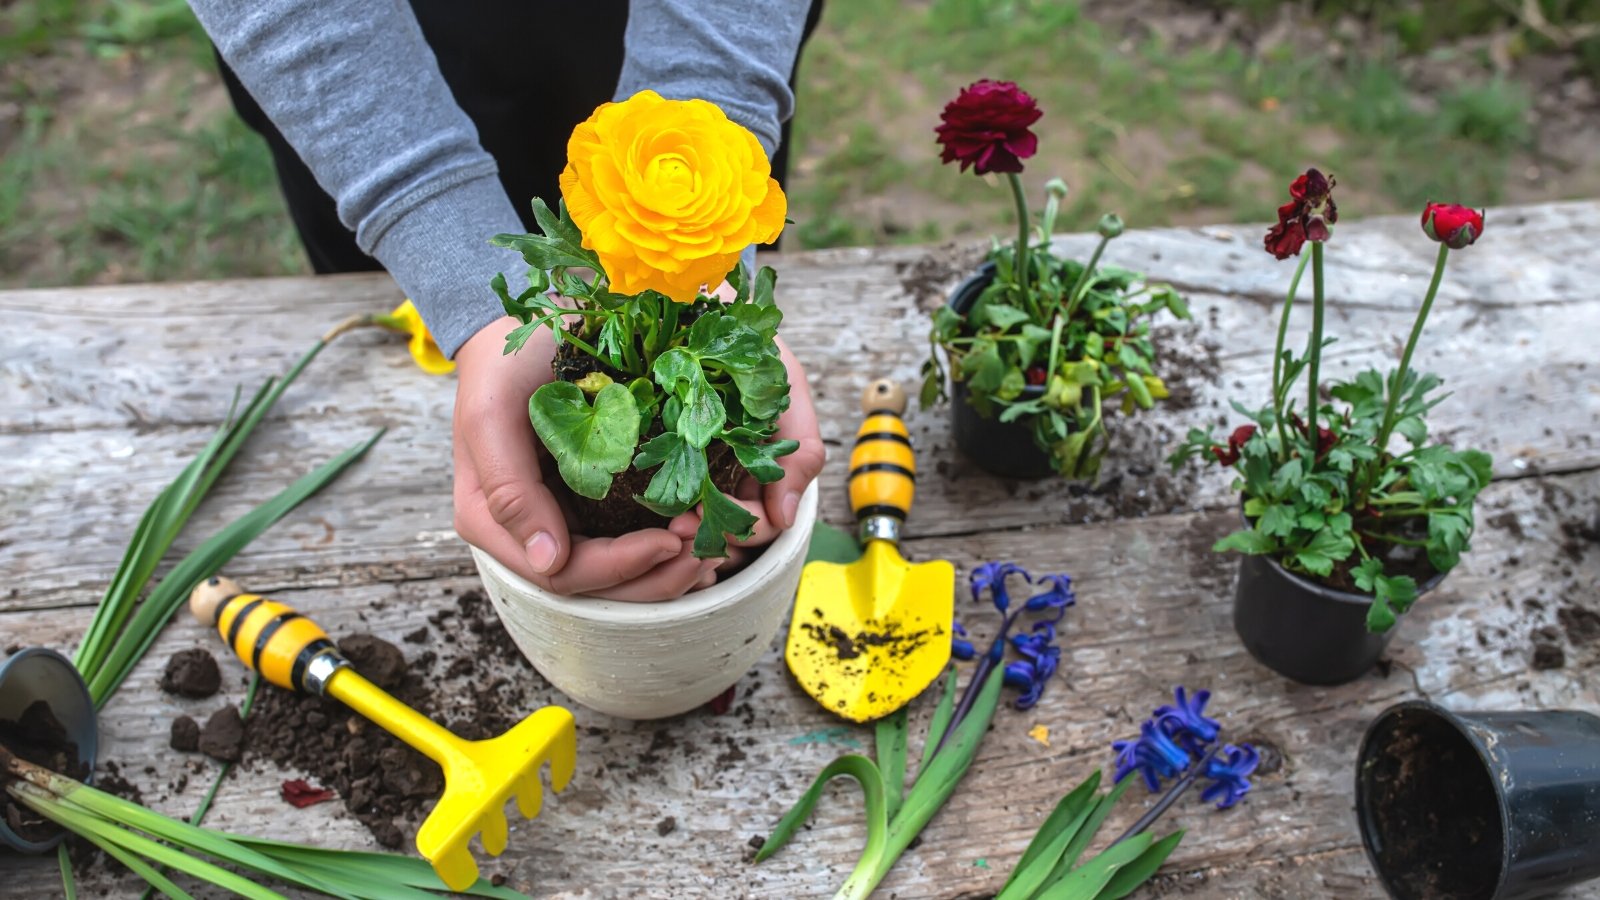
 Optimal container size and drainage ensure healthy Ranunculus growth.
When it comes to container size for ranunculus, width is more important than depth. These plants do not have deep root systems, but they prefer to have a bit of room to stretch out. As a general guideline, you can plant one corm in an eight-inch pot, two in a 12-inch pot, and three in an 18-inch pot. You can go as large as you want. Just try sticking to this ratio for the best results.
Drainage is important for these plants, so make sure you choose a container that has adequate drainage holes. If your corms or roots get water-logged, you could end up with root rot. Terracotta pots are great for growing ranunculus. These containers wick water from the soil, which helps to prevent fungus in the soil.
Use the Right Soil
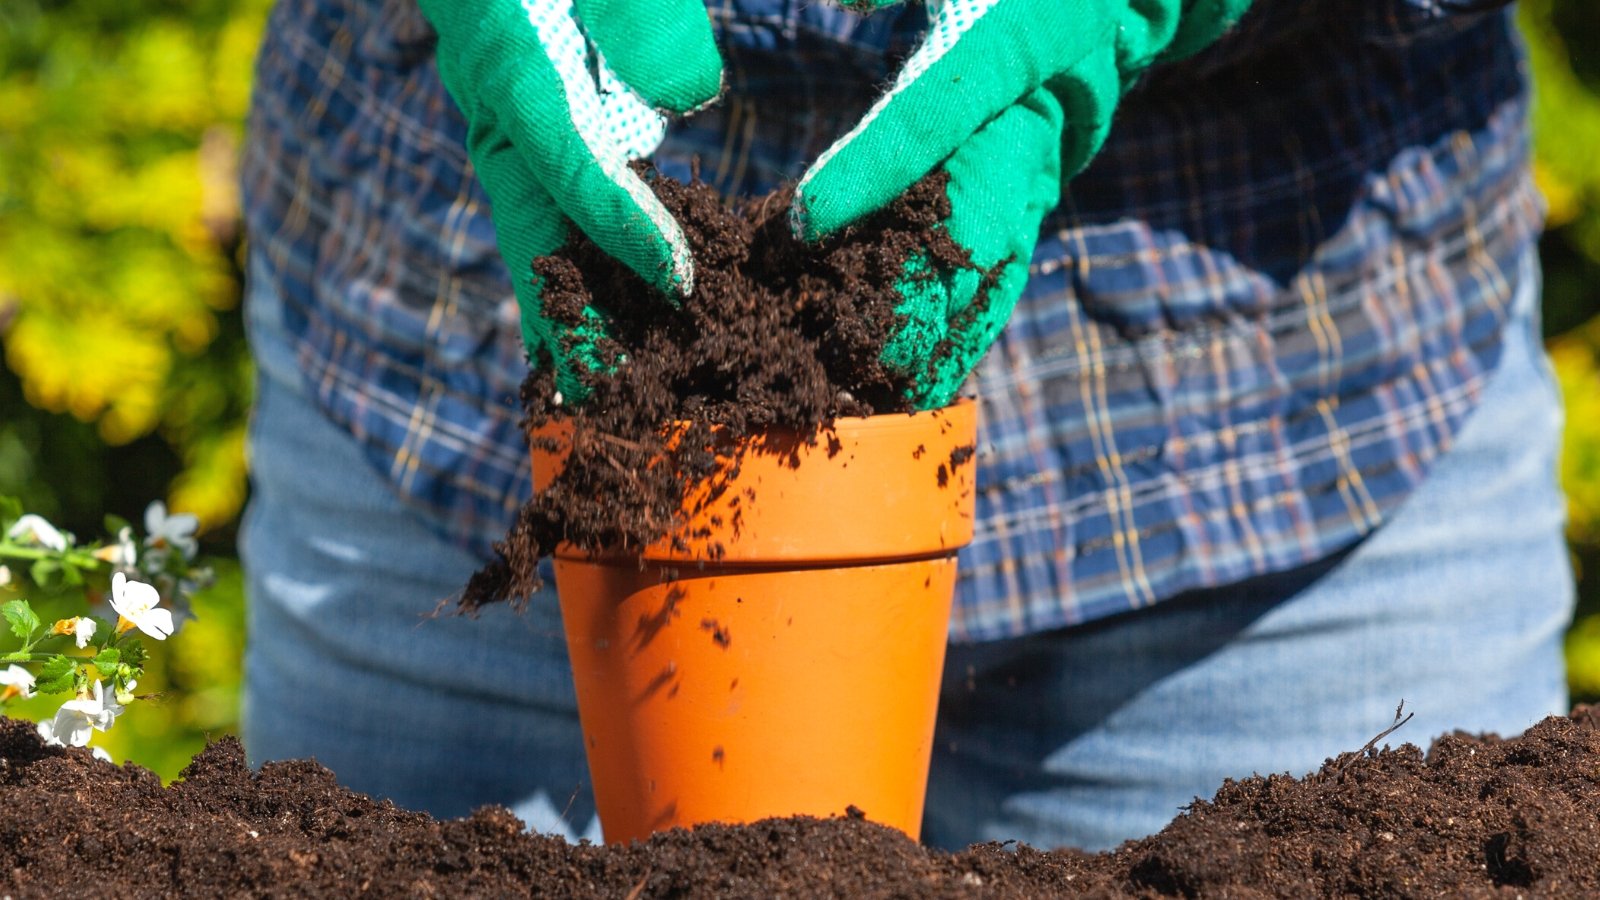 Ensure well-draining, nutrient-rich soil for thriving Ranunculus plants.
There are two main factors to consider when choosing a soil mixture for your ranunculus plants. As I mentioned, these plants have roots that are sensitive to fungus and overwatering. If your potting mix is too dense and doesn’t drain properly, you could run into problems.
Equally important is the nutrient density of your soil. These plants like loamy, organically rich soil. Most standard potting soil is appropriate for this plant. If you want to give your plants an extra boost you can mix some compost in with the soil. This will help to feed your ranunculus plants and give them a healthy start.
Soak Your Corms
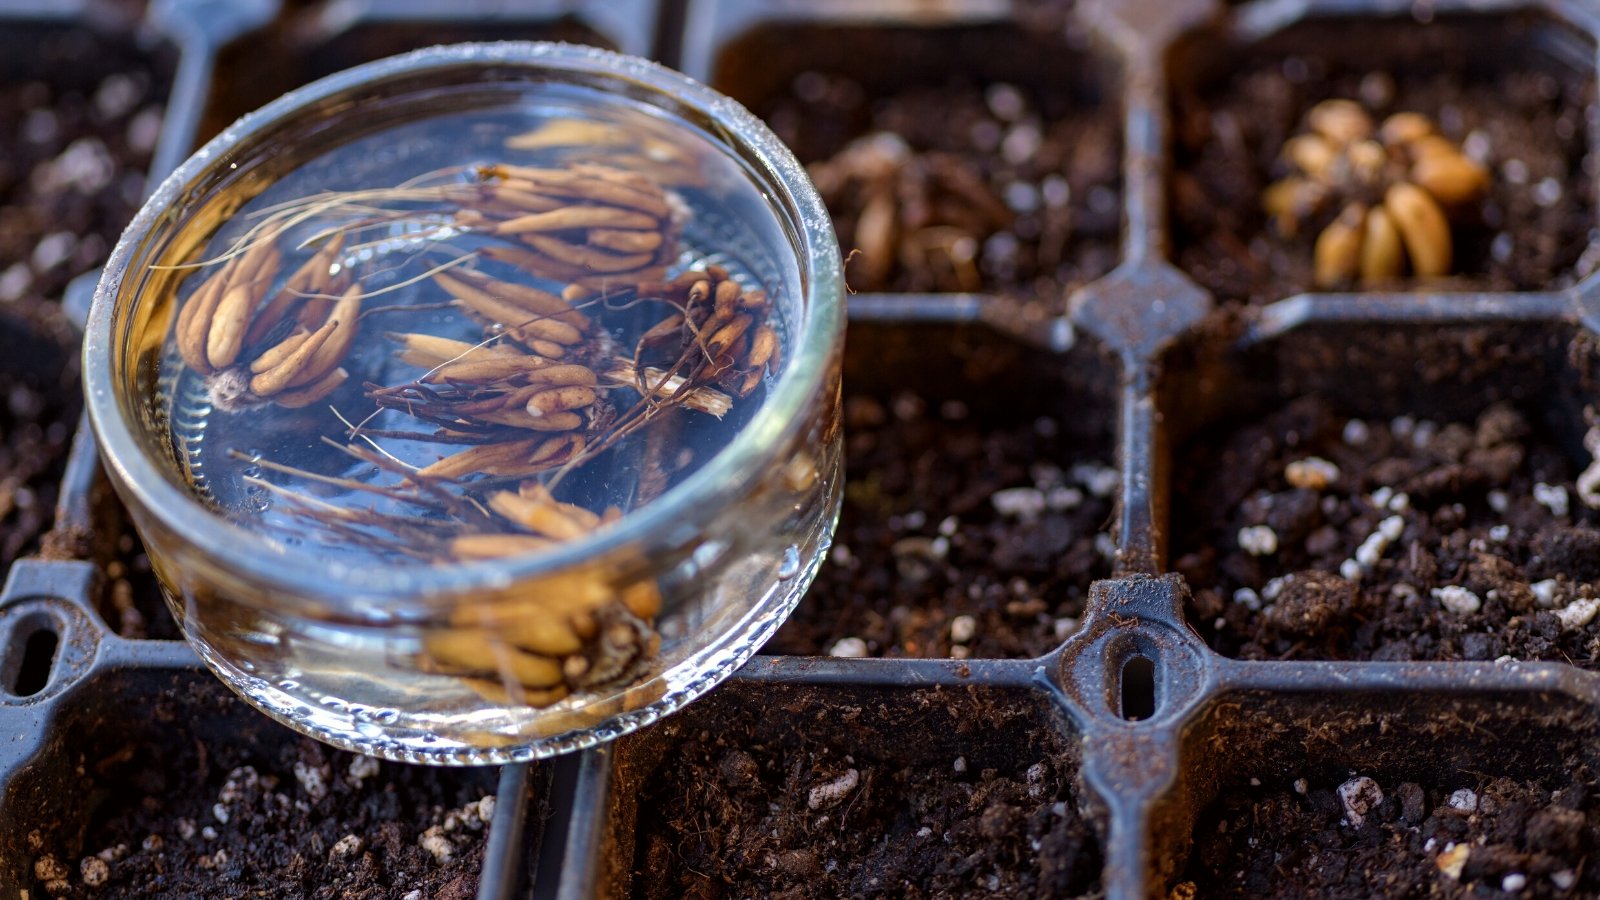 Revitalize ranunculus corms with a brief, room-temperature soak.
When preparing to store ranunculus corms, they are first cured. Curing involves allowing the corms to dry so that you can store them without struggling with mold and fungus. Soaking your corms in clean water before planting will help to speed the sprouting process.
Your corms don’t need to soak overnight as some seeds do. Soaking them for too long will cause them to soften and begin to break down. This can ultimately cause them to rot. You want to soak them just long enough to revive or reconstitute them.
Soak your corms in room-temperature water. There is no need to use hot water as you aren’t trying to break down an outer casing. Your corms should plump up in about four hours. As an added protection against fungal diseases, you can add a fungicide to your soaking water. For the last 45 minutes to an hour, add a biological fungicide to the water.
Pre-Sprout Your Corms
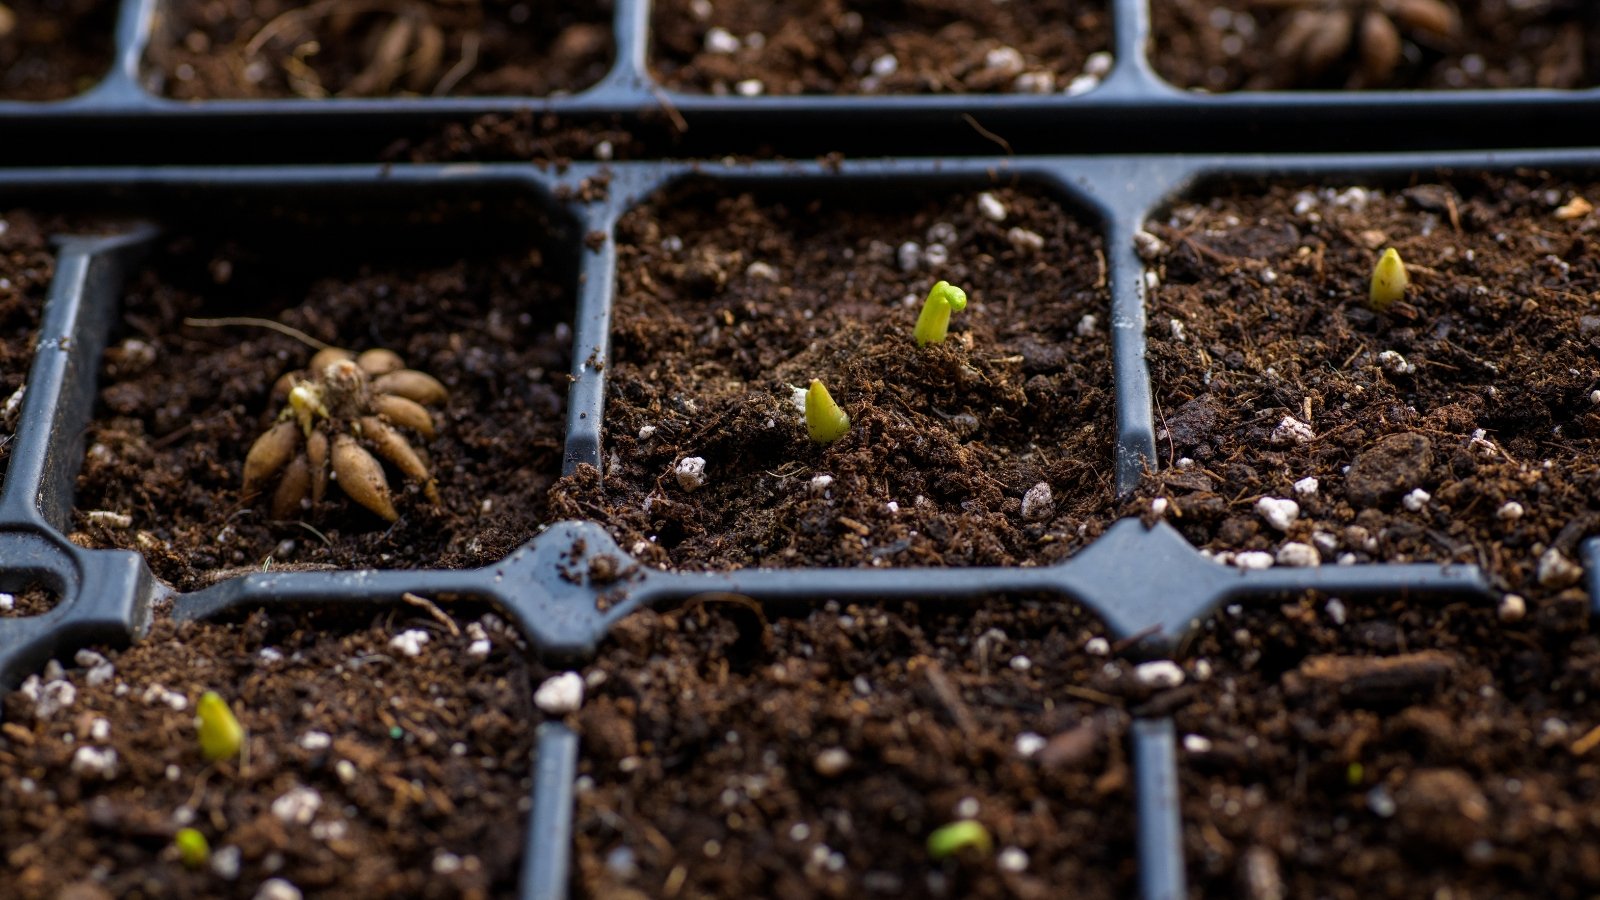 Kickstart your ranunculus growth indoors for extended blooming periods.
This step is optional when growing your ranunculus plants in containers. When planting them in the ground, it is a good idea to pre-sprout them indoors, as you would start any seed to transplant. The benefit of pre-sprouting is that you can get your corms started earlier in cooler climates. You can get ahead of the curve by starting these flowers early to extend your bloom time.
If you have the space indoors, you can plant your corms directly in the pots. Do this several weeks ahead of your last predicted frost. If this takes up too much space, it’s just as easy to sprout your corms in a shallow seed tray. These plants don’t have any issues with transplanting, especially when you move them while they are still young plants.
To pre-sprout your corms, fill a seed tray with a few inches of moist potting material. You don’t want your potting medium overly wet, just lightly moistened. Place the corms in your trays with the finger-like structures facing down. Cover them with an inch of soil.
Place your seed starting trays in a cool, dark space. A basement or garage is an ideal spot for this. Any place with a temperature between 40°-50°F (4°-10°C) is perfect. Avoid any space where your corms could freeze. If you have space in a refrigerator, that is a good spot, as well.
You want to keep the corms in the dark, as the focus during this time is developing a strong root system. The objective is not for the plants to grow foliage at this time. Water only when the soil is dry, and do so sparingly. In a few weeks, you should see a small sprout pop up. When the weather permits, you can transplant your sprouted corms and place them outdoors.
Space Your Plants Properly
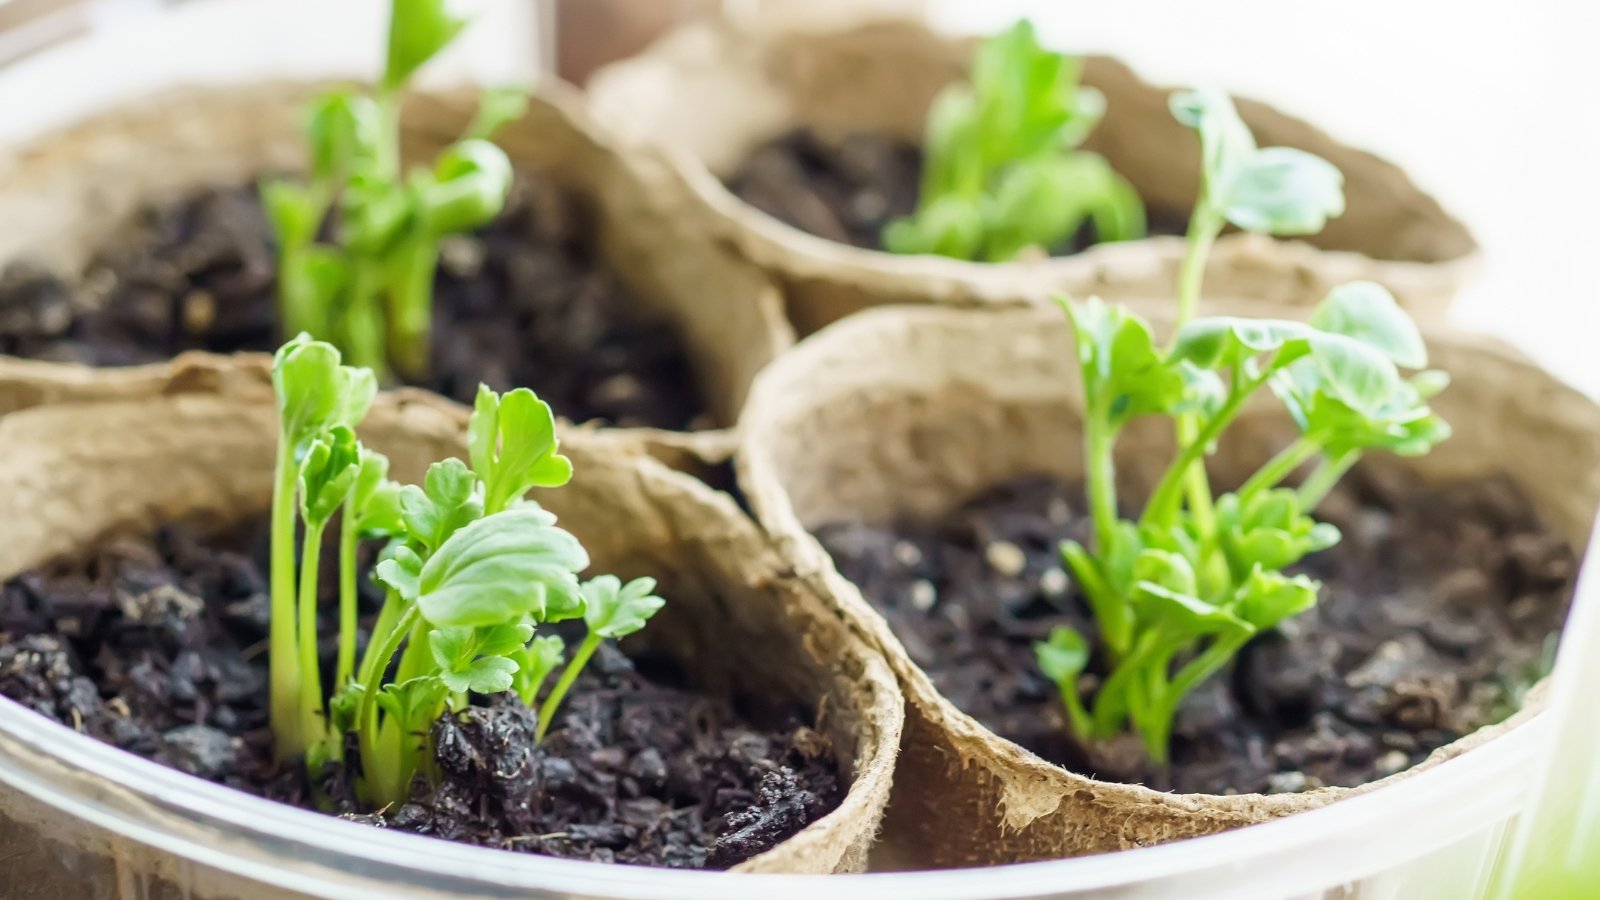 Optimize spacing for vibrant ranunculus blooms in pots or garden.
When planted in the ground, the general guideline is to plant your corms nine inches apart. However, when planting ranunculus in pots, you can plant them closer, using six inches as a proper space. An eight-inch pot should only have one corm, but a 12-inch pot can support two.
As with your pre-sprouting, plant corms with the finger-like structures pointing downward. Place your corms in holes of two to three inches deep and cover with soil. Moisten the soil after planting, but don’t overwater. Until your ranunculus has some foliage to support it, it won’t require much water.
Water Sparingly
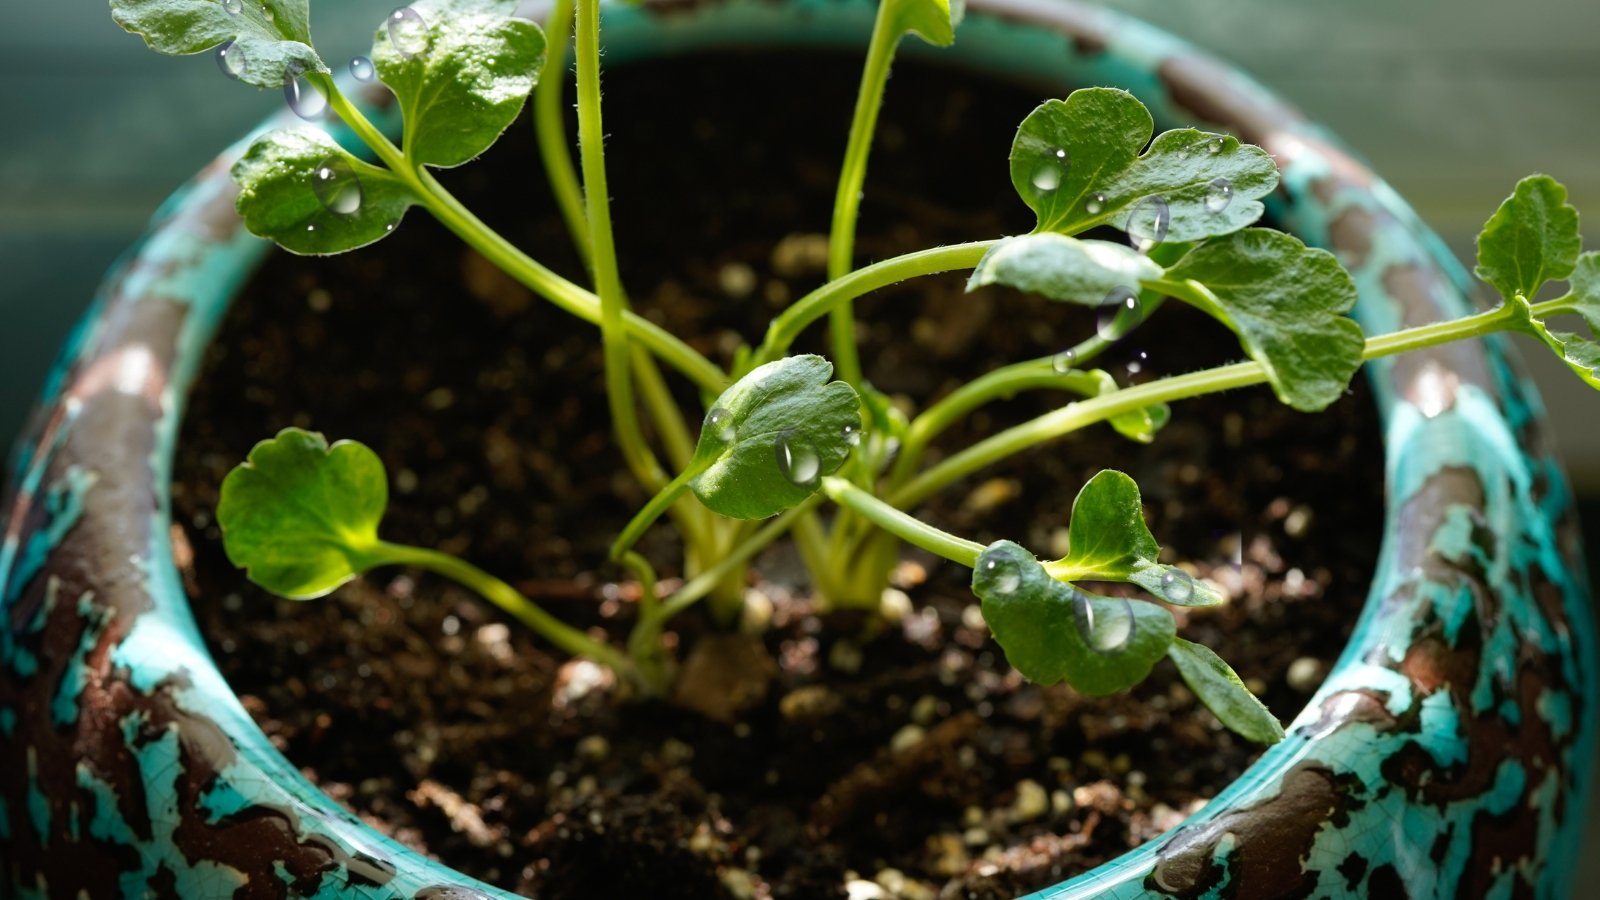 Prevent root issues by watering young ranunculus plants sparingly.
At the risk of sounding redundant, it is important to avoid overwatering your young plants. The corms are vulnerable to fungus and root rot. Until there is foliage to support your young plants, they won’t absorb much water, so they should be watered sparingly.
Watering frequency depends on a few factors. The climate plays a role in how often your plants need water. In warmer weather, you will need to water them more often. The container size is another contributing factor. A larger pot will not dry out as quickly as a smaller one.
The best guideline to follow is to feel the soil routinely. When the surface of the soil is dry, water your ranunculus. As long as the foliage is green and there are blooms present, the soil should remain moist but not soggy.
Give Them the Right Light and Temperature
 Control sun exposure to maximize ranunculus blooming in containers.
Growing ranunculus in pots is an advantage in warmer climates. Specifically, it allows you to control the amount and timing of sun exposure. The longer you can protect your plants from the heat of the summer sun, the longer they will bloom.
These are cool-weather bloomers, so once the weather heats up, they will stop blooming. In cool weather, place your potted plants in full sun, giving them as many hours as possible. This will help them to produce the maximum number of blooms.
As temperatures rise, prolong the life of your plants by shifting them to a spot with partial shade. If possible, give your ranunculus plenty of sunlight in the morning. The afternoon sun is hotter and harsher. Giving your plants shade in the afternoon will help to keep them cool and extend their season.
Temperature and sun exposure go hand in hand. Expect your plants to thrive and perform their best while the weather is cool and mild. The ideal temperatures for ranunculus are between 35°-50°F (2°-10°C) at night and 60°-75°F (16°-24°C) during the day.
In the event of an unexpected drop in temperature, it is best to bring your plants indoors. This isn’t always possible, so if you’re unable to bring them in, cover them. A frost cloth will help to protect the foliage. Although, in my experience, the foliage of these plants will survive a light freeze. Anything lower than 25°F (-4°C) will kill your plants.
We talked about limiting sun exposure to the morning sun as the summer months draw near. Another way to keep your ranunculus plants cool is by using shade cloth. Just make sure they get four to six hours of sun in the morning.
Fertilize
 Boost its growth with organic compost for strong, healthy plants.
Mixing some organic compost or manure in with your potting soil is a great idea. This will help to give your ranunculus the nutrients they need to get a strong start. In terms of additional fertilizer, hold off until your plants are established. Fertilizing your ranunculus before they have developed appropriate foliage can burn the roots and young plants.
You won’t need to fertilize these plants often. Once per month is plenty. Kelp and fish emulsion are popular fertilizing agents for ranunculus plants. Once the plants begin to bloom, you can hold back on fertilizing unless they seem like they need extra nutrients. Potted plants often require more frequent fertilizing than those in the ground.
Cut or Deadhead Regularly
 Encourage abundant blooms by regular cutting and deadheading.
Most plants respond to cutting or deadheading with an increase in flower production. Ranunculus is no exception to this rule. The more you cut your flowers, the more your plant will bloom. Fortunately, these plants produce excellent cut flowers. They have long, slender stems and an outstanding vase life.
If you cut your flowers while they are still in the bud, the vase life is up to 10 days, and sometimes longer. You can wait until the blooms open to cut them. Expect the flowers to last for about a week in this case. The flowers tend to be delicate once open and more difficult to transport.
If you miss out on cutting for a while or choose to leave flowers intact, you will end up with spent flowers. In this event, simply deadhead. Snip off the entire flower stem once the bloom is spent. Your plant will redirect energy into forming new flowers.
Final Thoughts
Ranunculus are simply stunning, whether in the garden, grown in containers, or in cut floral arrangements. You will love watching their beautiful flowers unfurl. Their shallow roots and cool weather nature make them great for growing in moveable pots. Follow these tips for healthy, robust plants with a long blooming season.