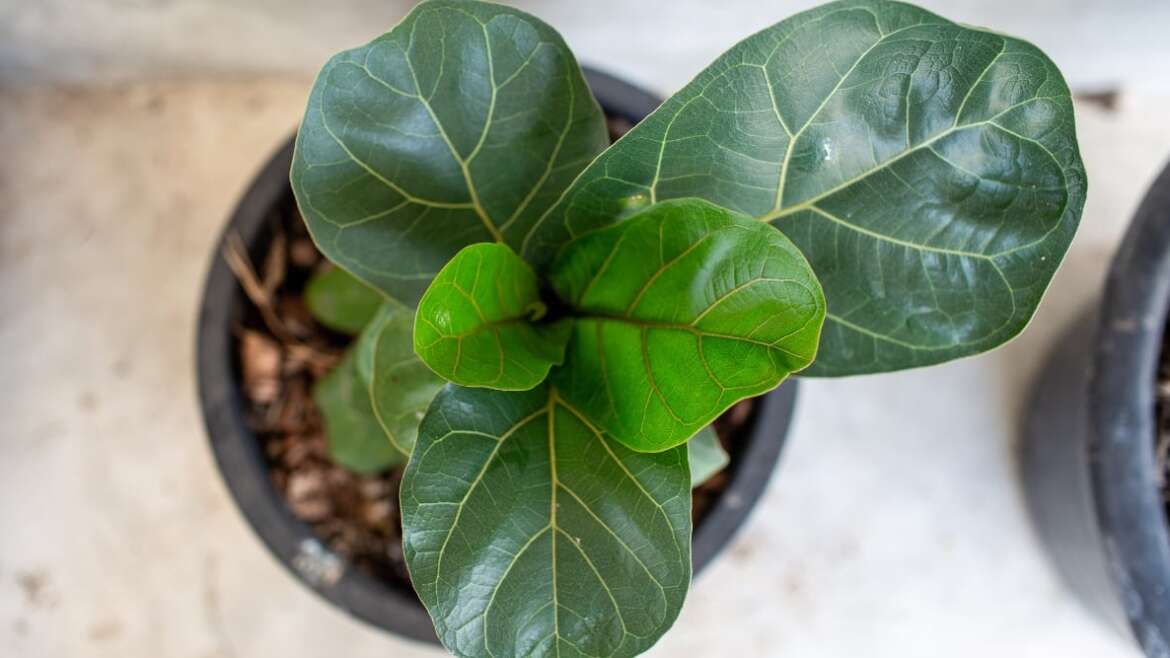
Repotting is a houseplant task that’s easy to forget about. It shouldn’t be done too often, but when you go years between repotting sessions, it’s so easy to forget when your plants need some extra room and a soil refresh.
If your fiddle leaf fig is growing slowly and looks a little sad, lack of space may be the culprit. Follow these easy steps to repot and help your tree grow to its full potential.
When Should You Repot?
Ficuses typically shed leaves and require an extended recovery period after being repotted.
Repotting can be a stressful experience for plants. This is even truer for fussy fiddle leaf figs that hate any meddling or changes in conditions. Ficuses often drop their leaves and take a while to recover after repotting, so it’s best to repot only when absolutely necessary.
But how will you know when that is? There are a few signs to look out for that indicate your fiddle leaf is struggling and needs more room.
The first is densely packed roots circling the bottom of the pot or peeking through the drainage holes. This indicates the roots have no more room to expand and need a new container. In severe cases, you may even notice roots emerge through the top layer of soil.
This root stress will limit moisture and nutrient uptake, leading to stunted growth. Stunted growth can be hard to identify and treat, largely because there are so many potential causes. But if you haven’t repotted in several years and don’t see any new growth, it’s time to inspect the roots.
Soil conditions can also be an indicator that your plant needs repotting. Soil inside containers will disintegrate over time, not holding onto as much moisture and nutrients as before. If you find yourself having to water far more often, with most of the water escaping out the drainage holes, your fiddle leaf needs a soil refresh.
Repotting in spring is best, but if any of these signs are causing serious growth issues, it is better to repot immediately, no matter the season.
What You’ll Need
The repotting process isn’t complex, and you don’t need any specialized tools to get it right. All you need is a new container and some fresh soil mix. I also recommend adding newspapers to the list; you’ll see why it’s a good idea.
New Container
 Opting for a container significantly larger than the current one can hinder growth.
Outdoors, Ficus lyrata can reach well over 40 feet tall. But indoors, their growth is much slower and more manageable.
You don’t need to purchase a new pot suitable for a 30-foot tree when repotting. In fact, choosing a container that is far larger than the current pot can actually stunt growth. A little compression around the roots boosts growth above the soil, and any excess soil will hold onto too much moisture, potentially leading to root rot.
For young plants that are growing rapidly, a pot around 25% larger than the current container is ideal. This will give the roots enough extra room without overdoing it. For larger trees that have done most of their growing already, choose a container one or two sizes up.
Your new pot should also have drainage holes at the bottom. Without drainage, excess moisture won’t be able to escape, increasing the risk of fungal disease.
Soil Mix
 To ensure optimal growth for your tree, the soil mix you choose is crucial.
Your new soil mix will have a massive impact on your tree’s growth going forward, so it’s vital to get it right. Since they don’t like changes in conditions, I like to start by looking at the soil the tree is currently growing in, assessing the components, and trying to replicate the same texture as best I can.
My standard houseplant potting mix I use on most plants is a combination of two parts potting soil, one part coconut coir, and one part perlite. For these plants that love plenty of air around the roots, I also add a few handfuls of bark to increase spaces between soil particles and boost drainage.
If you don’t want to make your own soil mix, look for a high-quality houseplant-specific soil mix online. Don’t use regular potting soil when growing indoors, as it typically holds onto too much moisture to satisfy ficus lyrata.
Newspaper
 If outdoor space is unavailable, using newspapers can be very beneficial.
The final item is optional but very helpful, in my opinion. If you have a large fig, repotting is an incredibly messy job. My advice is usually to repot outside if you have the space. But if you don’t have any outdoor room, newspaper will be your best friend.
As you lay your fig tree on its side, the soil will inevitably spill out of the container. The problem only gets worse once you start teasing the roots and removing old soil. You can try to do this over an empty bucket, but I will admit I have never been successful in repotting without a mess, especially for larger trees that are tough to hold in one hand.
Laying newspaper down beforehand protects your flooring and makes cleanup much easier. Simply wrap up the soil in the newspaper and toss it outside or in the trash.
How To Repot
With your new container and soil ready, it’s time to repot.
Remove The Plant From Its Container
 Avoid pulling forcefully from the branches, especially if done near the top of the plant.
Start by removing the plant from its current container. For smaller fiddle leaf figs, you may be able to lift the plant out at the base with one hand. For larger trees, lay the pot on its side and gently maneuver the tree out of the container.
If your tree is stubborn, squeeze the sides of the pot to release any stuck roots. You can also run a knife along the edges of the container if your pot is not malleable. Whatever you do, don’t pull hard from the branches. This can cause damage and leaf loss, especially if you pull the plant out closer to the top.
Tease And Trim The Roots
 Pay attention to the roots on the sides and remove some of the old soil.
Set the old container aside and take a closer look at the roots. They will likely be wrapped around each other at the bottom of the pot. To allow these roots to expand outwards in the new pot, gently use your fingers to tease and release them. Pay attention to roots on the sides, too, removing some of the old soil as you go.
It’s important to be as gentle as you can, but don’t worry if a few roots break off. As long as the root ball stays intact, the roots will grow back.
This is also an opportunity to check the roots for signs of damage and trim if needed before replanting. You can also trim roots back if you want to control the size of your tree. Make sure you use sharp and clean shears to avoid the risk of disease.
Plant In New Container
 Ensure that the top of the root ball remains just below the pot’s rim, not exceeding it.
Next, fill the base of the new container with a little soil mix and lower the plant inside. The top of the root ball should sit just below the rim of the pot – not above it.
Hold the tree in the center with one hand and fill in the gaps with more soil mix with your other hand. The soil line should end a few inches below the rim of the container to stop soil from spilling out as you water.
Once the tree is central and there are no gaps, press down around the base gently. This will remove any large air pockets and anchor the roots in place.
Water Immediately
 Damp soil promotes root expansion.
As soon as you’re done, water immediately. Roots don’t appreciate being exposed to the air, and moisture will help them settle in their new home. Moist soil will also encourage the roots to spread out into the new soil.
After Repotting Care
 If you observe yellowing or drooping leaves post-repotting, don’t worry.
After repotting, place your fiddle leaf back in its previous spot. Keeping it in the same environmental conditions it is used to will help it settle quicker and reduce stress.
Don’t panic if you notice some yellowing or drooping leaves after repotting. It may take a while for your tree to adjust. Maintain your care routine, don’t make any drastic changes, and growth will eventually go back to normal.
Final Thoughts
Repotting may seem like an onerous gardening chore, but it doesn’t have to be difficult when following these steps. Don’t do it too often, but don’t put it off either.


