Take a look at any recommendations for gardening on a budget, and sowing seeds will likely appear near the top of the list. Seed-starting is a great way to fill your garden with lush plants without having to spend a fortune on mature species from your local nursery.
But for the ultra-frugal who already grow everything from seed, you may be looking for even more ways to save cash. In that case, I’ve got you covered with these seven tips for seed starting on a budget.
Use Seeds From Your Garden
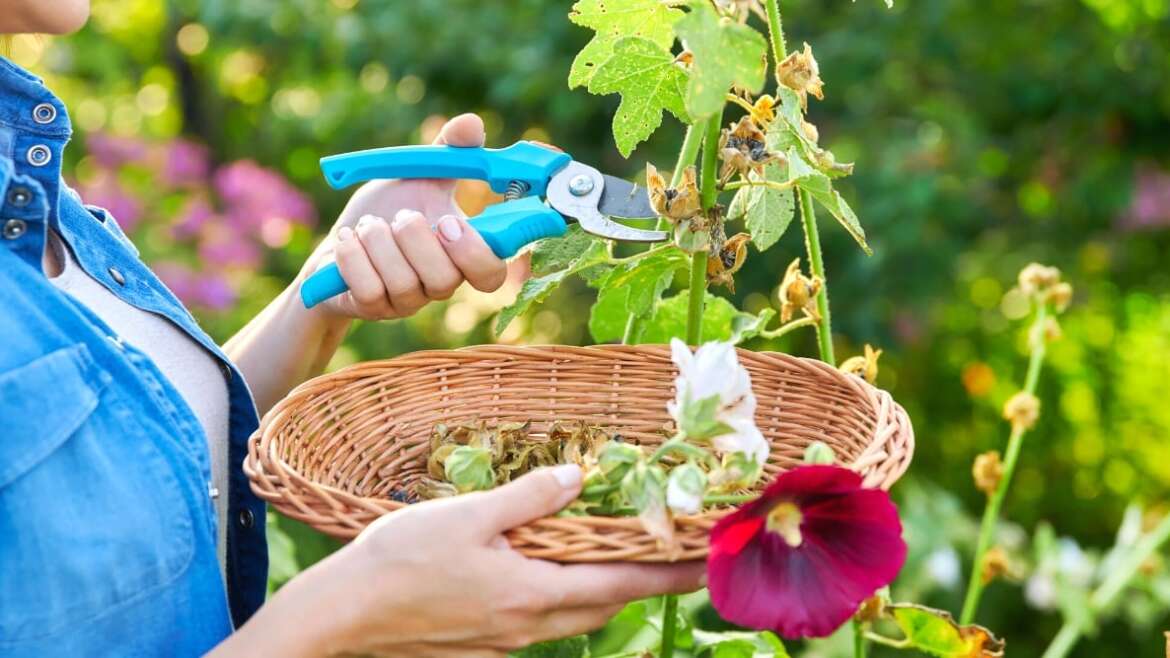
Save seeds from your garden to cut down seed starting costs.
The first tip is one that requires some planning in advance – saving seeds from your garden to replant. Buying seeds is not the most expensive part of seed starting, but the costs can add up if you’re looking to fill a large space in your garden with mountains of seeds.
The plants in your garden will hopefully produce hundreds (possibly more) of tiny seeds that you can collect and replant each year to save money on purchasing new seeds. This tip probably won’t help this season if you haven’t collected them already, but it’s a good one to keep in mind each year.
For reliable sowing, avoid collecting seeds from hybrids in your garden, as the resulting plant may not turn out exactly like the one you planted initially. Also, store your seeds carefully in a cool and dry spot to avoid mold and maintain viability until you’re ready to plant again.
If you haven’t saved any seeds this year, check with your neighbors or local community groups and plant swaps. You may find some unique gems you wouldn’t find otherwise.
Recycle Containers
 Reuse household items for seed starting instead of buying trays.
Although seed-starting trays are designed to make sowing and transplanting simpler, there is no rule that says you have to use them to be successful. Technically, you can start seeds in almost anything, as long as it drains well and has enough room to hold soil.
Reduce your costs and help the environment at the same time by recycling your household items into seed-starting containers. You can simply wash and reuse old trays that would have gone in the trash or get crafty to create your own.
You’ve probably seen adorable cardboard or newspaper pot DIYs online. Although these containers don’t last long, they’re great for short-term seed starting. You can also use old tins (as long as you make holes in the bottom) or old plastic nursery containers.
If you’re reusing items from your home or garden, make sure you clean and disinfect them thoroughly to prevent the spread of disease to your young and vulnerable plants.
Make Your Own Seed Starting Mix
 Develop your own seed starting mix with coconut coir, perlite, and vermiculite.
For those sowing seeds often, continuously buying bags of seed starting mix can become quite pricey. One bag isn’t going to break the bank, but making your own mix is a budget-friendly alternative that gives you better control over seed sowing conditions at the same time.
I prefer making my own soil mixes because the components used are largely the same. I grow a lot of indoor plants, and the ingredients that go into a houseplant potting mix overlap with the ingredients of a seed starting mix. So, if you already have some of the components in your garden shed, you won’t need to spend an extra cent.
Seed-starting mixes need to be lightweight to provide little resistance to early root growth. They should also drain well to avoid waterlogging while holding onto enough moisture to promote germination. To reduce risk and aid germination, these mixes are usually soilless, although they don’t have to be.
My standard mix is equal parts coconut coir (or peat moss), perlite, and vermiculite. The coconut coir holds onto moisture without weighing the mix down, and the perlite boosts drainage. Vermiculite hangs on some moisture and nutrients while also increasing the space between soil particles to aid in drainage.
Skip Heating Mats
 Utilize household heat sources as alternatives to costly heating mats for seed germination.
Heating mats are incredibly helpful when sowing indoors in cooler climates. They gently warm the soil, creating the right conditions for germination. If you want to get a head start on the growing season in lower zones, warming the soil is essential to success.
Unfortunately, heating mats can be costly, blowing your seed-starting budget. You can purchase one for sowing in small batches, but sowing many seeds simultaneously will require quite an investment. Luckily, plenty of alternatives in our home can provide the same benefits without the cost.
Think of all of the appliances that create warmth in your home. Have you ever felt the heat on top of your fridge? Or a shelf near your radiator? Even computer towers release heat when they’re switched on. You can use these to your advantage by placing your seed trays near these warm areas, naturally warming the soil.
If you don’t have any suitable areas, you can also DIY your own heating mat or warm the soil with a lamp. Incandescent lighting produces heat, which can be used to warm the seeds from above or below (using rope lights).
Always monitor the seeds and the soil temperature when using any kind of heating to avoid scorching the young and vulnerable roots.
Use Natural Light
 Utilize natural light near windows for successful seedling growth.
The use of heating mats often goes hand in hand with indoor grow lights. When you want to get a head start on sowing, grow lights can take all the stress out of the process. But if you want to stick to your seed-starting budget and avoid spending the extra money on expensive lights, natural light will work just as well.
If you have a bright south-facing window, simply place your seedlings near the window and rotate often for even sunlight exposure. East or west-facing windows also work well as long as the containers are placed close to the light source.
Depending on the space you have, this may not always be possible. In that case, trolley shelves or bar carts can be used to raise the trays closer to the light source. You can move these trolleys around your home as the light changes throughout the day, making the most of the natural light available.
Keep in mind that young seedlings don’t need hours and hours of harsh direct sun to grow successfully. They prefer some protection until the leaves fully develop, so the less-than-optimal light indoors shouldn’t be a problem early on.
Start Small
 Keep it small when sowing seeds to avoid overwhelming care and maximize cost efficiency.
Every gardener I talk to can remember a time when they let their excitement get the better of them, particularly when sowing seeds. In fact, I am one of them. Every plant purchased has to have two seed packets (even the ones that already contain masses of seeds), and there needs to be several different varieties – including things I did not plan to purchase – for a nursery trip to be deemed a success.
It’s so easy to get carried away when sowing seeds, but it’s important to remember that a single seed packet goes a long way. With two or three seeds per hole, I often have at least half a packet of seed left over, which can get stored and saved for later sowing.
If you go too big too quickly, you will impact your seed-starting budget and find it hard to keep track of all your tiny seedlings. You may not have space to transplant them or the time to care for them effectively. Either way, you will have wasted money on the seeds and the seed starting mix used to grow them.
As hard as it seems, starting small will save you money in the long run. Only grow what you really need and have time to take care of, from seedling to maturity. Rather than sowing all the seeds in a packet, store them and sow later in the season or the following year – seeds should be viable for at least a year.
Don’t Forget About Them
 Monitor seedlings closely for proper moisture, temperature, thinning, and outdoor acclimation.
The final budget seed-starting tip is one that goes without saying, but is a helpful reminder. Once you’ve sown your seeds and placed them in the perfect environment, don’t neglect them. Don’t leave the soil to dry out or let the seedlings crowd each other. This not only wastes all the resources you used sowing but also wastes your time.
Maintain the right moisture levels and soil temperature carefully over the first few weeks to promote strong early growth. Monitor drainage and keep up the humidity levels (using a DIY cloche if needed).
Once growth starts to emerge, thin the seedlings, leaving only the strongest plants to limit overcrowding. When it’s time to move them outside, gradually acclimate seedlings to outdoor conditions for a few hours each day before transplanting them outside to prevent shock and early loss.
Final Thoughts
Sowing seeds is already a budget-friendly activity, but you can save even more with these seven tips.