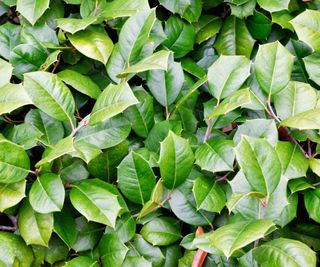
You probably think of boxwoods when you picture a well-manicured landscape with endless hedges. With hedges comes a lot of time-consuming pruning and the need for a well-trained eye. While these evergreen shrubs make lovely hedges, they also have many other uses in your gardens.
The good news is boxwoods do not need to be pruned yearly unless you seek that crisp hedge line or want to shape a topiary. Boxwood tends to be slow-growing shrubs, which can alleviate some of the pruning needs. If you have not planted your boxwoods yet and are still shopping, search for varieties that have the size and shape that will suit your garden style best.
No matter the style of boxwood you desire for your garden, pruning these evergreen shrubs all begin with the same basic skills. Let’s get into the details, shall we?
Step 1: Make a Plan
Determining pruning goals for boxwood involves deciding between formal trimming or a natural look.
Before beginning any pruning on your boxwood, you should set some goals for yourself:
- Will your boxwood be formal and neatly trimmed like a hedge?
- Do you like the more natural look of boxwood, and maybe your shrub only needs a little haircut or some removal of deadwood?
- Are you all in on shaping your boxwood into a topiary?
Each of these types of pruning is a bit different and requires different tools and game plans. It is important to get this plan in place so you don’t make poor cuts or use the wrong methods.
Step 2: Gather Your Supplies
 Ensure safety while pruning by choosing comfortable tools and wearing safety goggles and gloves.
Safety is imperative when you are pruning. Select tools that you are comfortable using, and protect yourself! Safety goggles and gloves are a great place to start. You may also want a tarp or wagon to collect debris. This will help make clean up much quicker.
Once you have selected the appropriate tools for your job, clean them well. Remove plant debris, and use disinfectant wipes to eliminate any fungal spores or other contaminants. Let’s take a look at some of the other tools you may want to use for your pruning project:
Hedge Shears
 These long-handled, scissor-like tools are ideal for hedge trimming, especially if trimmers feel challenging.
Hedge shears are exactly what their name says they are. They are long-handled, long-bladed shears that work similarly to scissors or bypass pruners. Hedge shears are very handy for your beautiful hedges and are a good option if you are not comfortable using hedge trimmers.
Hedge Trimmers
 Various hedge trimmers offer efficient solutions for managing unruly boxwood hedges.
There are a lot of great hedge trimmers on the market. Some run on gas, others are corded or battery-operated and, therefore, cordless. Hedge trimmers take some finesse and should be used with caution. But, if you have a lot of boxwood and an unruly long hedge, hedge trimmers are the most efficient tool for this job.
Bypass Pruners
 Perfect for a wide range of gardening tasks, bypass pruners also work well for pruning boxwoods.
Bypass pruners are good to have on hand for a wide range of gardening tasks, from deadheading to pruning. When it comes to pruning your boxwood, bypass pruners come in handy when removing thin branches and fine-tuning the shape of your boxwood.
Loppers
 With longer handles than pruners, loppers are ideal for reaching and trimming taller plants.
Loppers are very handy for taller boxwood or plants that may be out of reach. Loppers operate in the same way as bypass pruners, but the blades are bigger, and the handles are longer. Use loppers for thicker branches, up to two inches, as well.
Pruning Saw
 Portable pruning saws efficiently trim boxwood branches of various sizes.
These smaller foldable saws are a perfect pocket tool. When using a pruning saw on boxwoods, you will likely be doing a hard, rejuvenating prune. These saws can work through branches of most sizes, but boxwoods typically can be pruned with one of the above tools just as easily and probably quicker.
Step 3: Timing is Everything
 Early spring heavy pruning encourages new growth, while gentle pruning is safe year-round.
Pruning your boxwoods at the right time is crucial. The best time to get some heavy-duty pruning done on these evergreen shrubs is early in the spring before your shrub accumulates a lot of new growth. Pruning at this time of the year will promote a flush of growth, which you should see about one month after pruning.
Minimal pruning, such as thinning or haircuts here and there, can be done throughout the season without any damage.
If your boxwood has damaged or diseased branches, prune them as soon as you notice them. This will help the overall health of the plant.
Step 4: Remove Deadwood
 Prune boxwood by first removing deadwood, then address leafless branches to enhance plant health.
No matter what size, shape, or style you are pruning your boxwood in, examining your shrub and removing any deadwood before you start fine-tuning is always a great idea.
The branches of your boxwood should be covered in evergreen leaves. If you have a few branches that appear leafless, you can go right ahead and remove those using the appropriate-sized tool.
This step will clear the way for you to make better pruning decisions and improve the plant’s health by either removing diseased branches or increasing airflow. It’s a win-win.
Step 5: Pruning for Size
 Trimming taller boxwood branches at the plant’s base with bypass pruners or loppers lets in more sunlight.
The best way to prune your boxwoods to your desired size is by thinning your shrubs.
- The best tools to use for thinning are bypass pruners or loppers.
- Look for taller branches and follow them to the base of the plant or a larger limb.
- Trim these branches back to the base of the plant.
Move along until you have removed all of the taller branches. Step back to confirm that you are happy with the results after each cut, ensuring that you have removed all the limbs you need to remove.
The benefit of thinning your shrubs is that it will allow more sunlight into the center of your shrubs, resulting in fresh branches with dense evergreen leaves.
Step 6: Rethink Shearing
 Regularly sheared hedges look great but may lead to messy, unhealthy growth over time.
Crisp hedge lines are beautiful and desirable to many gardeners. The downside to using hedging shears is that this style of pruning promotes unhealthy growth that can become unattractive over time.
Boxwoods will produce new lush growth at the point of your cuts. If you are shearing straight across a hedge, the boxwood will only produce new growth on the top of your shrubs. Eventually, the interior of your boxwoods will become bare, and you will have a mess on your hands.
As mentioned above, thinning your shrubs is the way to go. If your hedges are not as crisp as you would like, you can do a light shearing or hand trim any stragglers afterward.
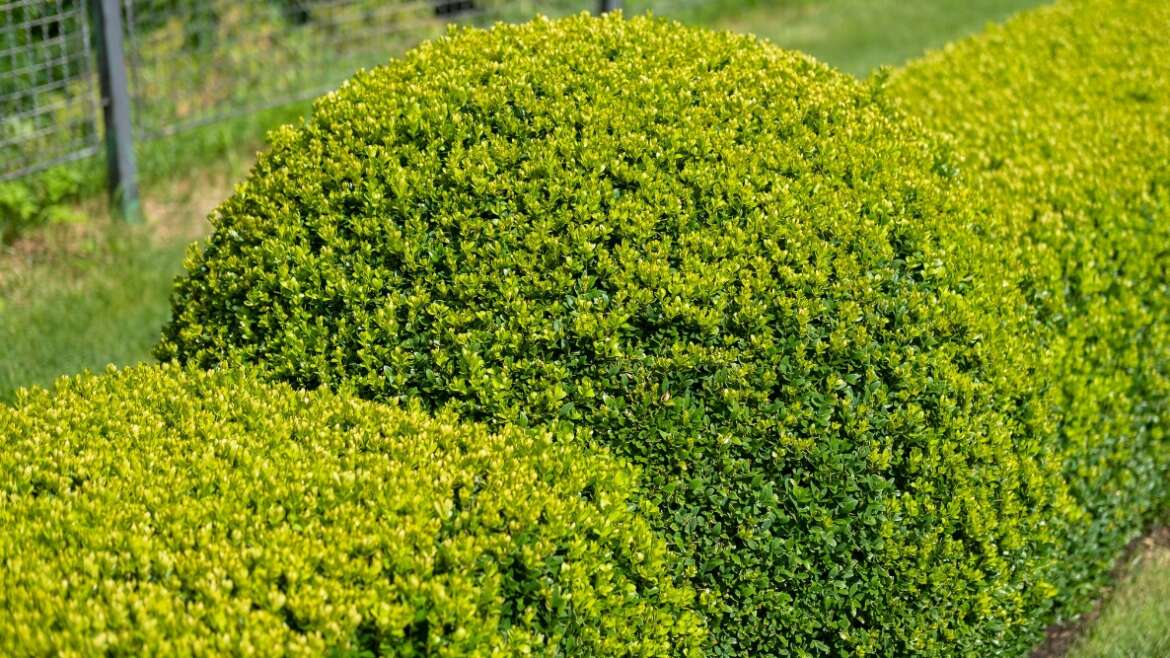
Step 7: Shape Your Boxwood
 For formal topiary shapes, start trimming boxwoods when they’re young.
Aside from hedges, boxwoods are commonly shaped into orbs or cones. Shaping your boxwoods has greater results if you start the shaping process when the plants are young.
- Begin by removing height from the top of the plant. Many gardeners will use their shears for this because it makes the process faster. Keep in mind that over time, this can cause the interior of your plant to become bare.
- Once the top of your plant is at your desired height, work your way down the sides, maintaining your desired shape.
- If you are worried about maintaining the shape, you can use a few household items as guides. For cones, you can use garden twine held taut by a gardening partner or some garden stakes. For orbs, find a piece of cardboard that is roughly the size of your shrub and cut out a circle or semi-circle. Hold this cardboard piece up to your boxwood now and then to make sure you are maintaining that nice, rounded form.
If perfectly shaped boxwoods are your desire, be patient with yourself. The more practice you have, the easier it will become. Varieties like ‘Baby Gem’ naturally have a rounded form. The natural shape makes pruning easier, or it might be rounded enough that you don’t need to prune.
Similarly, varieties like ‘Green Mountain’ are more conical in shape. Selecting the shape of boxwood you prefer will help you along your pruning journey.
Final Thoughts
Take your time while pruning your boxwoods. These shrubs truly do not require much and are beautiful when left alone. Making a plan before you begin pruning is a guaranteed method of success. Each year, the pruning needs of your boxwoods may change. Some years, you may not need to prune anything at all. Yay!
Set a reminder in your phone for late winter or early spring, and head out to fully examine your boxwoods. This will ensure you finish your pruning on time and your boxwoods have another beautiful growing season ahead. Happy trimming!